What's in the Box
Installation
1
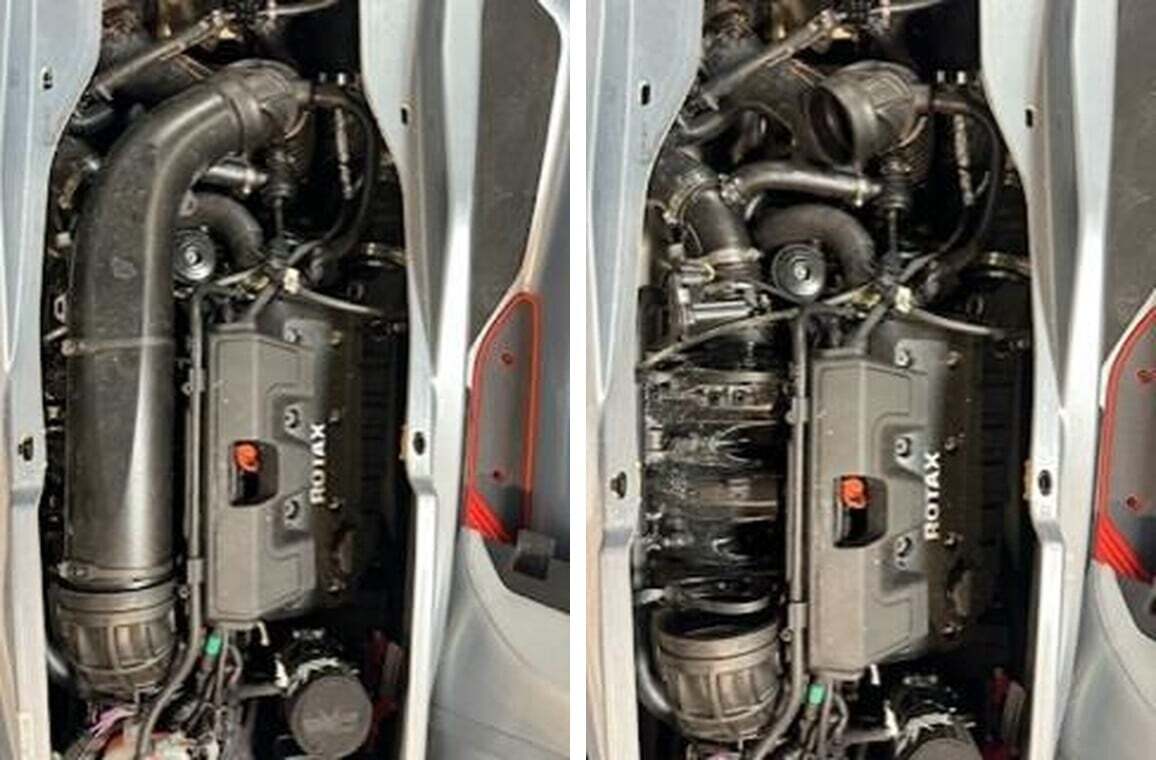
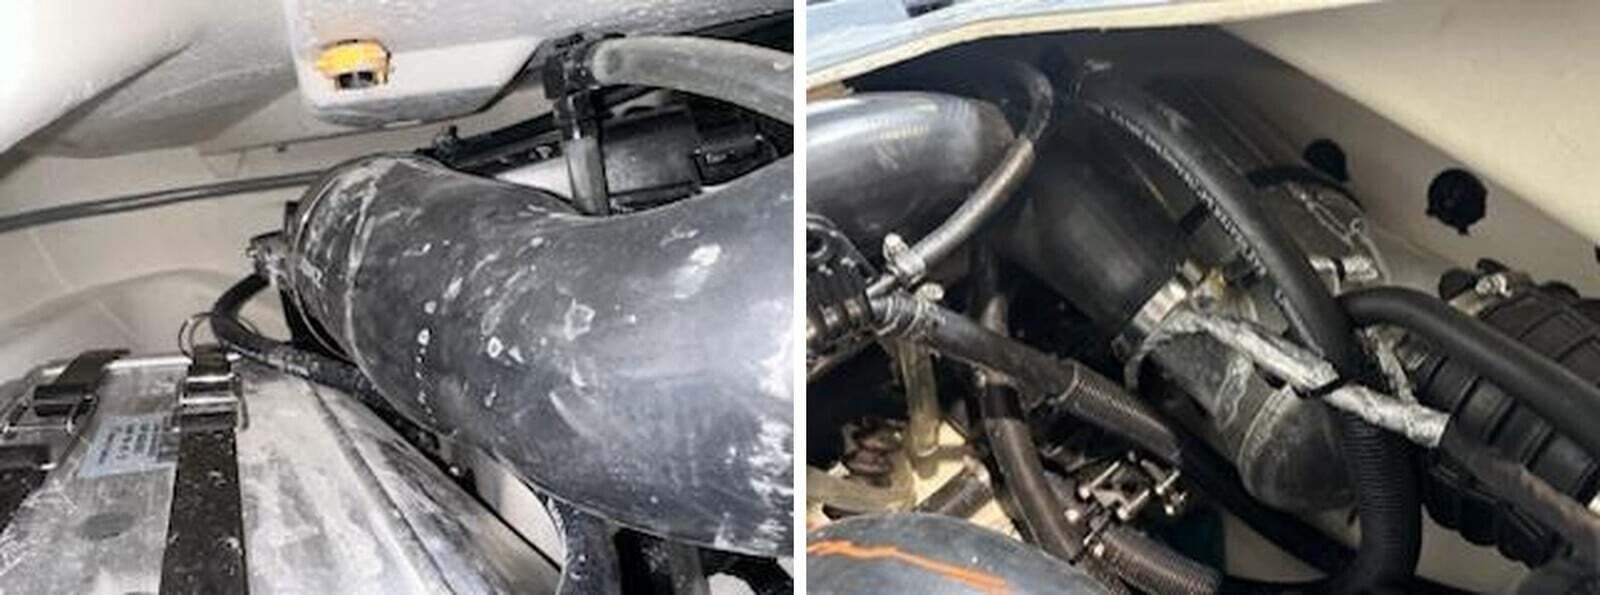
Remove seat. Remove the central intake tube by loosening (2) 8mm hose clamps and (2) rubber straps.
2
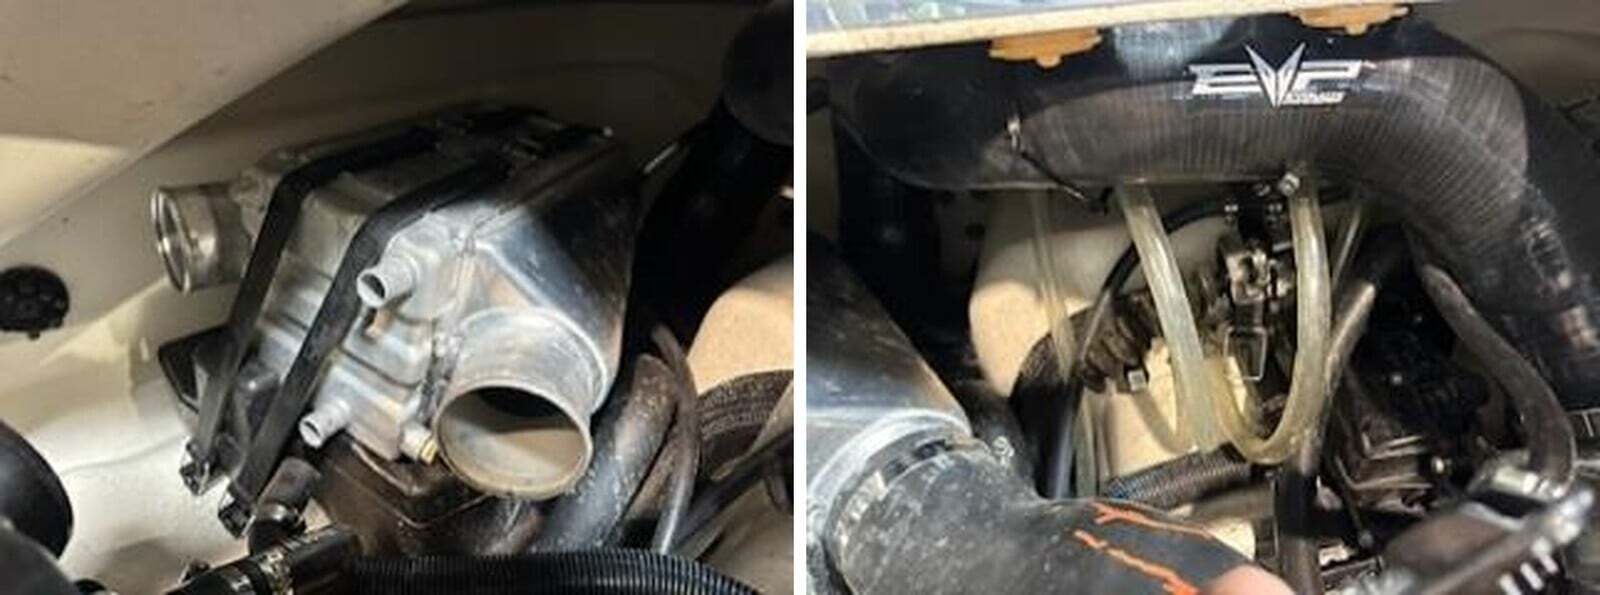
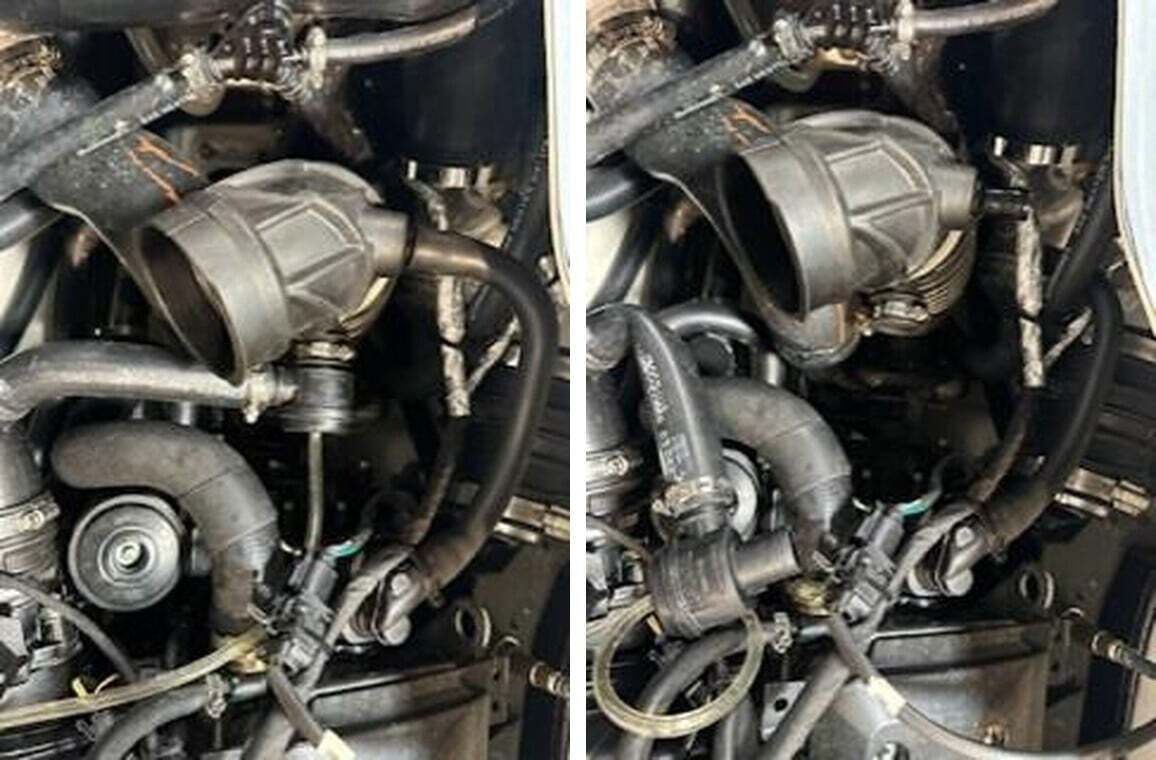
Remove the hose clamp holding the diverter valve to the intake tube. Remove the valve.
3
Loosen the clamp on the intake tube holding it onto the compressor.
4
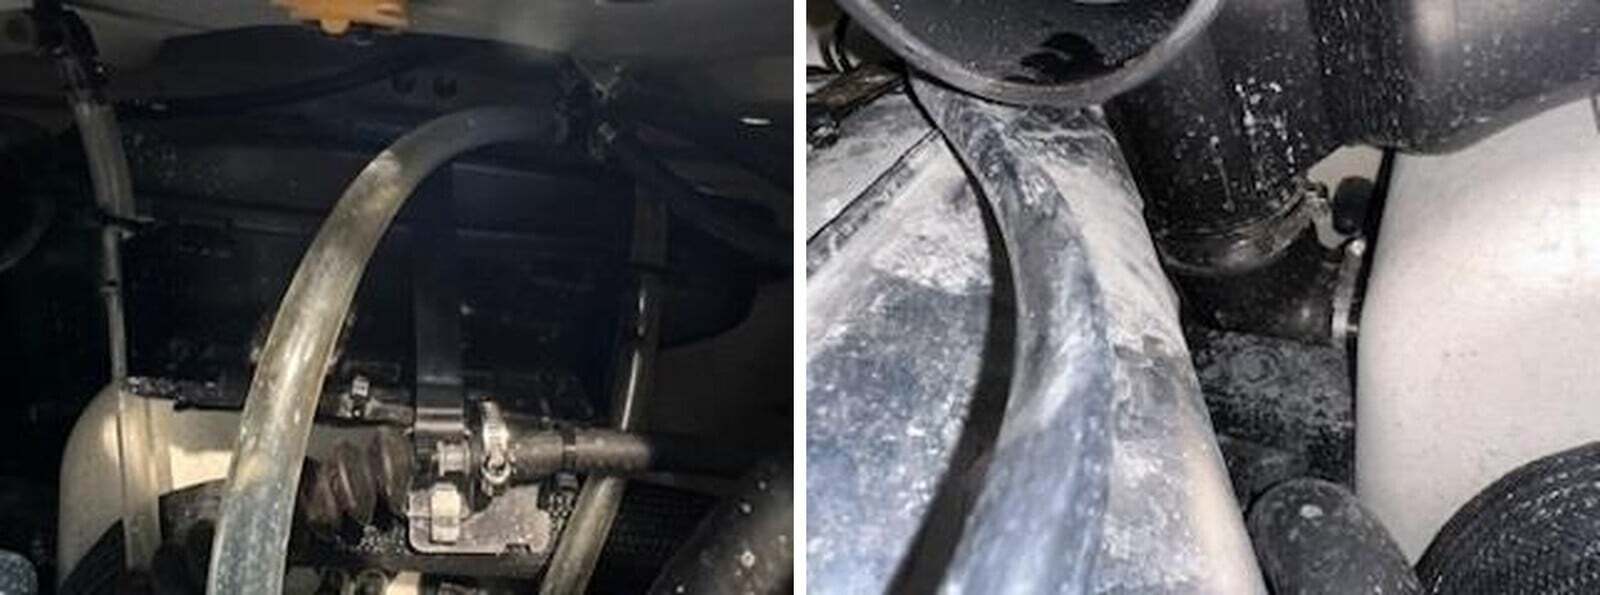
Cut the zip tie holding the resonator hose and water line bracket.
5
Remove (2) 8mm hose clamps holding the resonator hose to the water box and resonator.
6
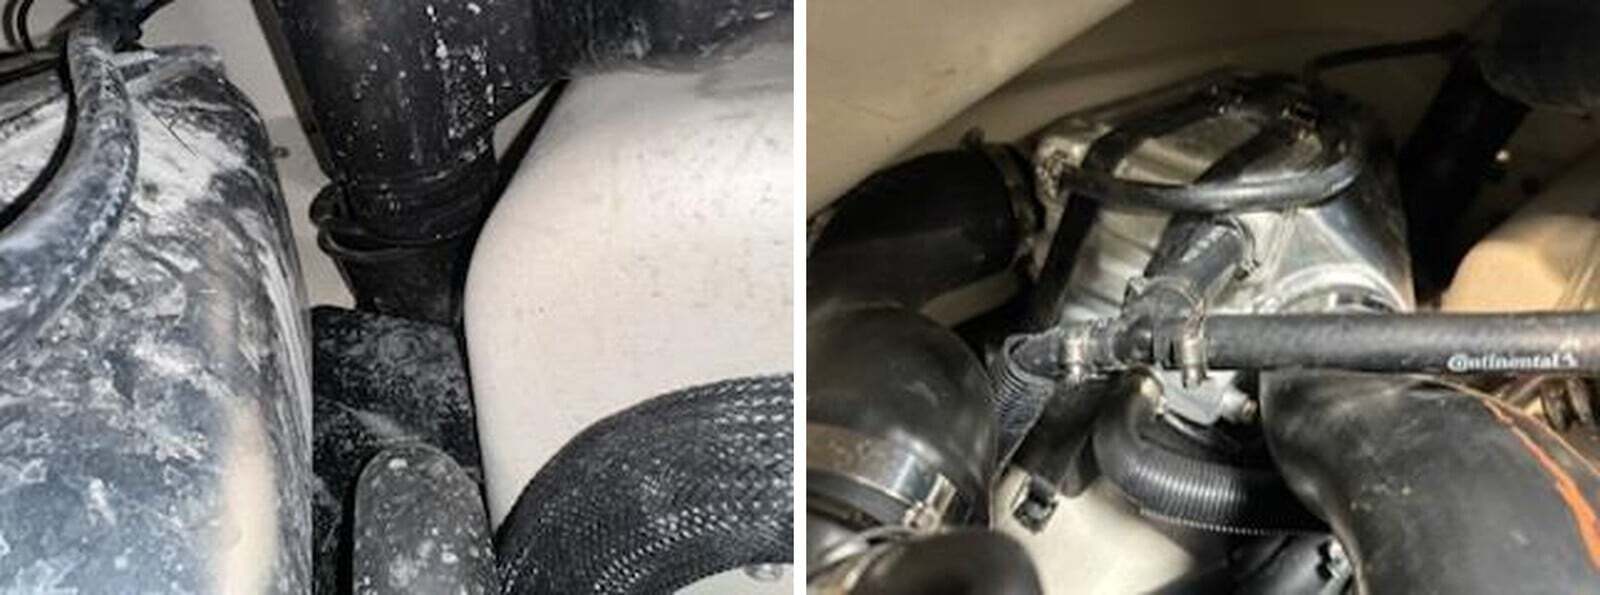
Cut (4) zip ties and remove the rubber strap.
7
Remove the (2) 8mm clamps on the 90 degree elbow, slide resonator up.
8
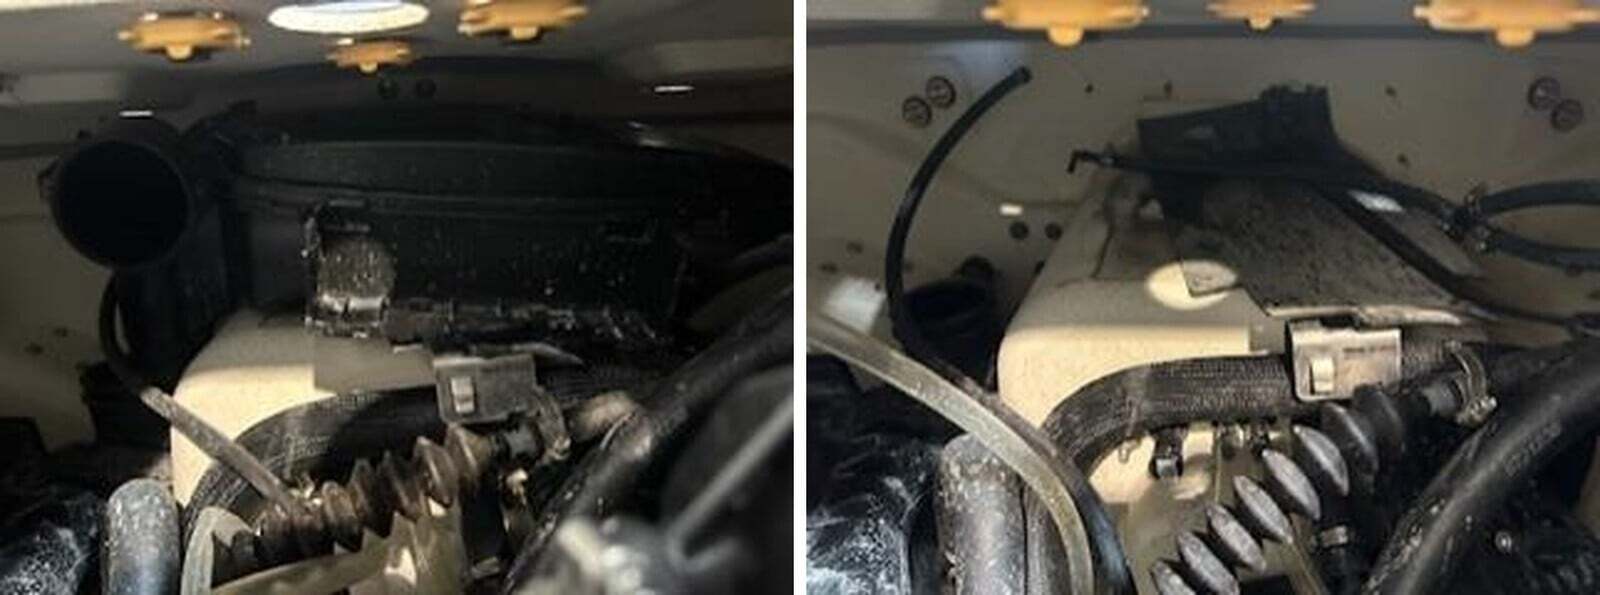
Remove (3) water lines from the intercooler. Also remove both charge tubes from the intercooler.
9
Remove (2) rubber straps holding the intercooler in place.
10
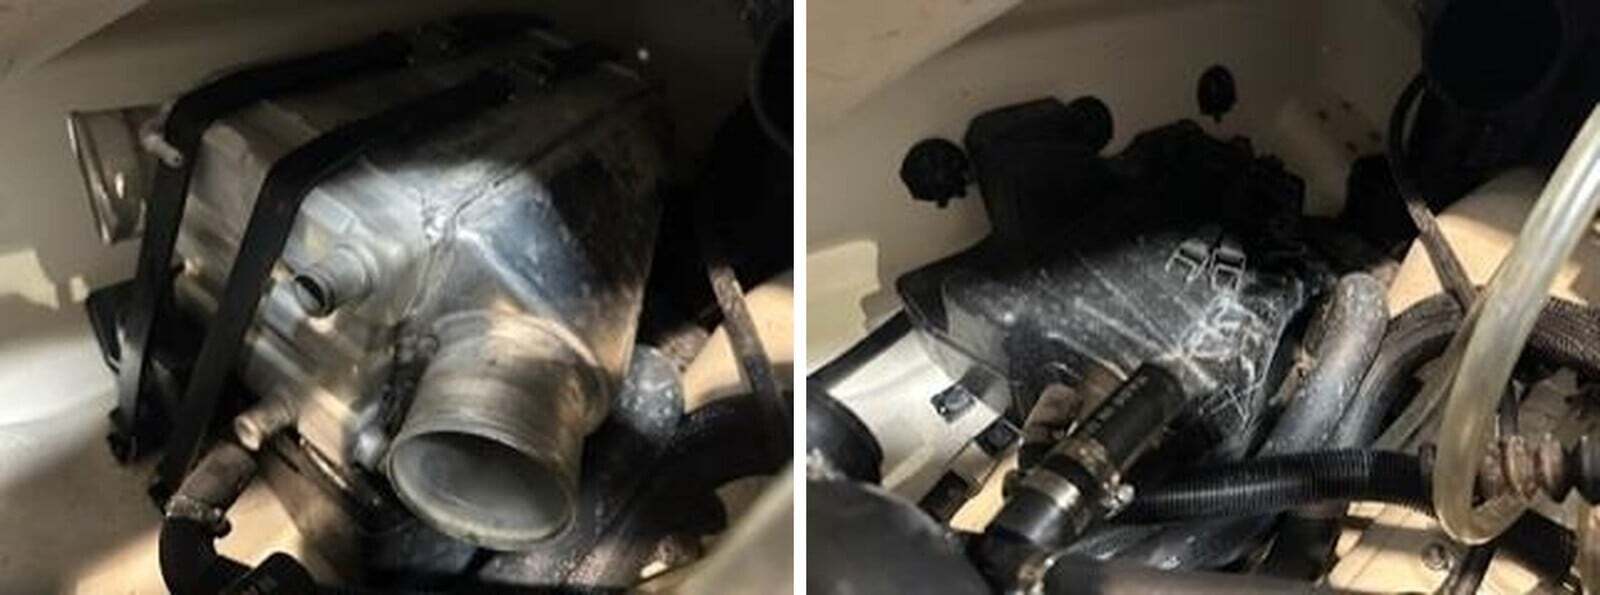
Remove the intercooler.
11
Remove the rubber grommet from the top of the resonator. Remove resonator.
12
Remove the resonator rubber mat and 90-degree elbow from the hull.
13
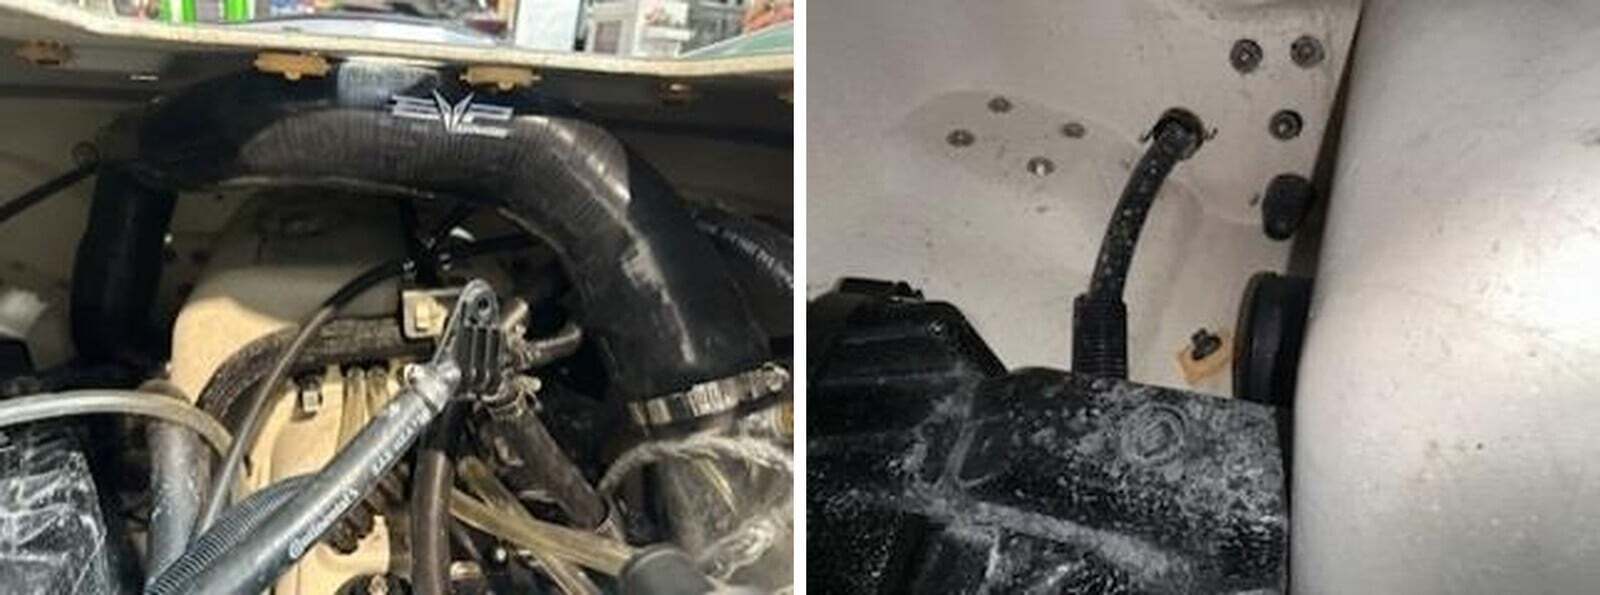
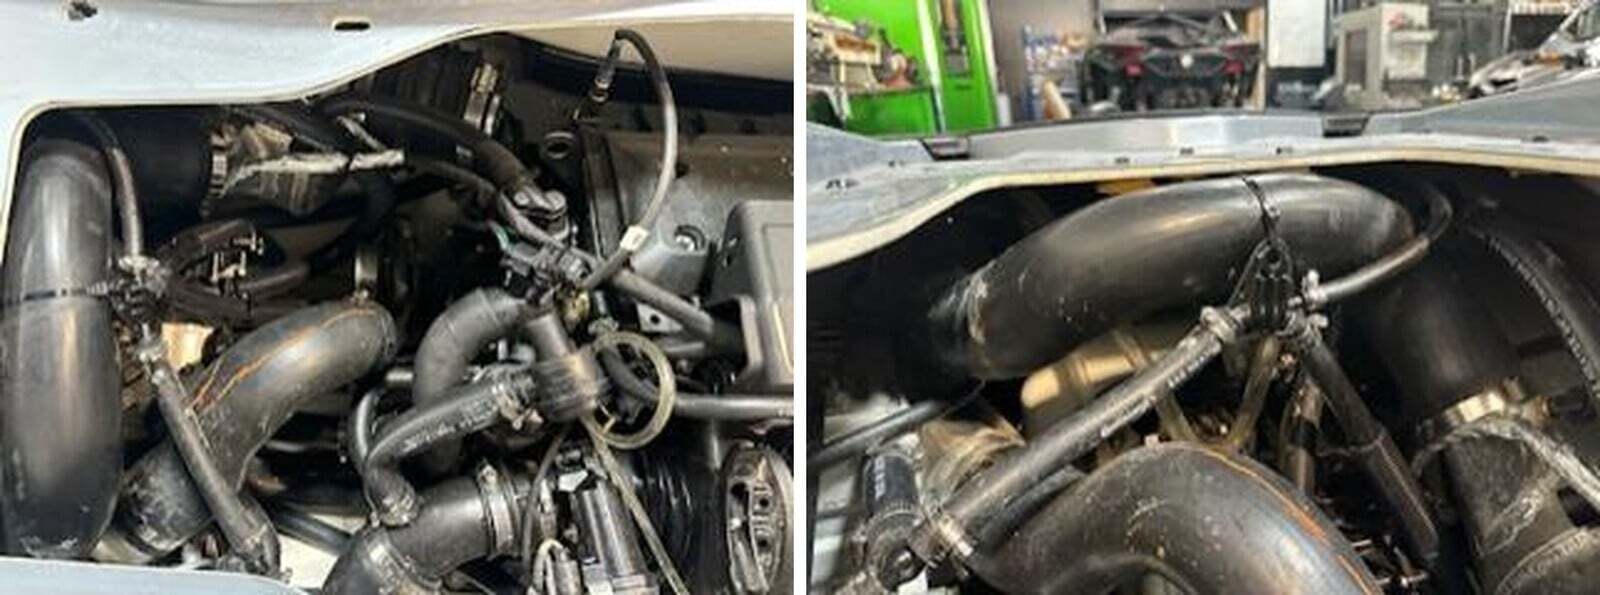
Install the new free flowing exhaust tube from the water box to the hull exit coupler. Reuse (2) 8mm hose clamps.
14
Reinstall the intercooler, (2) rubber straps, (2) charge tubes, and (3) water lines.
15
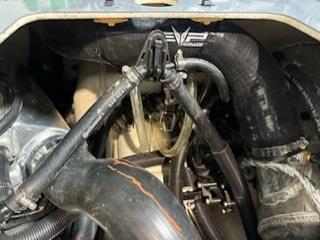
Zip tie (2) clear venturi tubes loosely to the free-flowing exhaust.
16
Zip tie the hose bracket to the free-flowing exhaust.