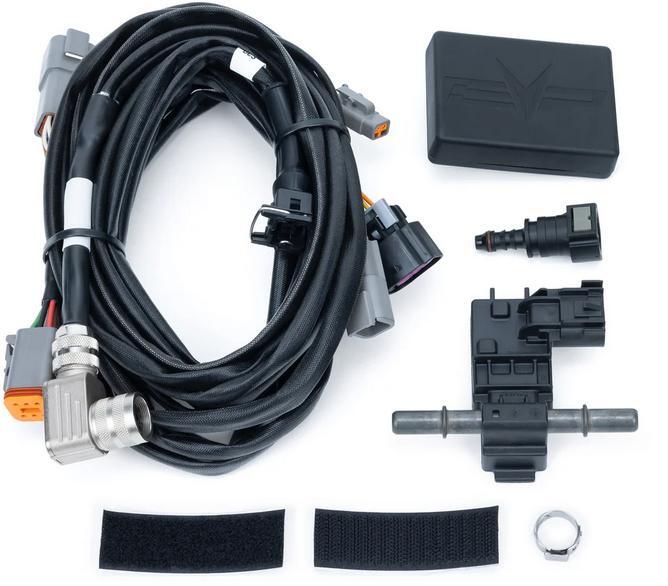
What's in the Box
Installation
1
Remove the passenger seat from the rails. Lift the bottom seat cushion and remove (4) 13mm bolts. Or you can remove the entire seat with rails.
2
Remove the passenger side center tunnel.
3
Remove the lower center dash. Remove (2) push darts and (2) T-25 screws.
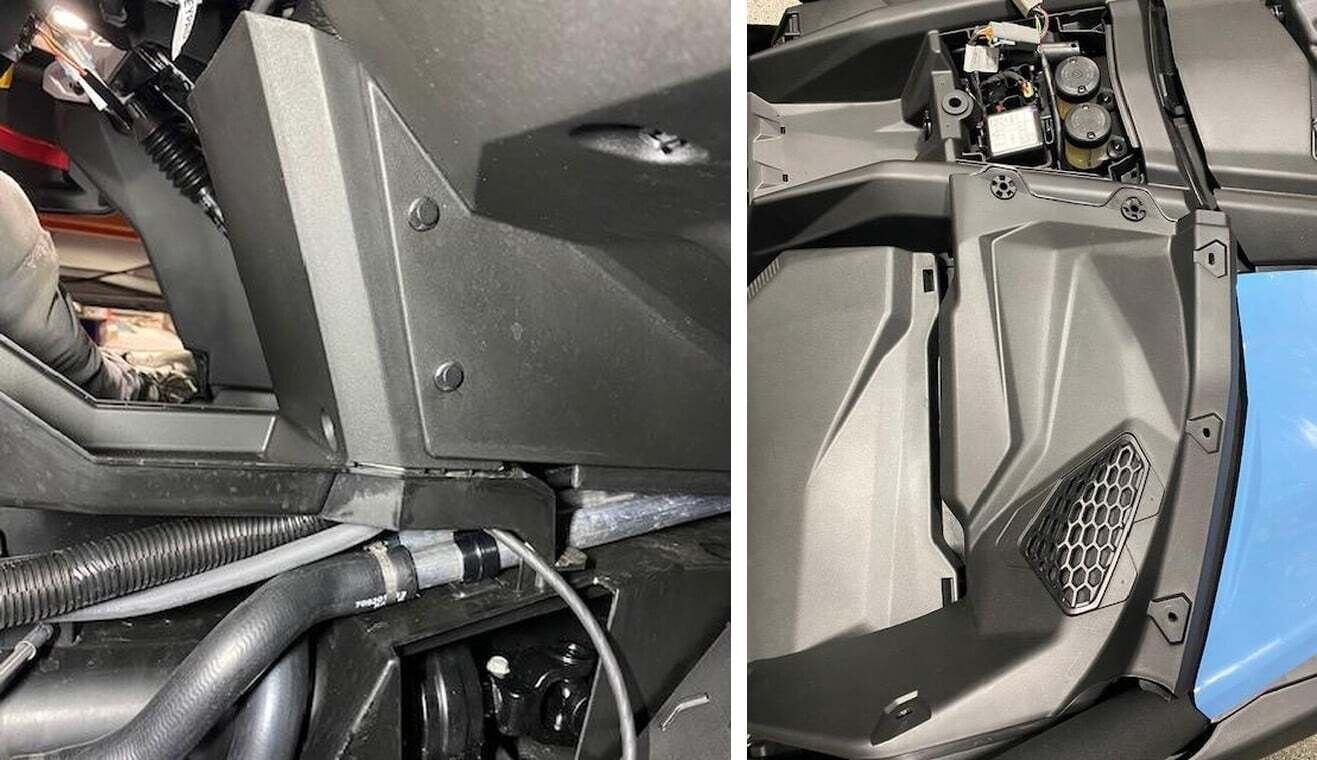
4
Remove the diagnostic port cover. Remove the passenger upper dash (5) T-30 screws and (2) push darts.
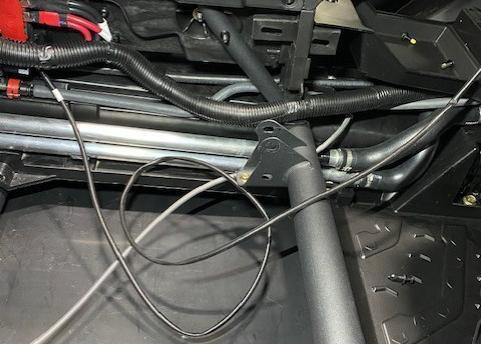
5
Place rags under the quick connection. Remove the RED safety clip on the quick connection. Press in the release and split the quick connection joint. With the zip ties cut you can slide the entire rear part of the fuel hose backwards. DO NOT BEND OR KINK THIS HOSE. Cut 2 inches off the male end of the quick connections.
6
Install the supplied pinch clamp on the hose. Install dielectric grease on the barb side of the supplied female quick connection fitting. Install on the hose, it will take some effort.
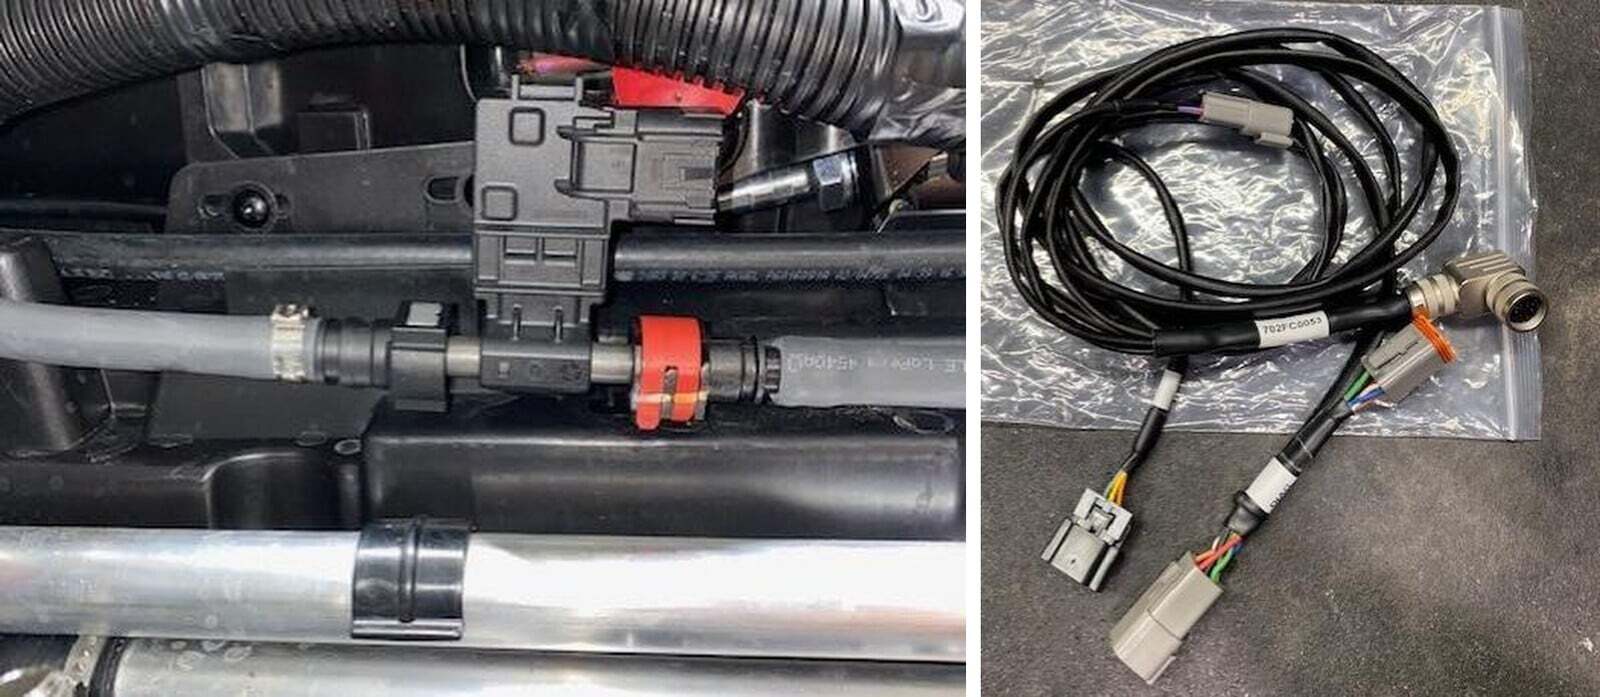
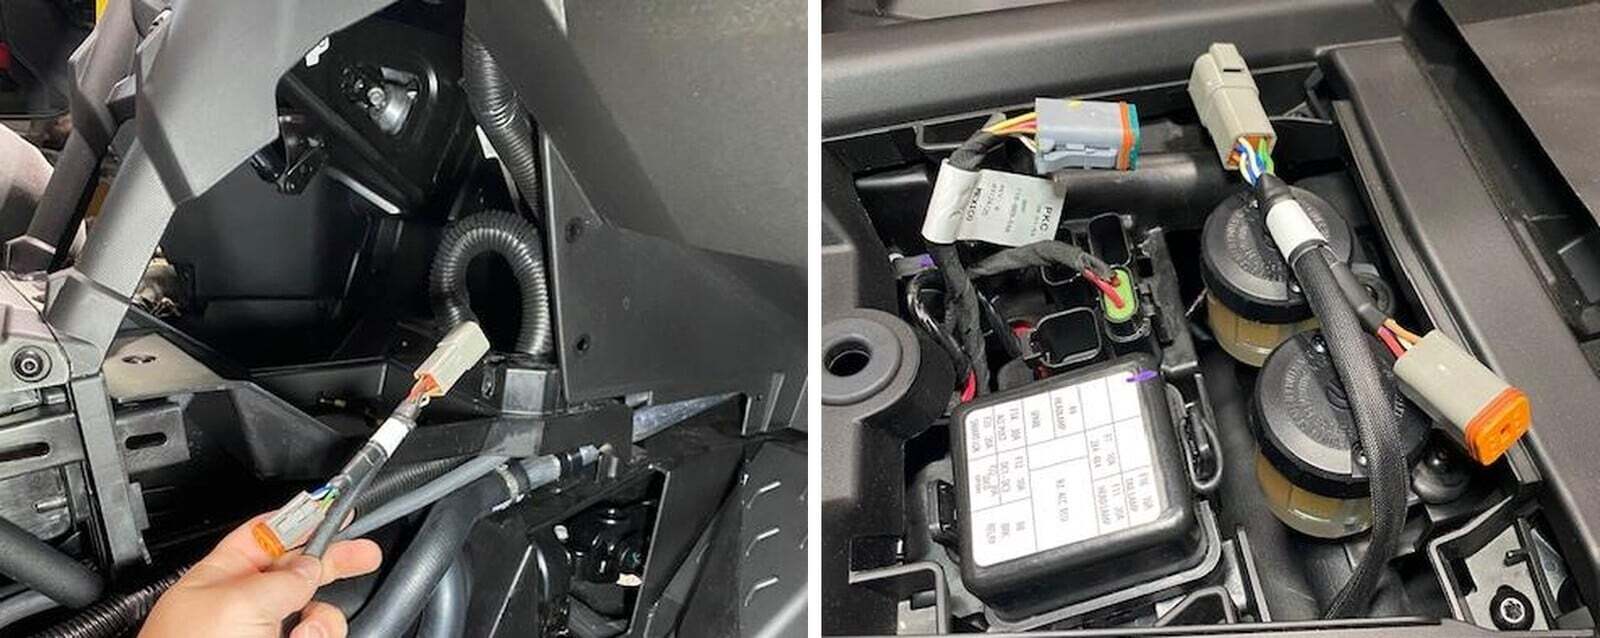
7
Photo of the flex fuel sensor installed below.
8
The harness labeled below.
9
Route the flex fuel harness diagnostic port replicator up the dash into the center diagnostic port connector.
10
Plug the female end into the OEM harness, and the male end will be for auxiliary.
11
Route the 90-Degree connector up the center of the dash like the diagnostic port end.
12
Once on top of the dash, route it over to the fuel tank.
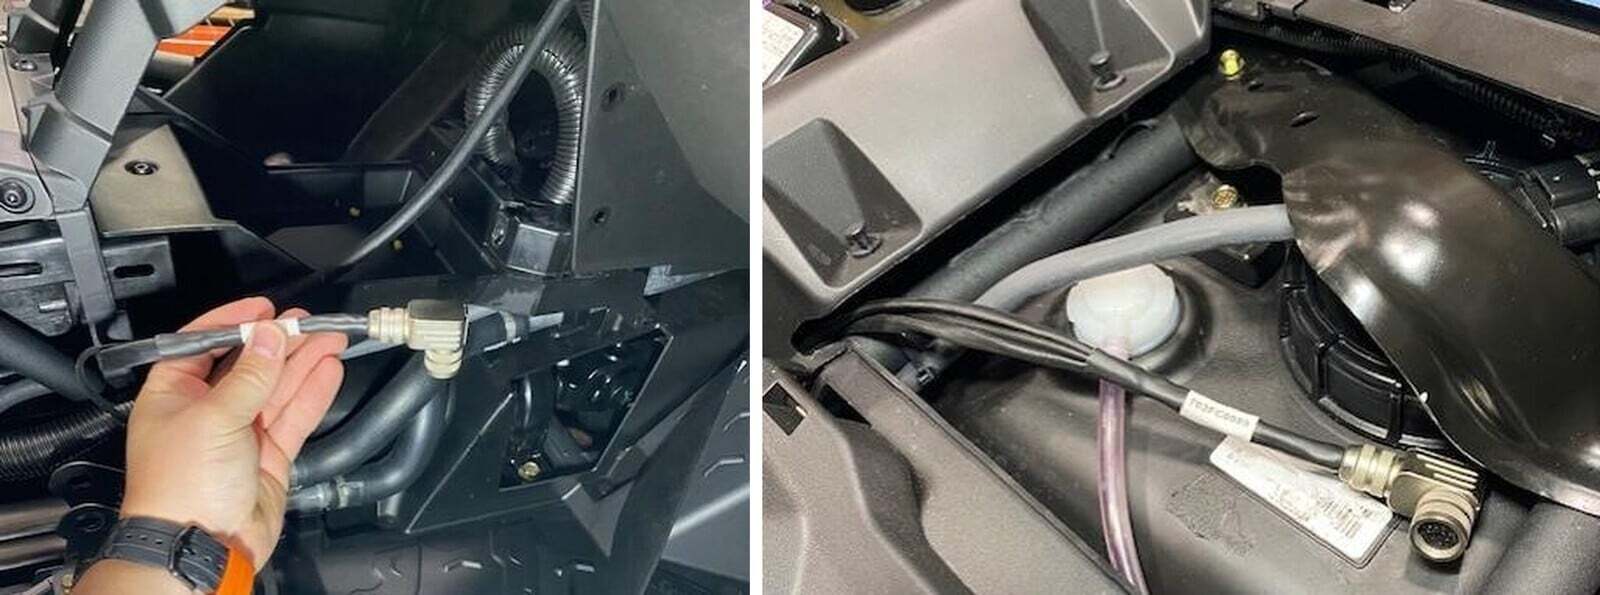
13
Install Velcro on the tank and on the back of the computer board box.
14
Install the 90 Degree connector to the computer box. DO NOT OVERTIGHTHEN THE CONNECTOR. IT JUST NEEDS TO BE SNUG. If you overtighten the connector, you will break the board!
15
Route the flex fuel connector along side the OEM fuel line, down from the dash.
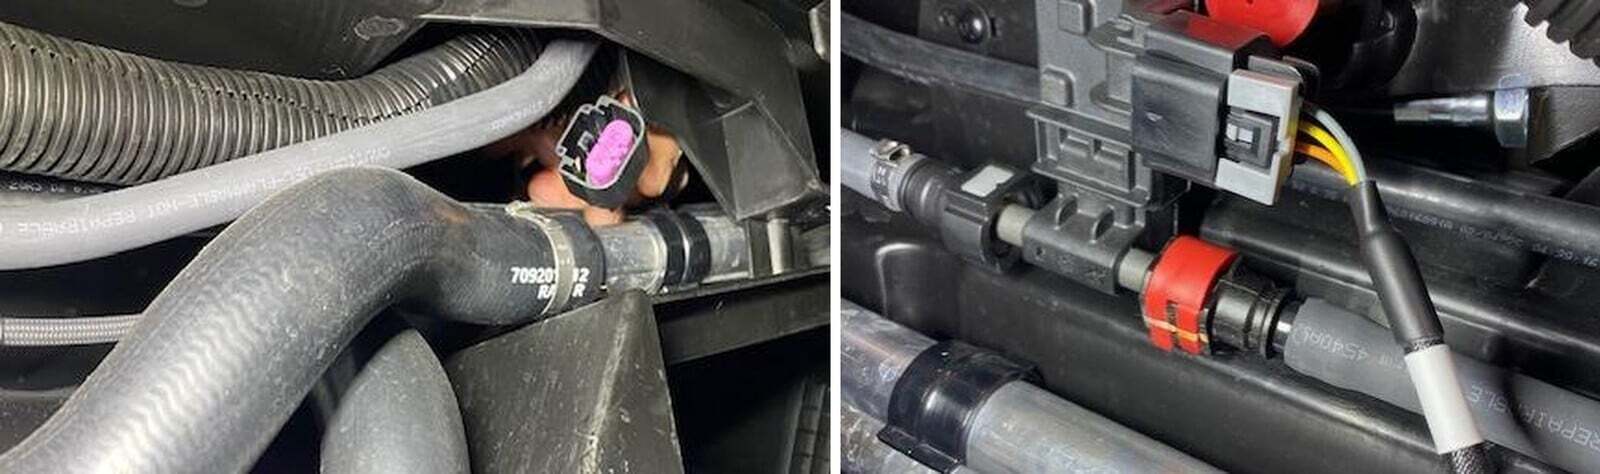
16
Plug into the flex fuel sensor. Make sure the grey safety clip is pushed in.
17
Zip tie all access harness.
18
It is best to “key on” the vehicle and check for leaks. You can also hook up your CodeShooter and flash your vehicle to a flex fuel tune and start the vehicle. If no leaks, reinstall all the plastics and seats.