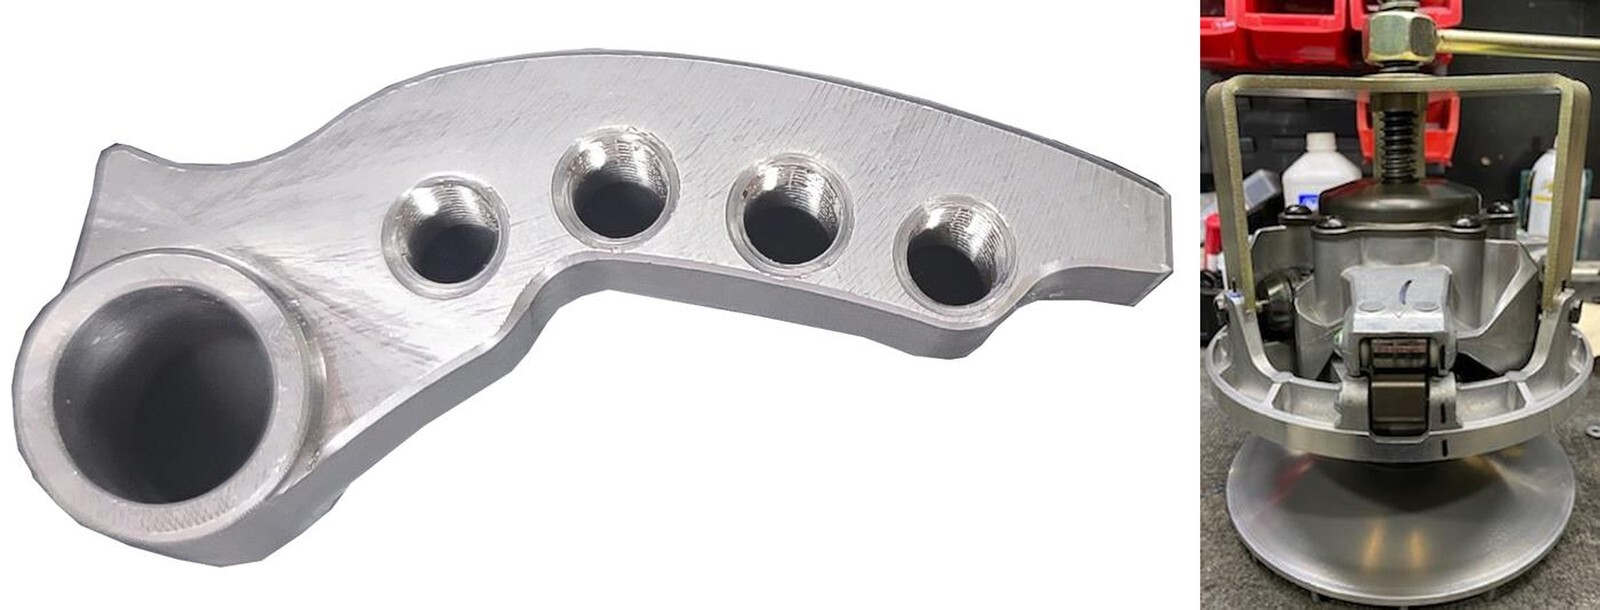
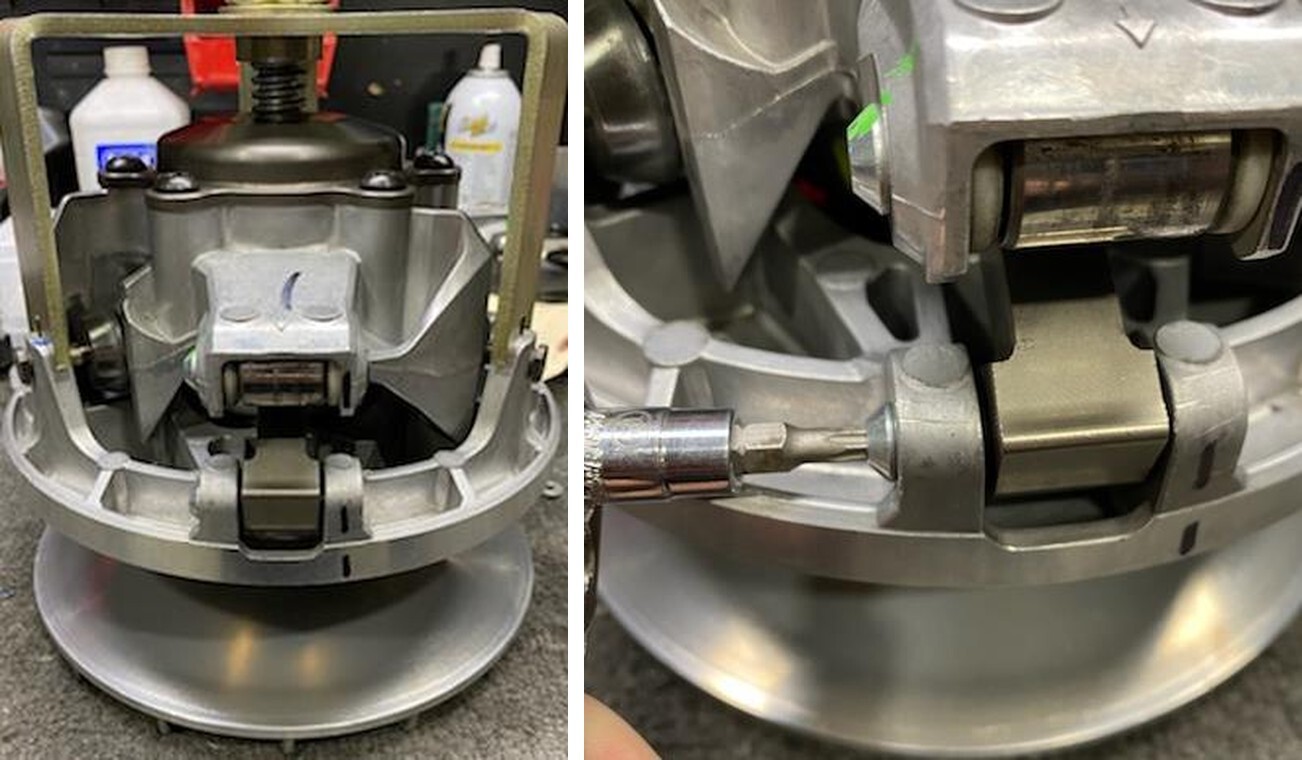
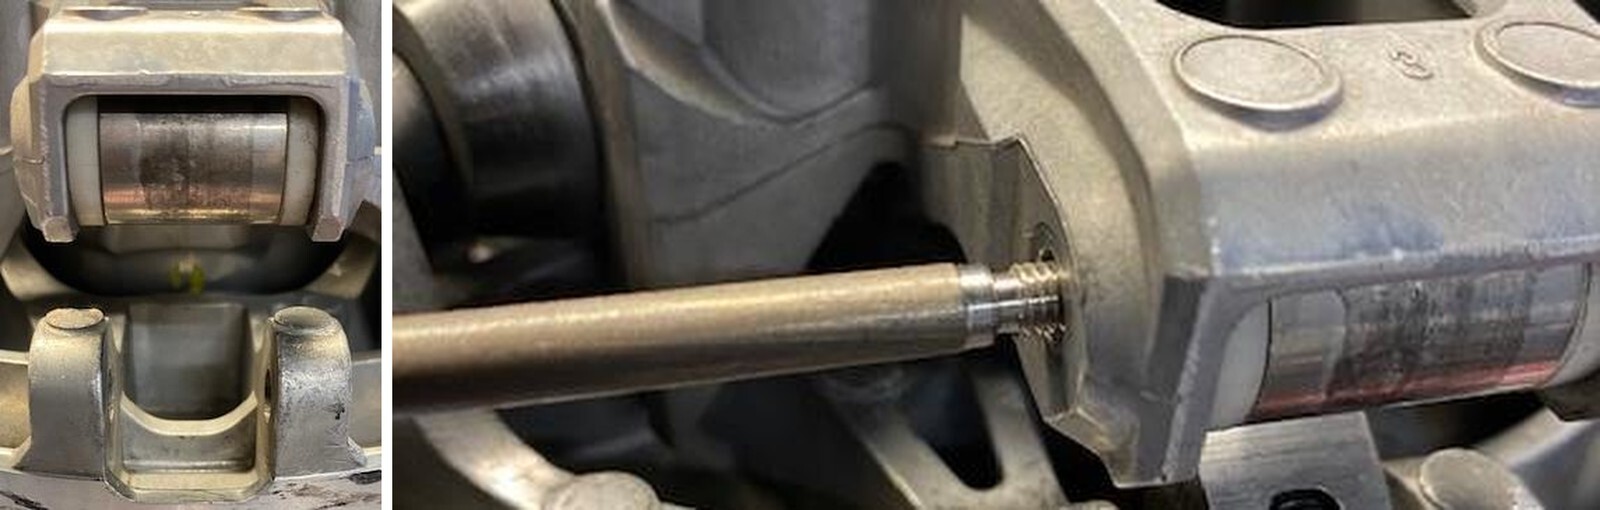
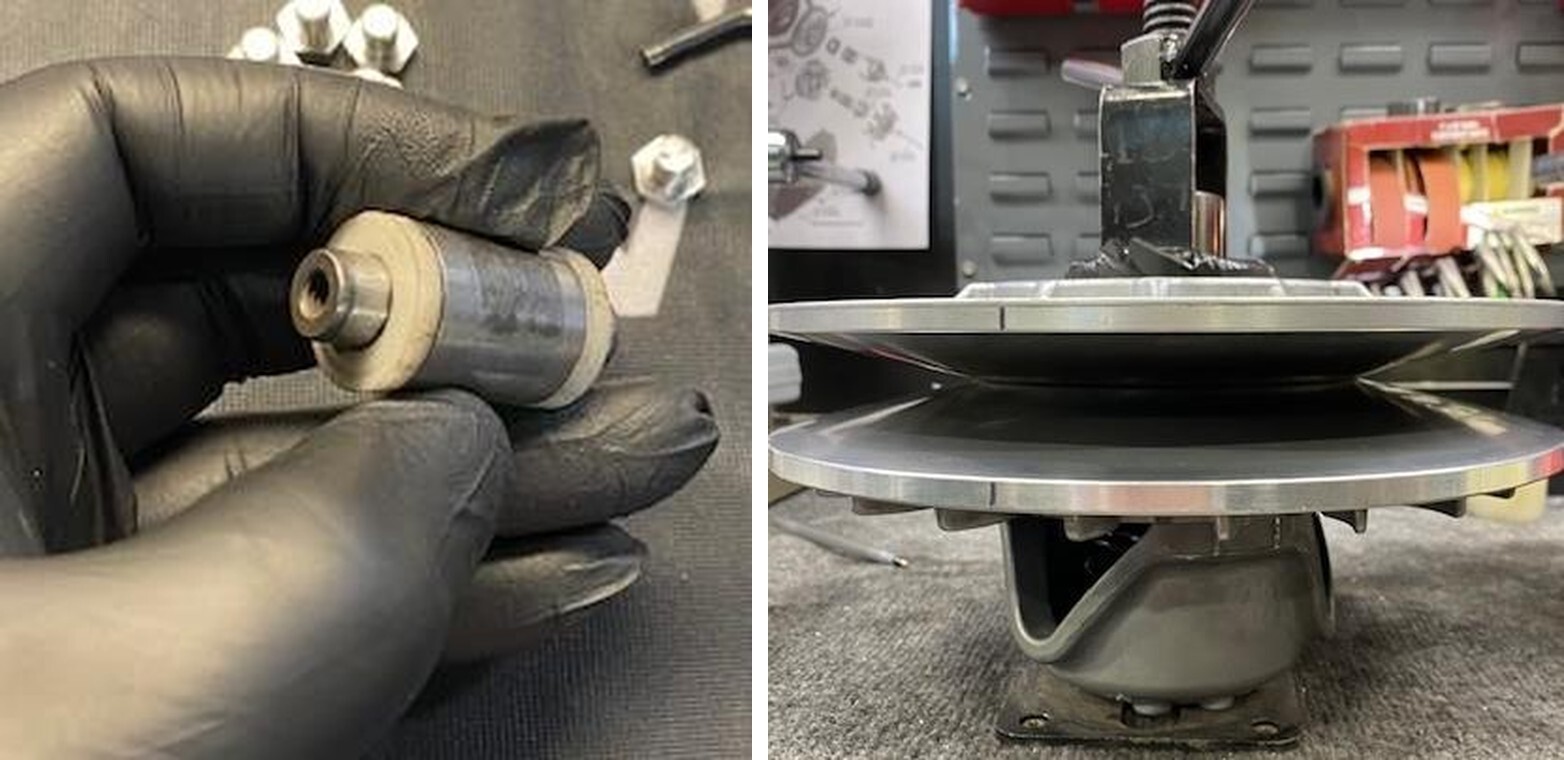
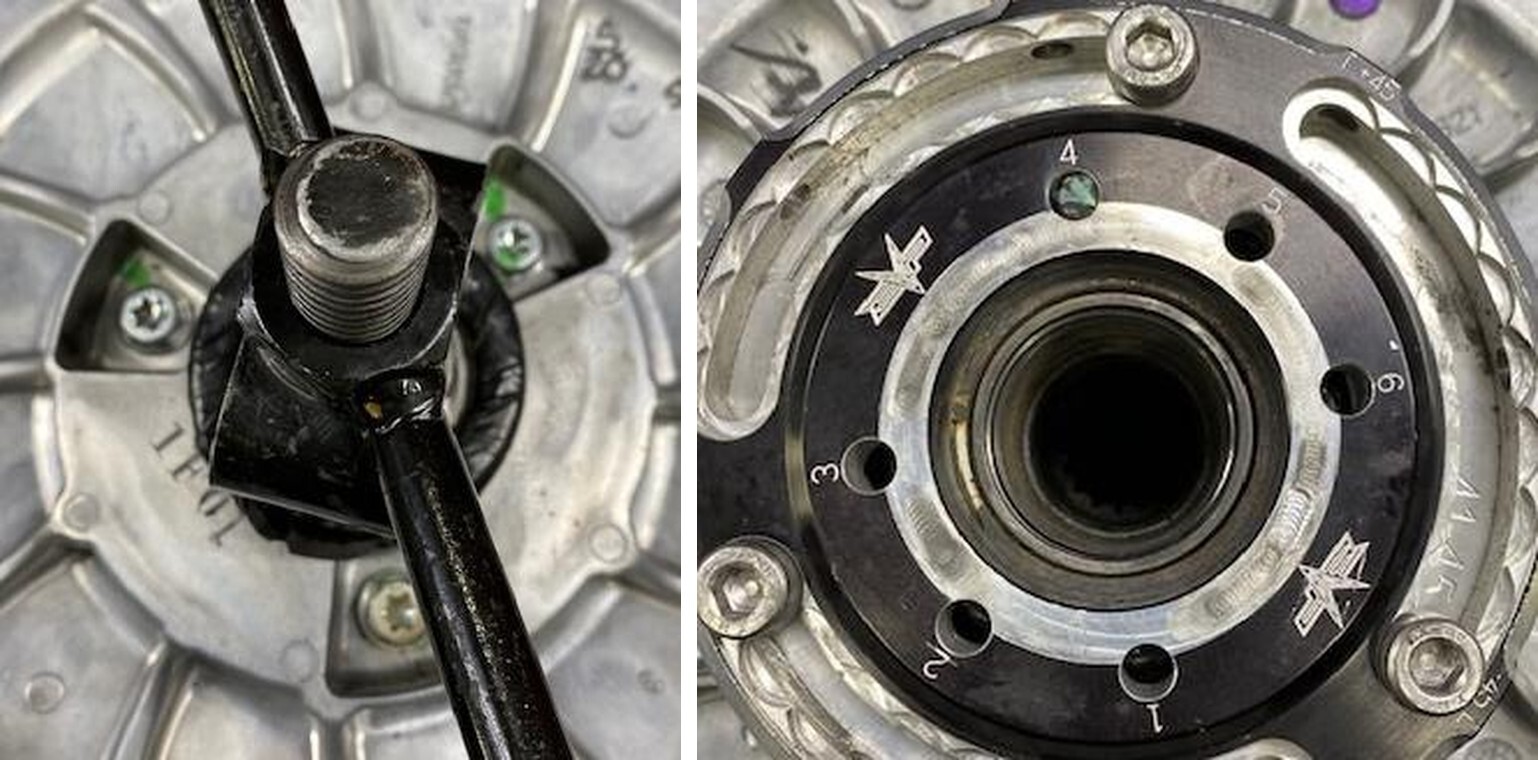
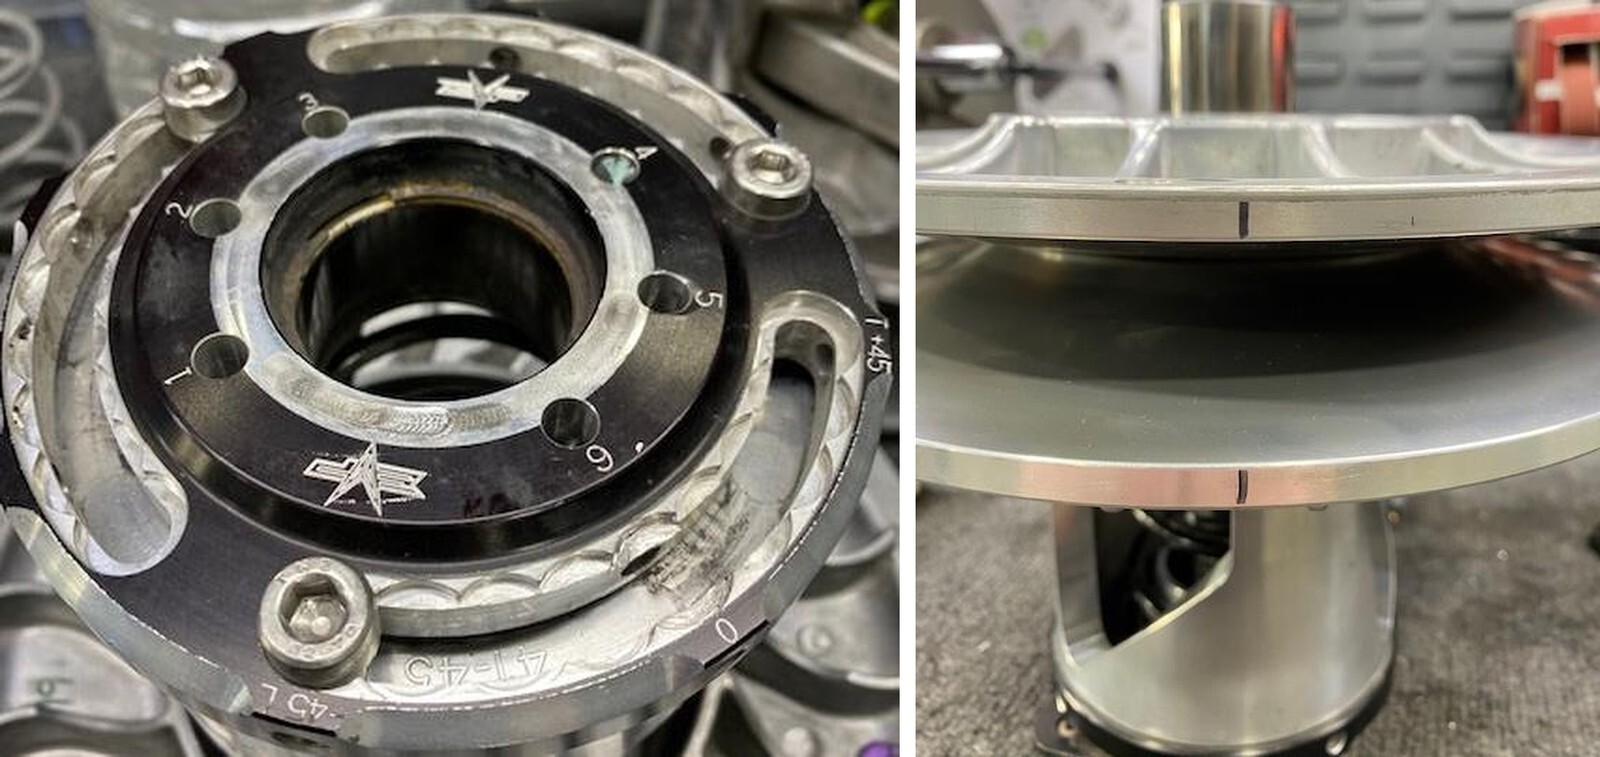
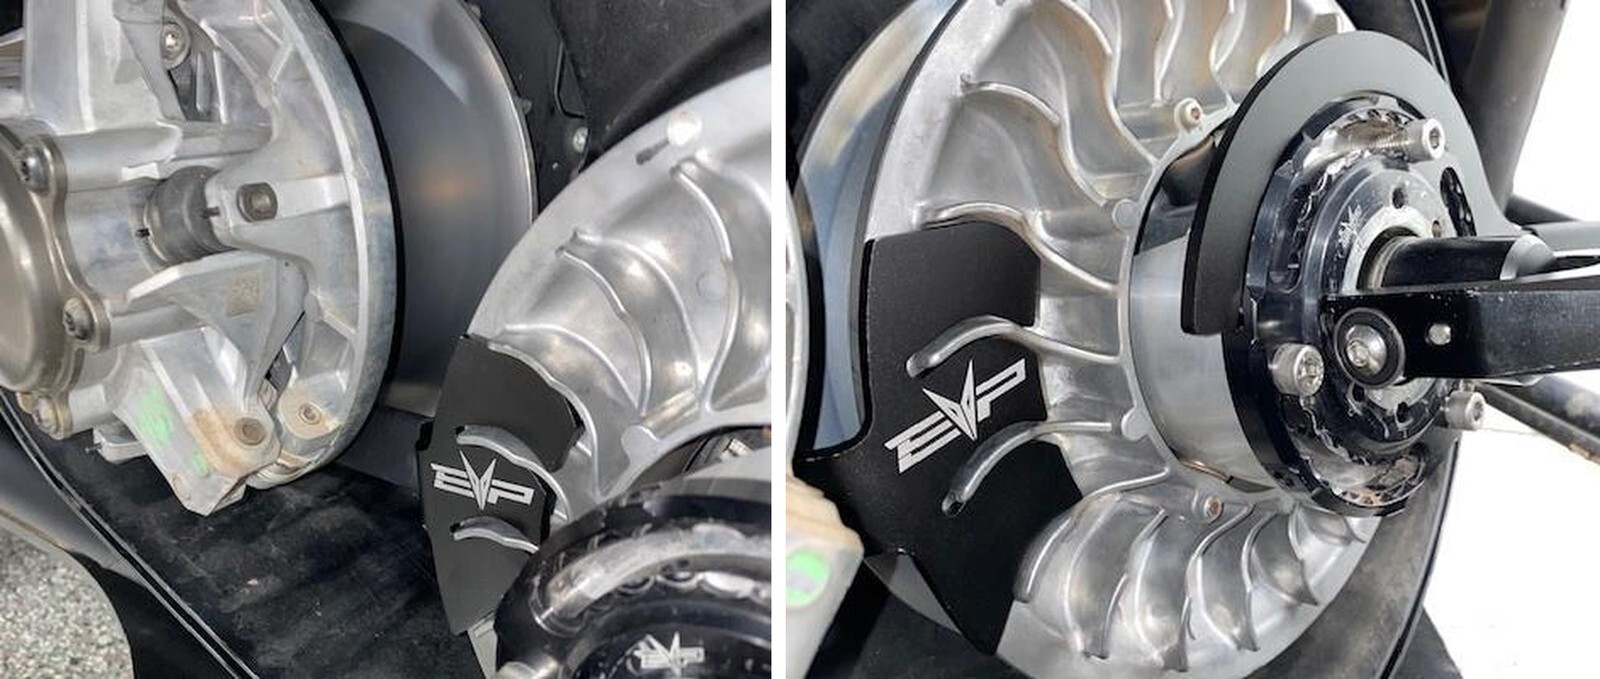
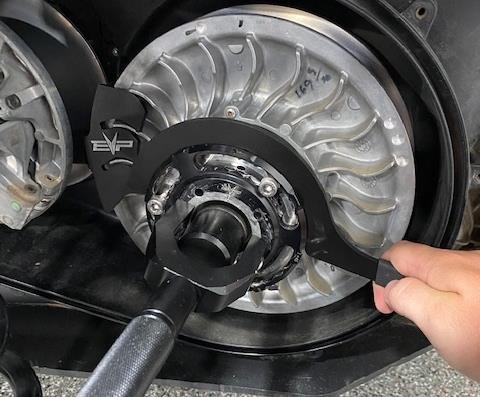
Skip to content
English
  • There are no suggestions because the search field is empty.

Can-Am 2022 X3 Turbo RR Ultimate Shift-Tek-P Clutch Kits — Install Guide

Can-Am · 2022 Maverick X3 · SKU 402FC0060


Installation

2
Set up all (3) weights to the corresponding tune you are running. Graph is located above this page. All (3) weights must be set up identical. Use Medium thread locker on all set screws.
3
Once the primary clutch is removed and placed on a clean workplace draw a straight line between the spider, moveable, and stationary sheave (if disassembling the clutch). The pDrive clutch does come with alignment numbers if you chose not to draw alignment lines. compress the clutch approximately an inch.
Can-Am Maverick X3 installation
4
Remove the weight axle screw using a T-25 Torx socket.
5
Once the weight axle screw is removed, thread in the axle removal tool into the same hole. Once threaded all the way in, tap the axle removal tool with a hammer. The axle is only tapered on the left side of the sheave casting. Pull the pin the rest of the way out.
Can-Am Maverick X3 installation
6
Laying on the work bench should be: OEM weight, axle, and axle screw. Continue doing steps 4-5 to the other weights.
7
Install the new weight into the clutch. Slide the axle in from the right side pushing towards the left weight tower. Install the Torx screw on the left side, tighten the Torx screw down to 4 ft/lbs. Once complete make sure the weight can freely rotate up and down. Continue this for the remaining weights.
Can-Am Maverick X3 installation
8
Since you are this far along, take the rollers out and inspect them, along with the spacers and pin. Removal of the rollers are the same as the weights. Remove Torx screw, thread in pin removal tool, tap with a hammer. Install the Torx screw to 4 ft/lbs.
9
Once complete, install the primary clutch back onto the vehicle. IF you removed the clutch. Torque the primary bolt to 89 ft-lbs. Install the drive belt. Drive the vehicle at low speeds (20-30mph). Re torque the primary to 89 ft-lbs. If you have the EVP XR Series Primary bolt, torque it to 110 ft/lbs doing the same sequence.
Can-Am Maverick X3 installation
1
Remove the secondary clutch with a 17mm socket and impact, mount it into a clutch compression tool. With a sharpie make alignment marks on both sheaves. (Figure 1).
2
Use 13mm socket to take 3 fasteners out of the helix and carefully loosen the spring compression tool to remove tension. (Figure 2).
Can-Am Maverick X3 installation
3
Pull off both sheaves, remove spring cup and spring from the OEM helix.
4
Grab the new helix, make sure the helix cap is adjusted to -45 degrees, if not loosen (3) Allen screws and clock the helix cap. Tighten the (3) Allen screws back down.
Can-Am Maverick X3 installation
5
Reassemble the secondary clutch on the clutch compression tool in this order: Helix assembly, stock spring in hole 4 (EVP Purple Spring hole 5), spring cap, both sheaves in alignment. When compressing make sure the rollers are in line with the helix ramps. You may need to adjust with your hands while compressing.
6
Apply Red Loctite onto the threads of the (3) 13mm bolts holding the helix to the sheaves.
Can-Am Maverick X3 installation
7
Reinstall the clutch on the vehicle and torque secondary bolt to 52 ft-lbs.
8
Using the Can Am belt changing tool with EVP non-marring tip reinstall belt.
Can-Am Maverick X3 installation
9
Install the secondary holding tool onto the secondary, align the tool in between the fins. Allow the handle to rest against the primary bearing.
10
Install the helix wrench into a slot around the Shift-Tek helix cap.
Can-Am Maverick X3 installation
4
Loosen all (3) M6 Allen head cap screws (do not remove). Apply pressure onto the helix wrench. You can now turn the helix cap to add or subtract torsion pressure on the spring. Once complete tighten the (3) M6 Allen head cap screws.
5
Remove the helix wrench and secondary holder. Install the belt back onto the clutches. Remove the belt changing tool and spin the secondary a total of 5 times.
Can-Am Maverick X3 installation

Note: This product is exempt from the emission standards and related requirements of 40 C.F.R. § 1051 as provided by 40 C.F.R. § 1051.620, and California law [e.g., vehicle code§§ 27156 and 38391]. This product is sold only for use in connection with EPA certified, purpose-built, nonroad vehicles used solely for closed course, nonroad competition/racing and not used for any recreational purpose or on public highways or right of ways maintained by and open to the public. This product is sold only in connection with machines that do not fall under state and/or federal noise or emission standards/regulations. Purchasers who/that purchase this product represent and warrant that the product is purchased only in connection with EPA -certified, emission-regulations-exempt and noise- regulations-exempt competition/racing vehicles as interpreted under applicable state and/or federal law. Questions: Call Evolution Powersports at (715) 247-3862.