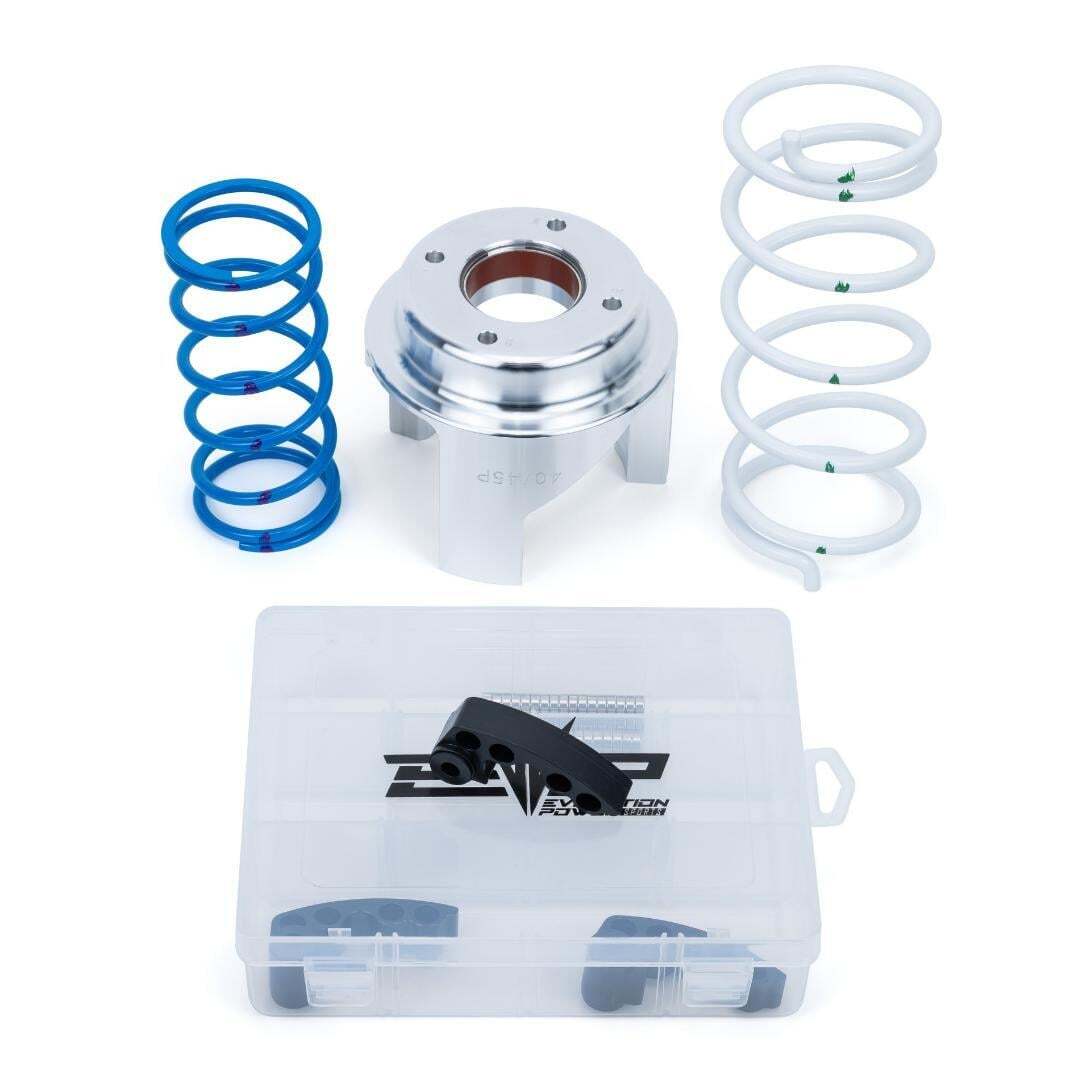
What's in the Box
Installation
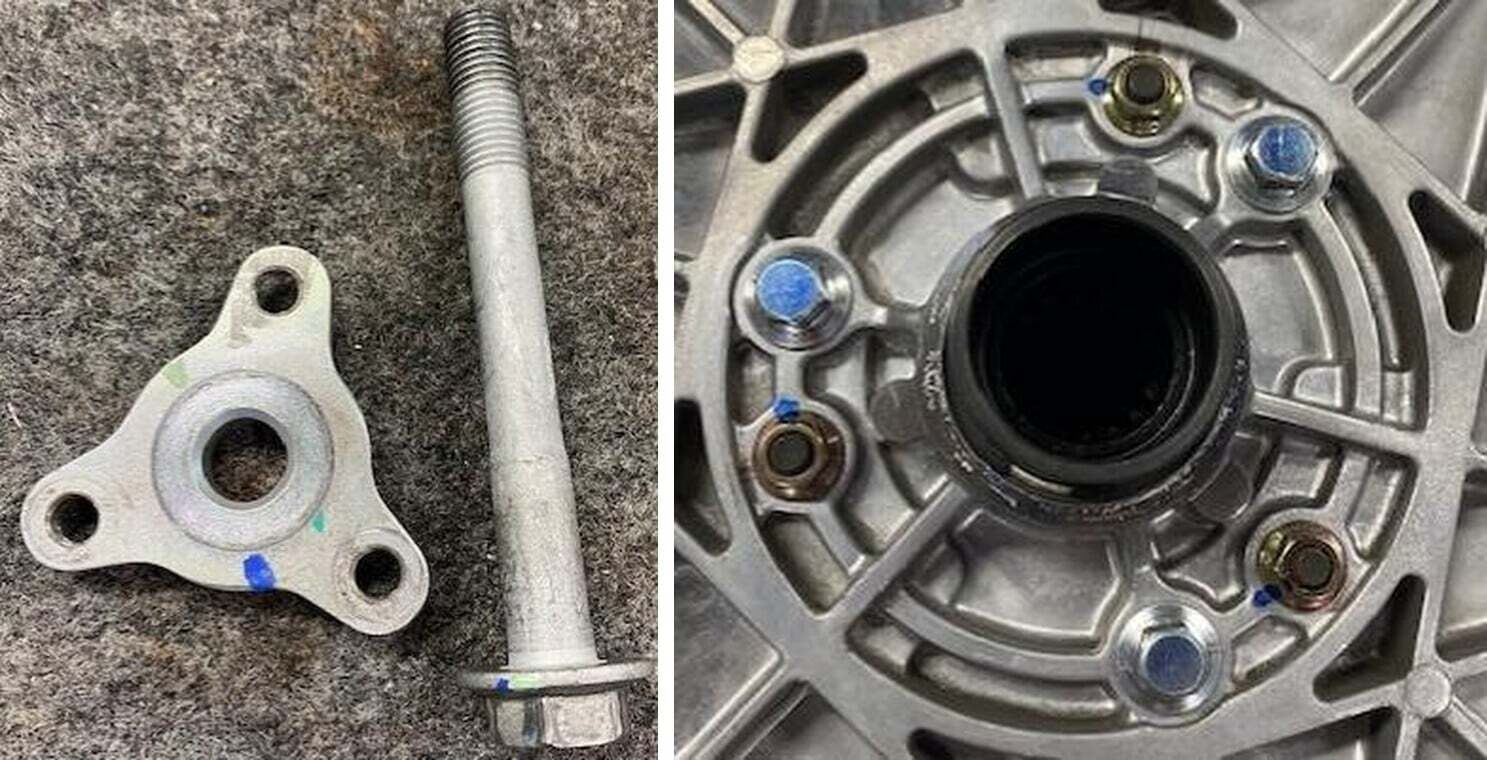
1
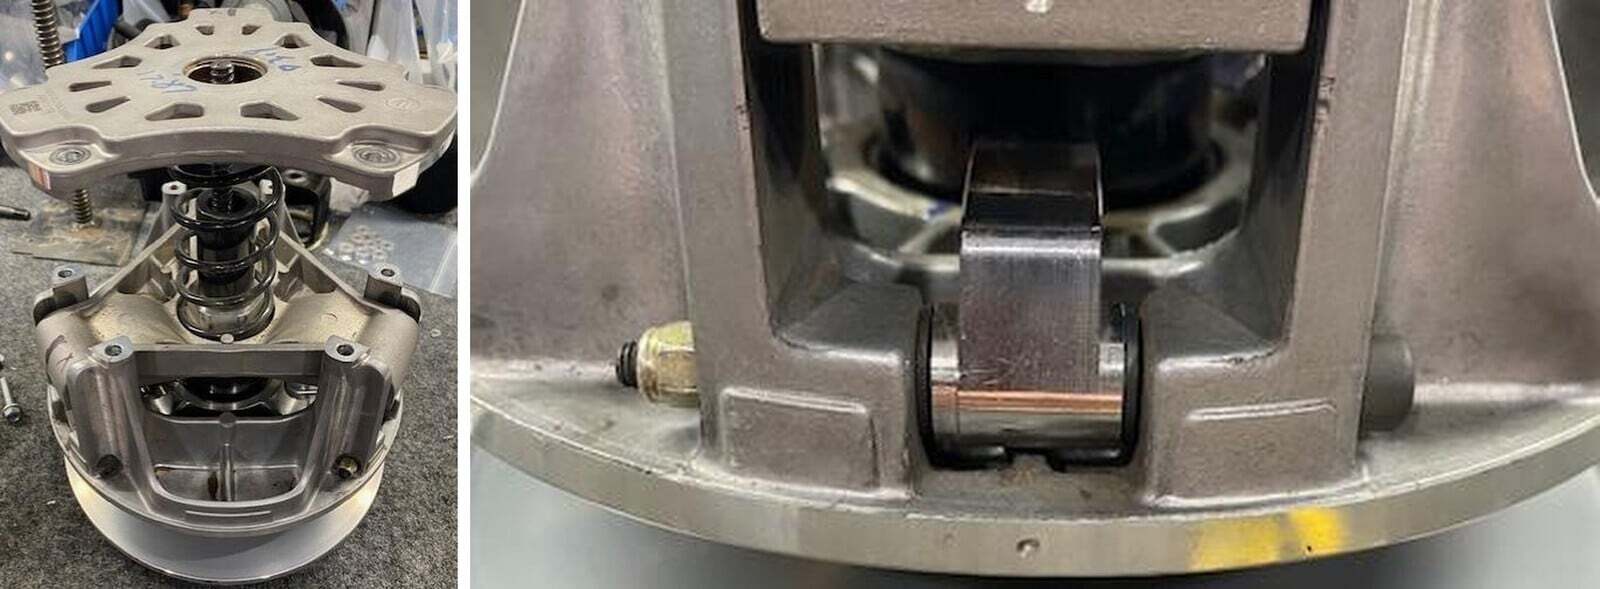
Remove the outer clutch cover, (13) 10mm screws with washers. Remove the primary clutch bolt (22mm) and sleeved washer.
2
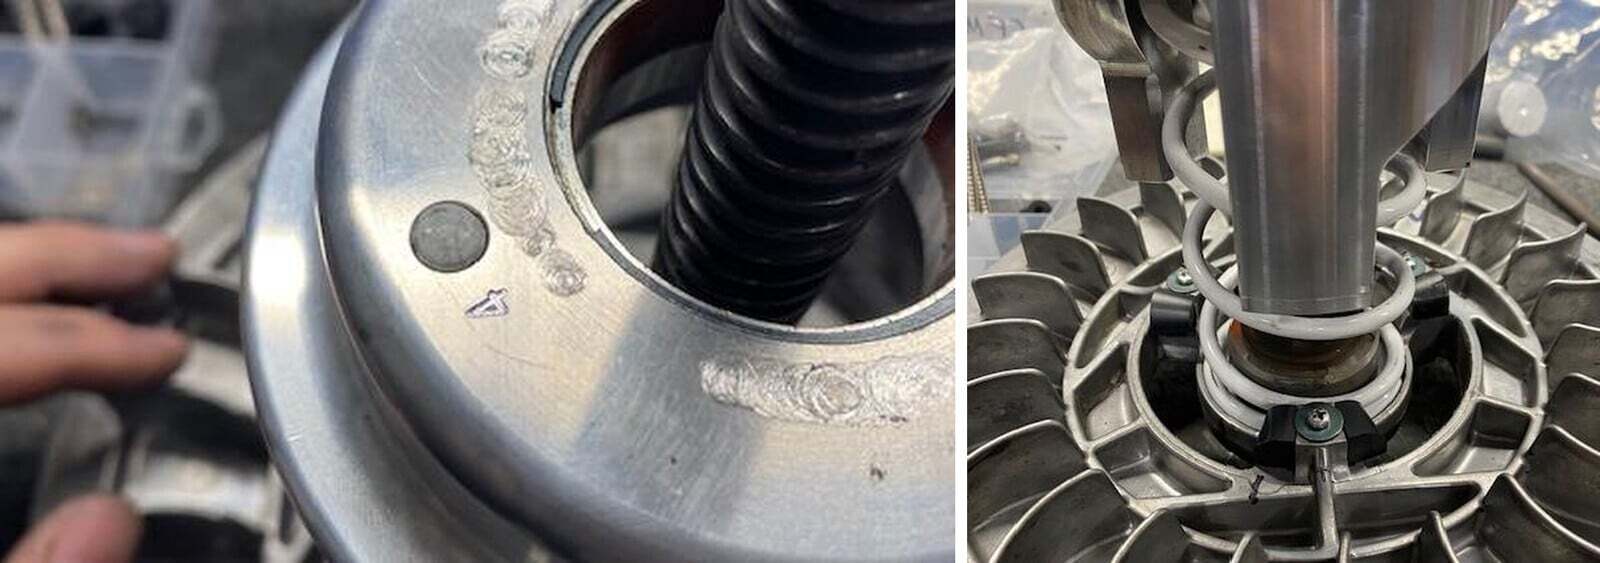
Install the primary clutch puller, thread in by hand until it bottoms out. Use a impact and a 19mm socket.

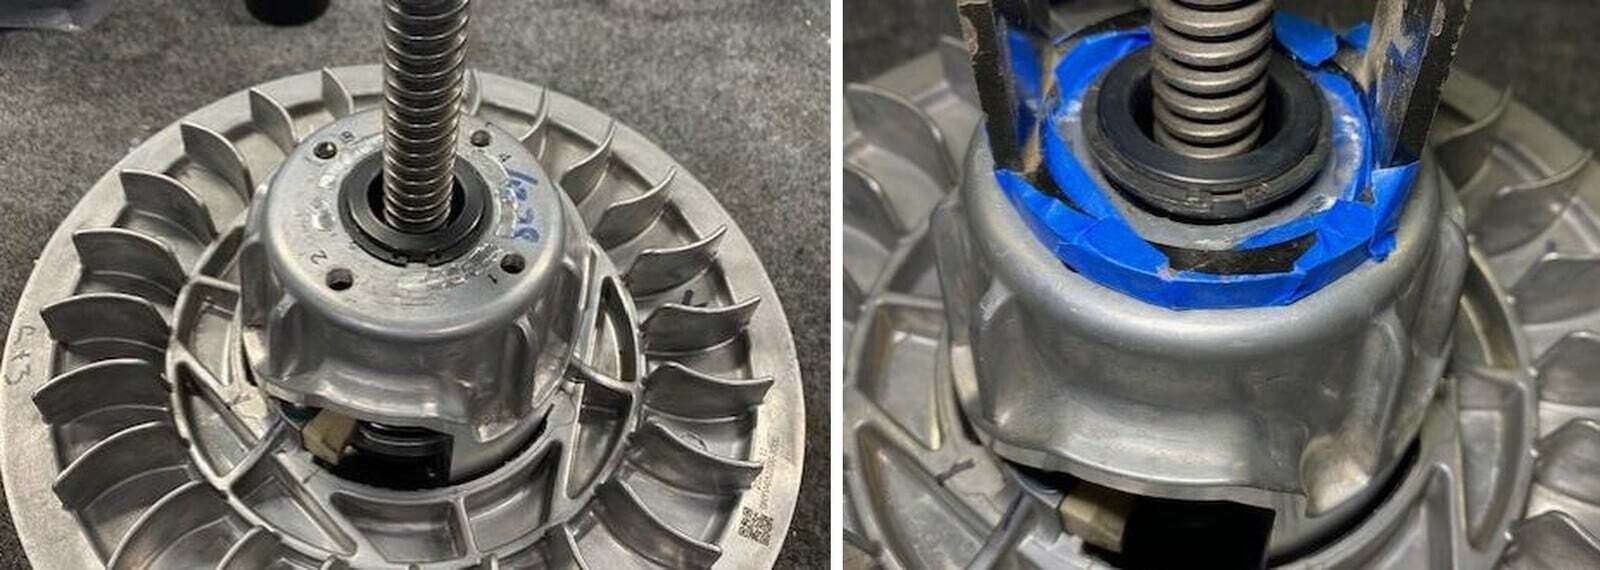
3
Install the primary clutch into a clutch compressor tool. With a sharpie mark a line from the cover to the spider. No need to compress the clutch at this time, just hold the cover and primary spring in place. Remove the (6) 10mm screws holding the clutch cover on.
4
Slowly release the spring tension. Remove clutch cover and spring from the clutch.

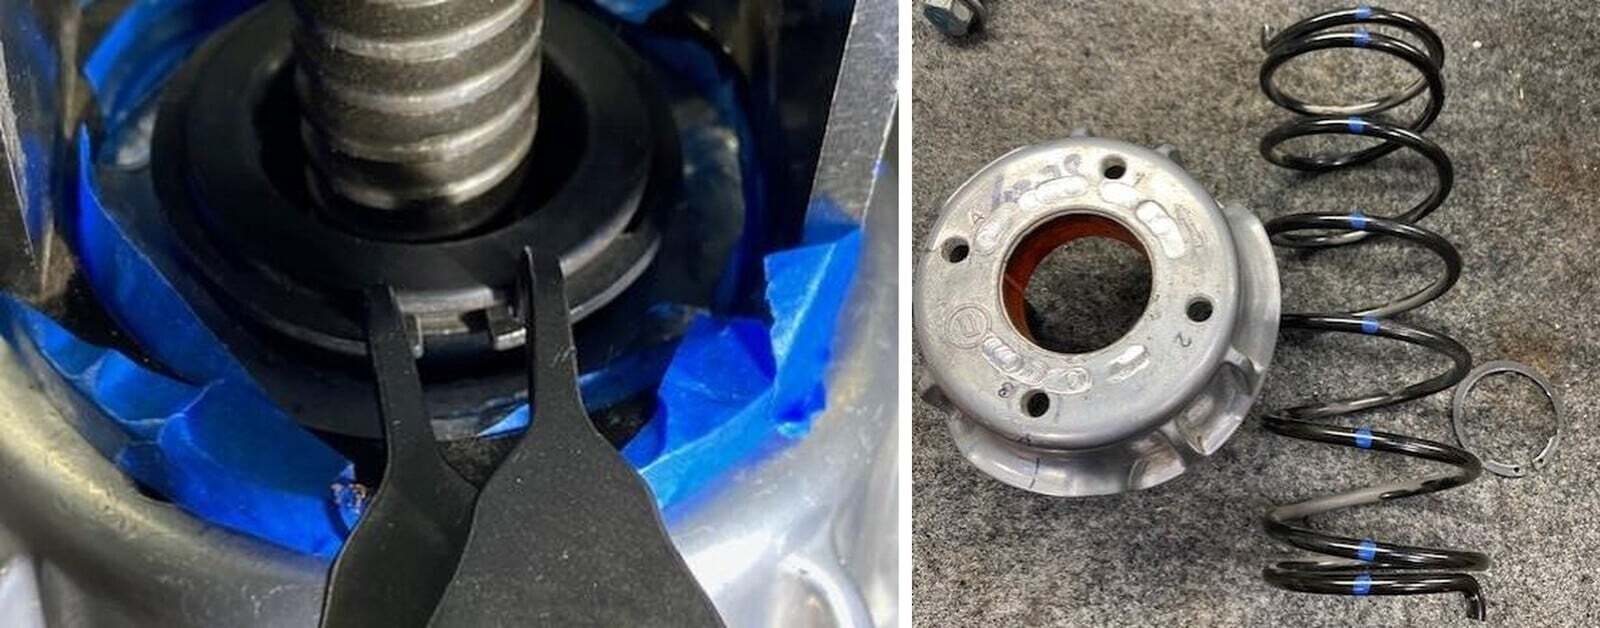
5
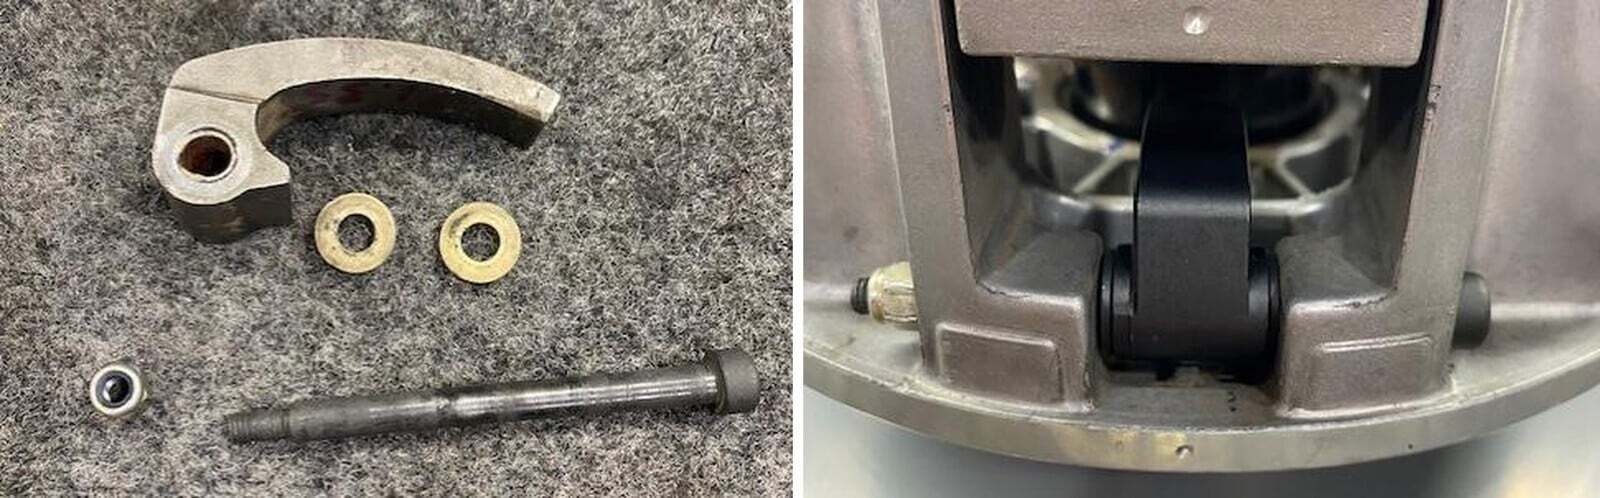
Slide the moveable sheave down to access more room for removing the weight. With a 8mm socket and M5 Allen socket, remove the pin. Once the pin is removed, slide the weight and 2 washers out.
6
Check the setup sheet above. Set your weights up accordingly. EVP weights have built in bushings, you no longer need to install the OEM tan ones.
7
Install the weight into the clutch, reinstall the pin and locknut.
8
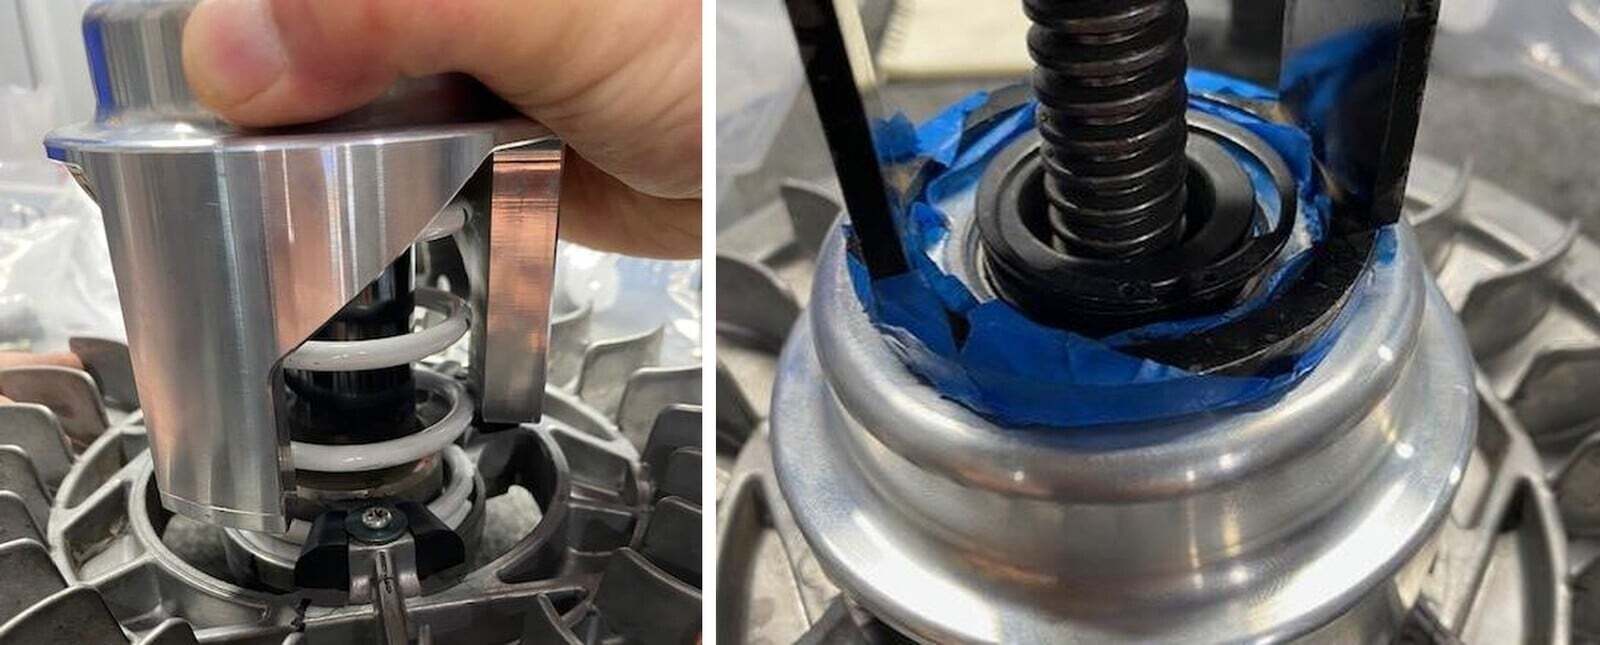
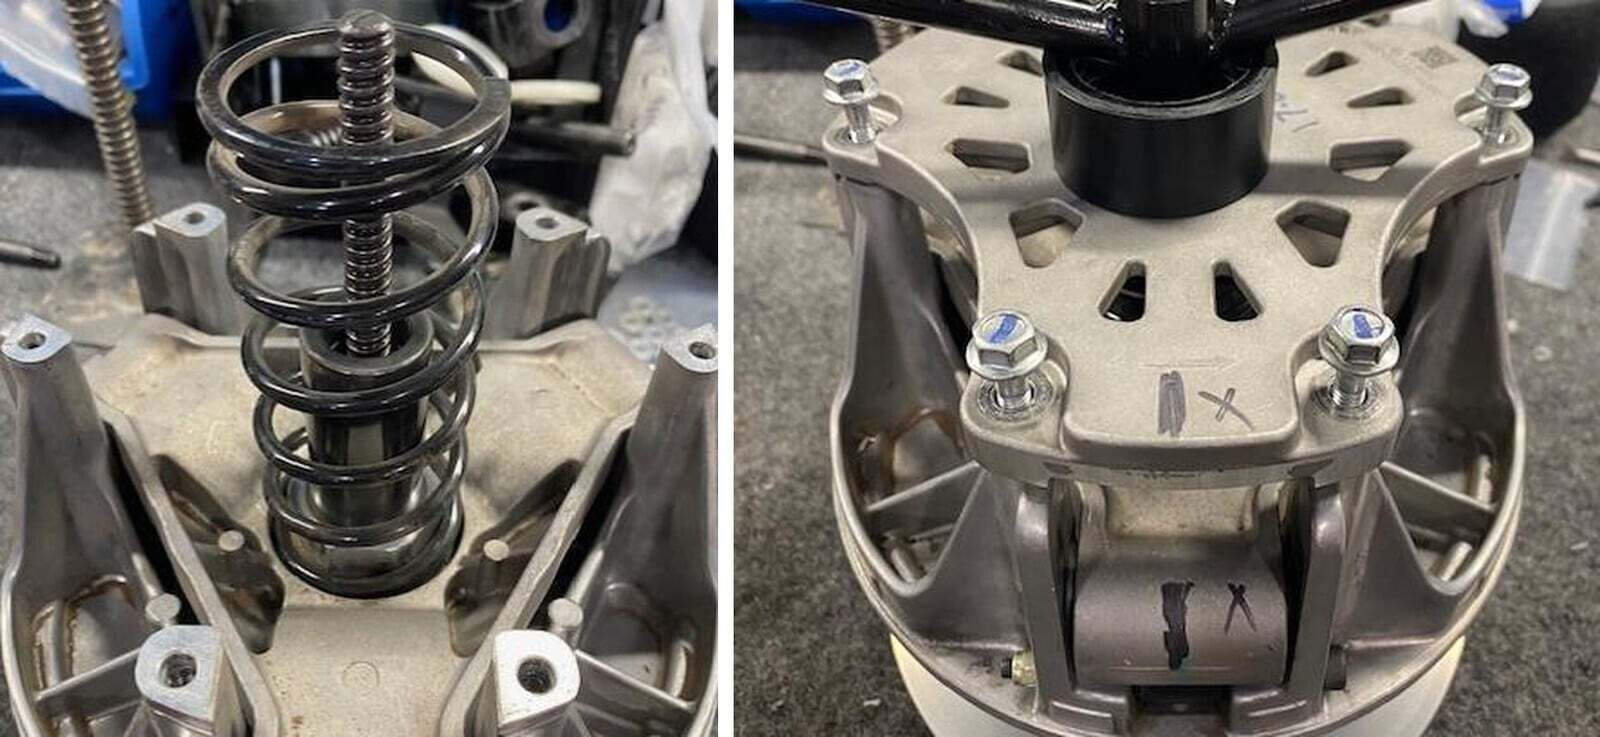
Install the new primary spring (blue with purple stripe) into the spring cup.
9
Line up the sharpie marks from the cover and spider. Compress the spring and cover down to the clutch towers. Reinstall the clutch cover 10mm screws with blue Loctite. Torque to 12 ft-lb.
10
Before installing the primary clutch onto the crankshaft, it is best to clean the post and crankshaft with brake cleaner and a rag. Install the primary clutch with washer and bolt. OEM torque to 52 ft-lb. EVP bolt torque to 80 ft-lb.
11
Remove the secondary clutch bolt with belt changing washer. Use a 18mm socket.
12
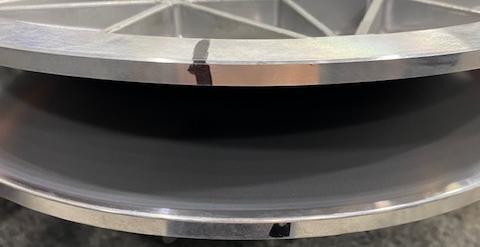
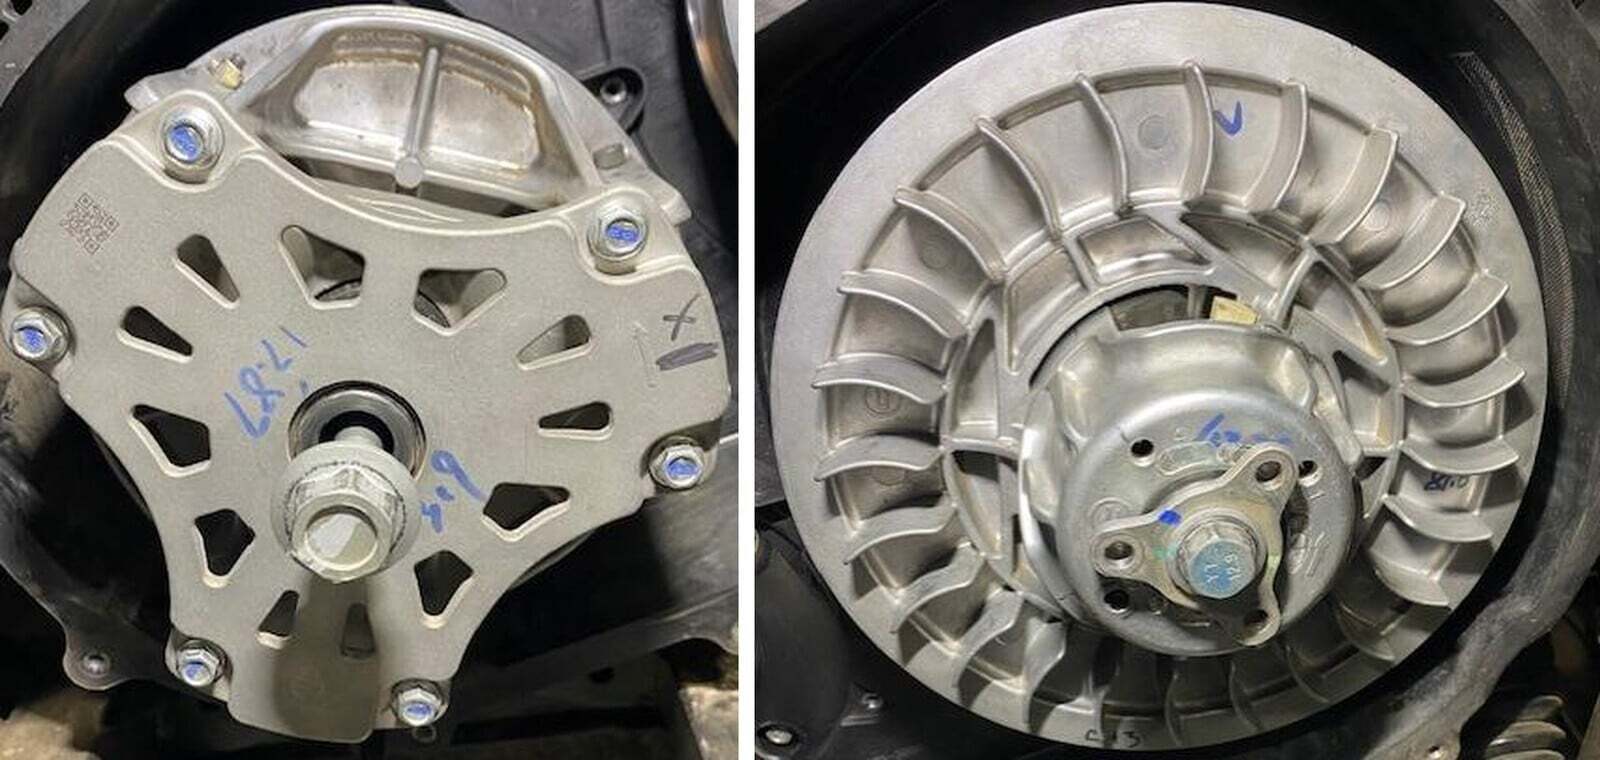
With the secondary clutch on the bench. Mark both sheaves with a sharpie. Flip the clutch over, remove the (3) 10mm screws holding the sheaves together.
13
You can split the sheaves now.
14
Install the stationary sheave in a clutch compression tool, with the helix facing upward.
15
Compress the spring and helix down just enough to remove tension off of the snap ring.
16
With a snap ring tool, expand the ring and place it on top of the shaft. You can now decompress the secondary spring.

17
Inspect your sliders, if worn now is a good time to replace. Located inside the spring cup are (3) different pockets A, B, C. We will be installing the EVP spring into B.
18
Install the other spring tang into hole 4 on the EVP helix.
19
The helix should be sitting halfway over the slider as shown below.
20
When you start compressing the spring and helix down, turn the helix clockwise to pass the sliders. This will apply torsion to the spring.
21
Compress the spring and helix down until the helix passes the snap ring groove. Reinstall the snap ring, making sure all sides are in. You can release the pressure from the tool.
22
Reinstall the sheaves together. Make sure the sharpie lines are close to lining up. The new helix is slightly different so the moveable sheave will turn slightly more.

23
Reinstall the secondary clutch onto the vehicle. Torque the bolt to 52 ft-lb. Reinstall the drive belt. Spin the secondary 5 revolutions to properly seat the drive belt.