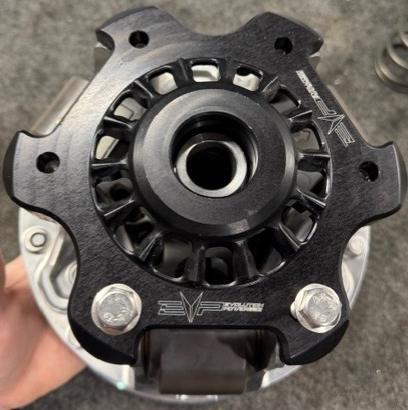
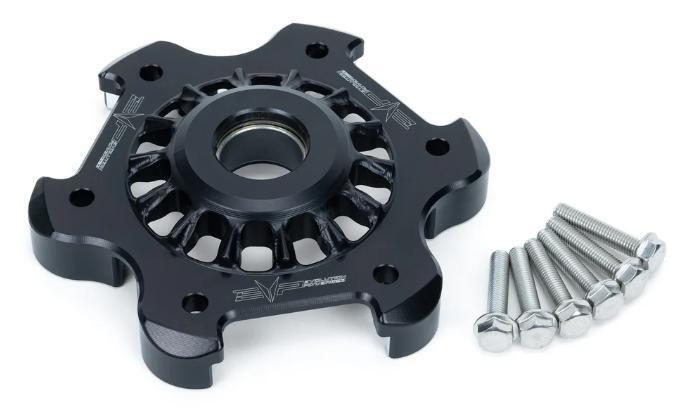
What's in the Box
Installation
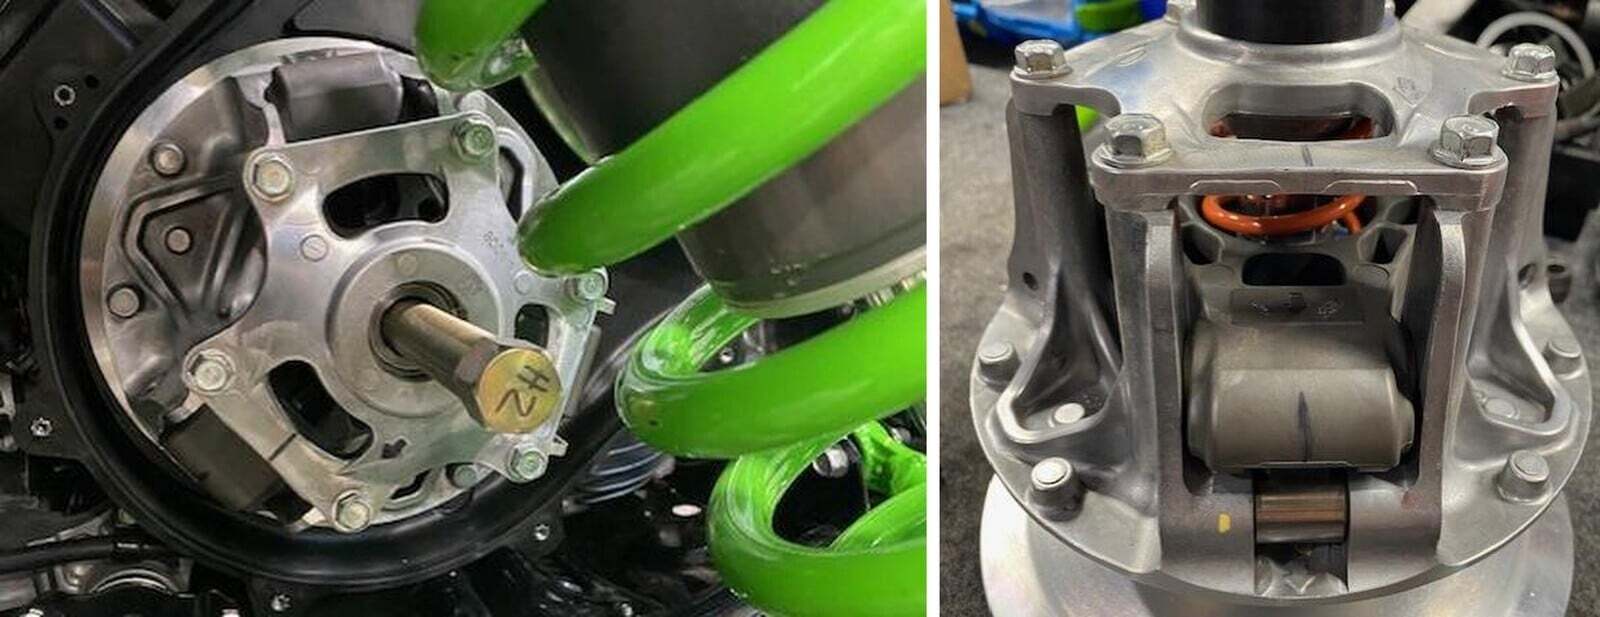
1
This process can be done on the vehicle. Remove the outer clutch cover. Remove the drive belt. Use a 23mm socket to remove the OEM clutch bolt. Install the primary clutch puller. You will want a impact to remove this clutch.
2
With the clutch removed, install the clutch into a compression tool. Mark the cover, spider, and sheaves with a sharpie.
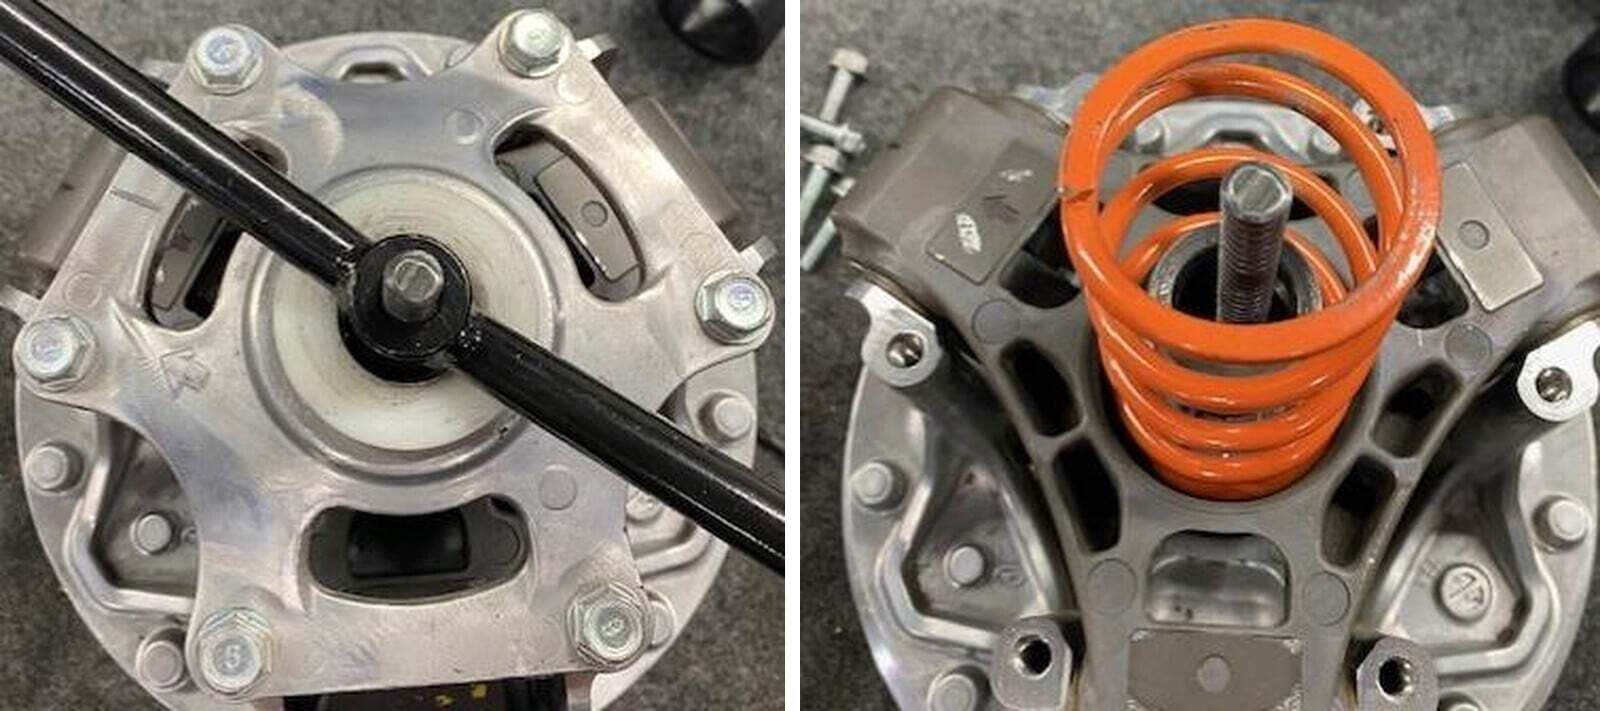
3
Remove the (6) 12mm screws holding the primary cover down. Release the spring tension.
4
Remove the primary spring.
5
Install the new cover without a spring, this will make sure the cover fits properly and your clutch is not out of spec. If the cover doesn’t fit, the towers have warped.
6
Remove the cover after test fitment. Install the spring into the spring cup, compress the cover down and install supplied hardware. Torque to 17 ft-lbs.
7
IF YOU REMOVED THE CLUTCH, clean the primary post and crankshaft stub with brake cleaner before reinstalling. Torque to 174 ft-lbs.