What's in the Box
Installation
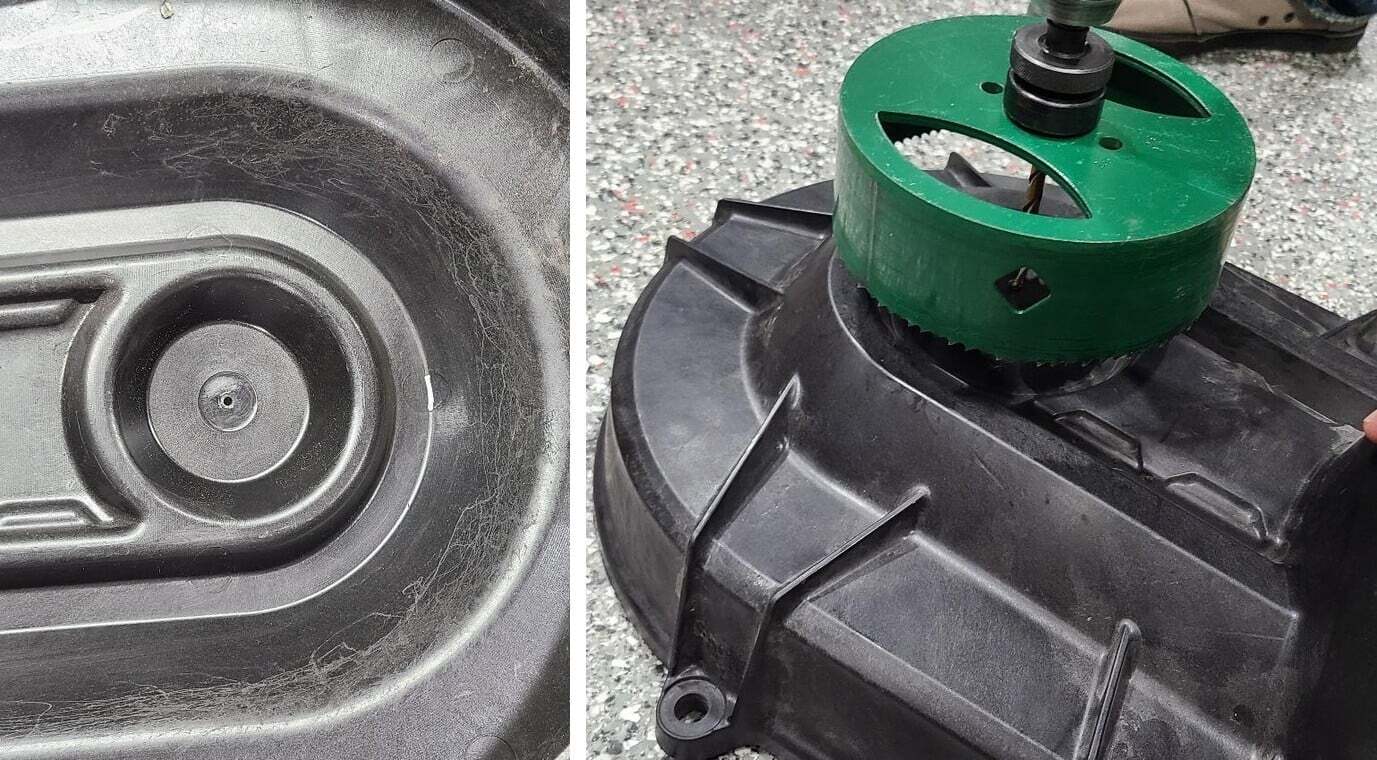
1
Remove the driver side rear shock from the trailing arm. Remove the (10) 10mm screws holding the clutch cover on. With the clutch cover off, drill a pilot hole right in the middle of the secondary cut out on the inside of the cover.
2
With a 6.0” hole saw, flip the cover over and drill from the outside inward. Align the hole saw with the piolet hole, making sure the 6.0” hole is aligned correctly.
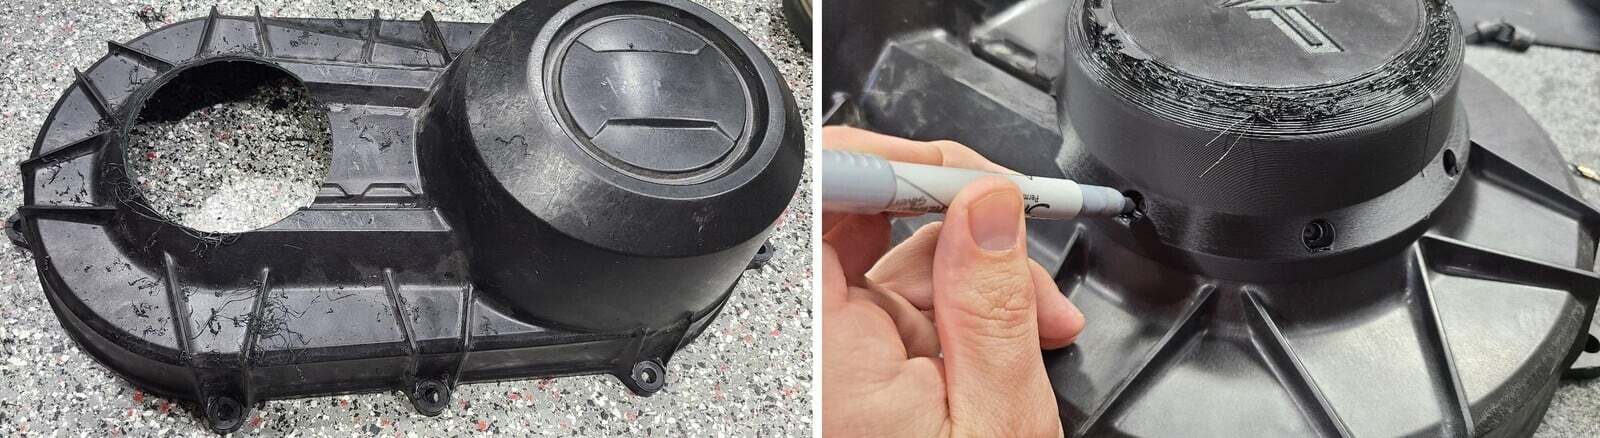
3
Clean up the area, you can file and sand the cutting edge.
4
Install the adaptor onto the clutch cover. It can only fit in one direction. Mark the holes with a sharpie and drill with a 1/4" drill bit.
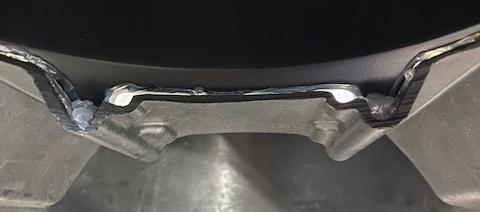
5
Flip the adaptor over, lay a generous bead silicone around the adaptor.
6
Install a generous bead of silicone on the clutch cover. Around the mounting holes and the two low valleys.
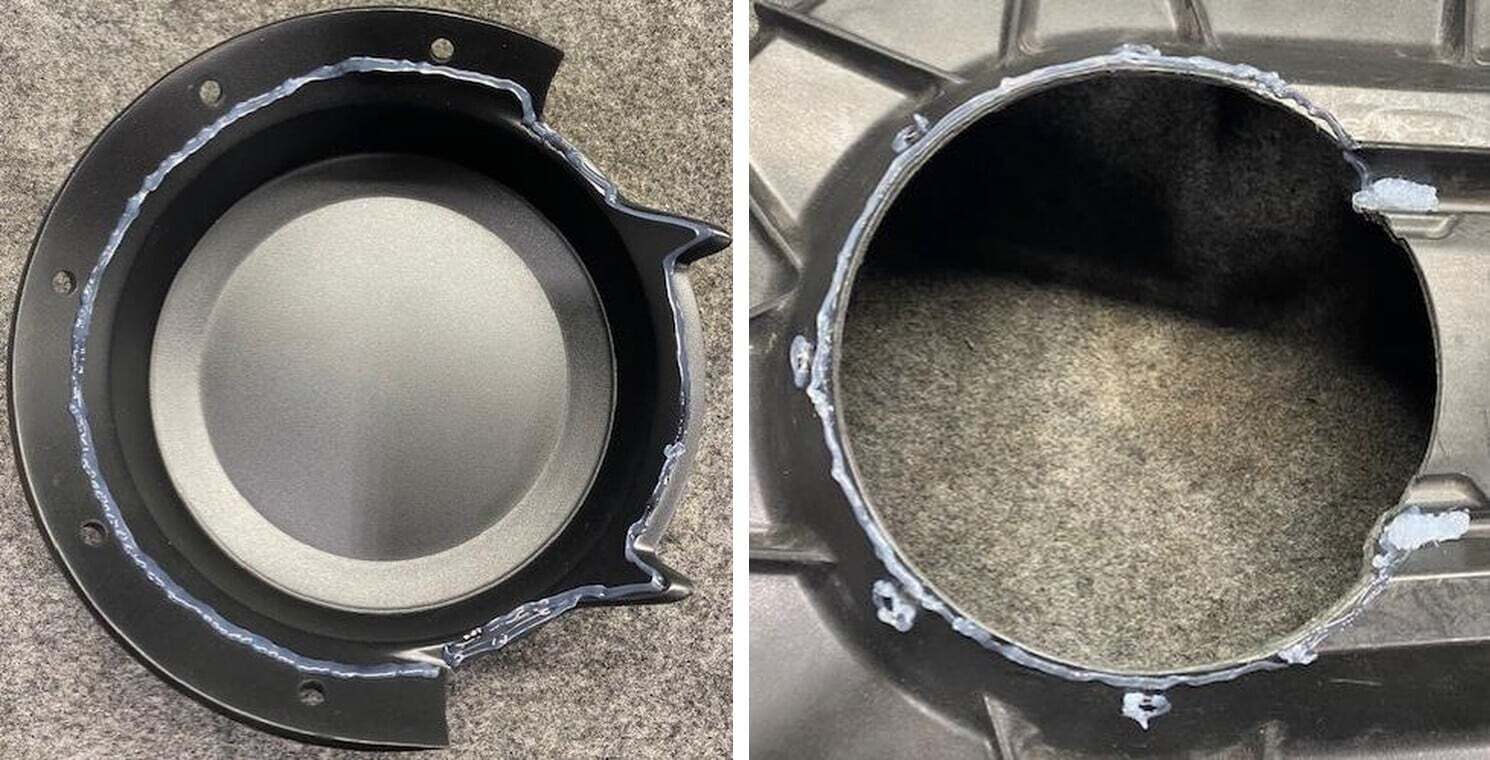
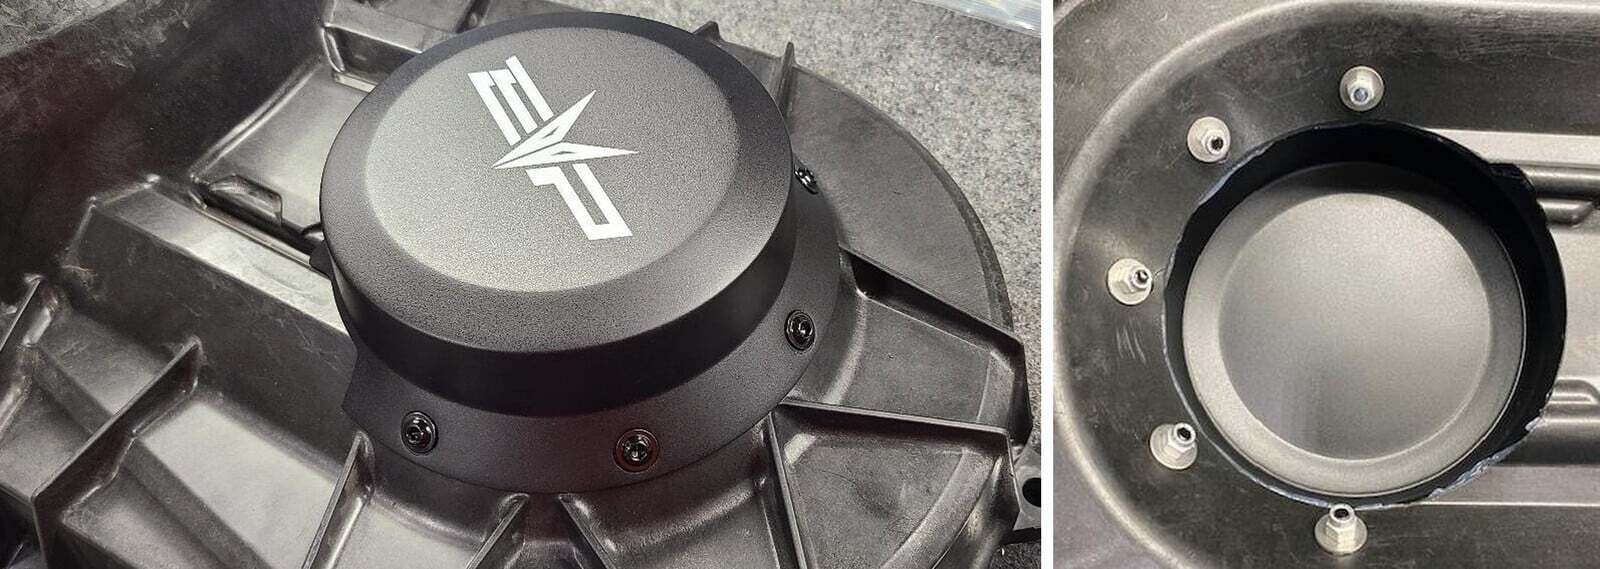
7
Install the adaptor to the clutch cover. Install the (5) flanged screws through the cover. Apply more silicone to these screws if desired.
8
Flip the cover over and install washers and lock nuts. Fasten the hardware together.
9
Hold a flashlight around the adaptor and fill in any holes with silicone. Pay attention to the lower valleys. Wipe excess silicone away with a rag.
10
You can install the clutch cover and use it. It won’t be waterproof until the silicone is fully hardened.