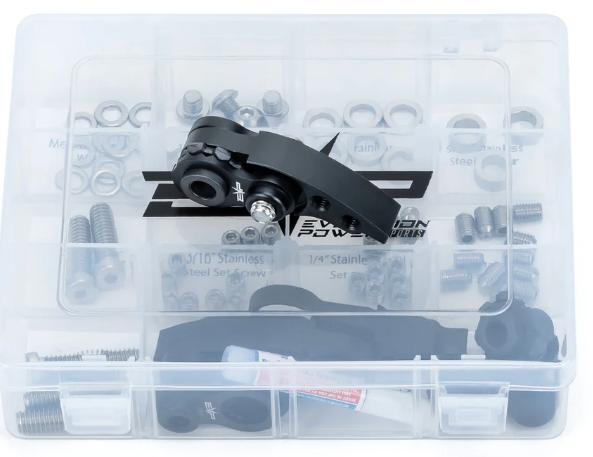
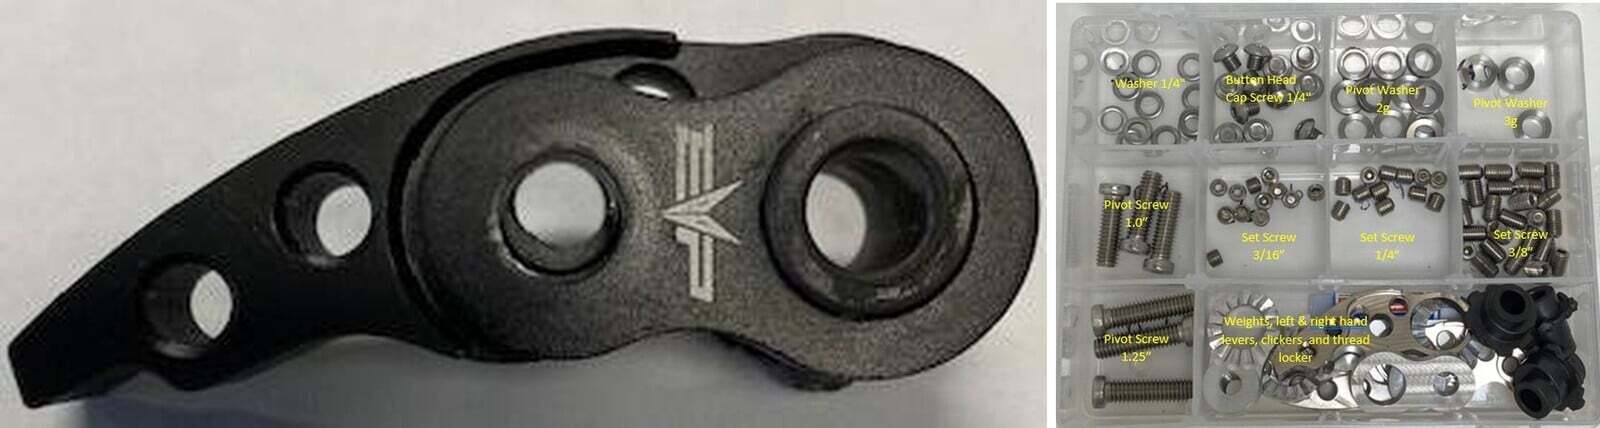
What's in the Box
Installation
1
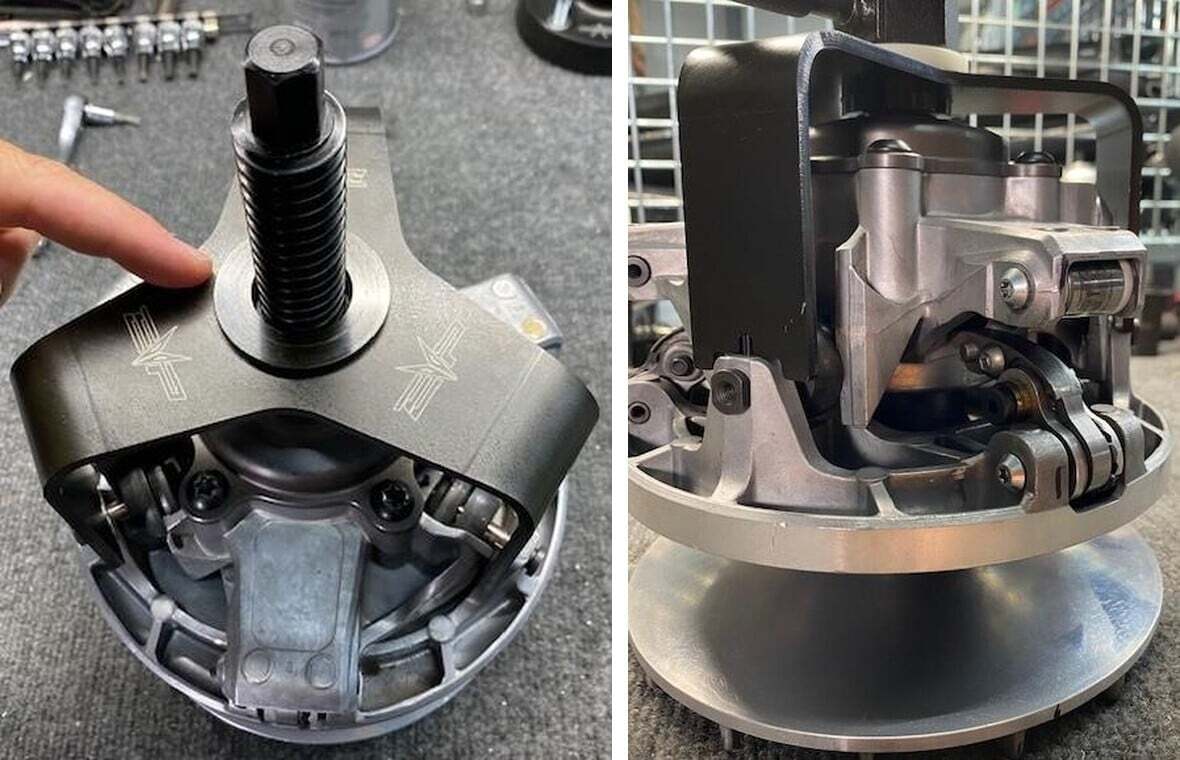
Remove the primary clutch from the crankshaft. Remove the airbox and clutch cover. Remove the primary clutch bolt using a 22mm socket. Install the Can-Am clutch puller (875FC0001) using an impact and 19mm socket. You will hear it “POP” off the crank.
2
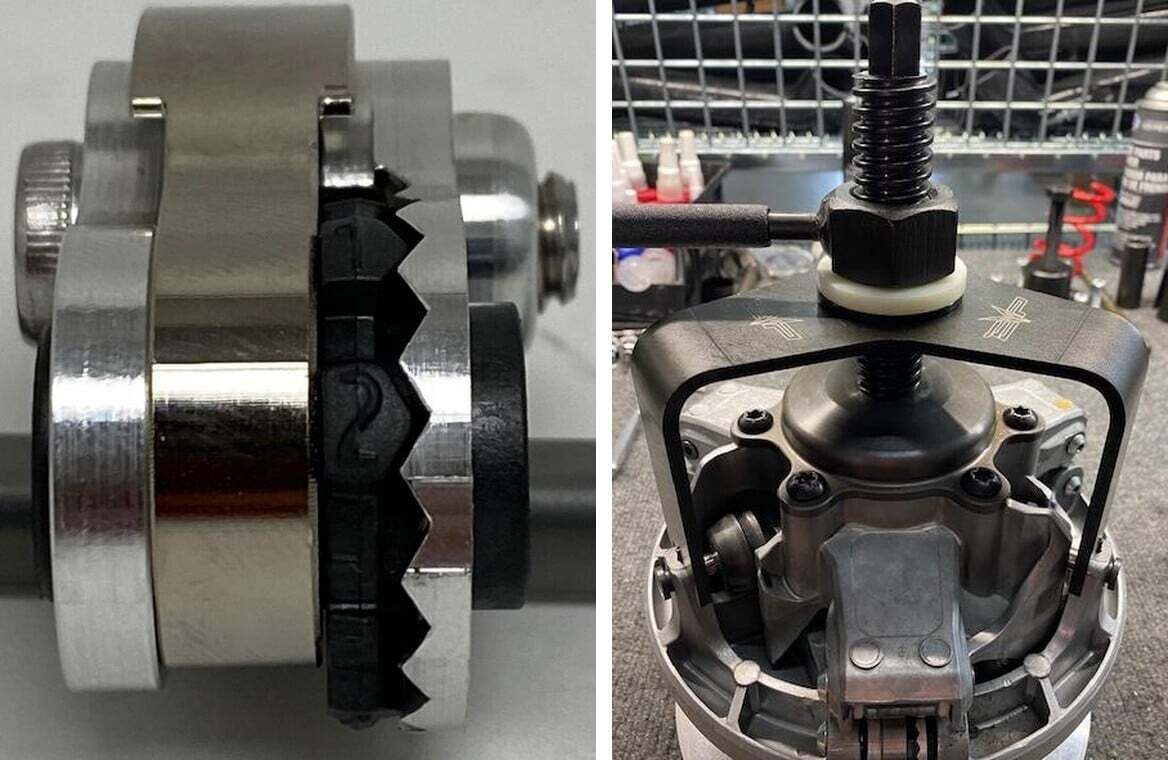
Apply some grease to the threads on tools Can Am Primary Clutch Threaded Rod & Handle for Threaded Rod. Thread tool Can Am Primary Clutch Threaded Rod into the clutch until it bottoms out on the governor cup. Install the 3 Arm Primary Compressor Tool onto the towers of the moveable sheave. Install the Center Tool Bushing and 1/4" Nylon Bushing into the 3-Arm Primary Compressor Tool. Compress it with the Handle for Threaded Rod.
3
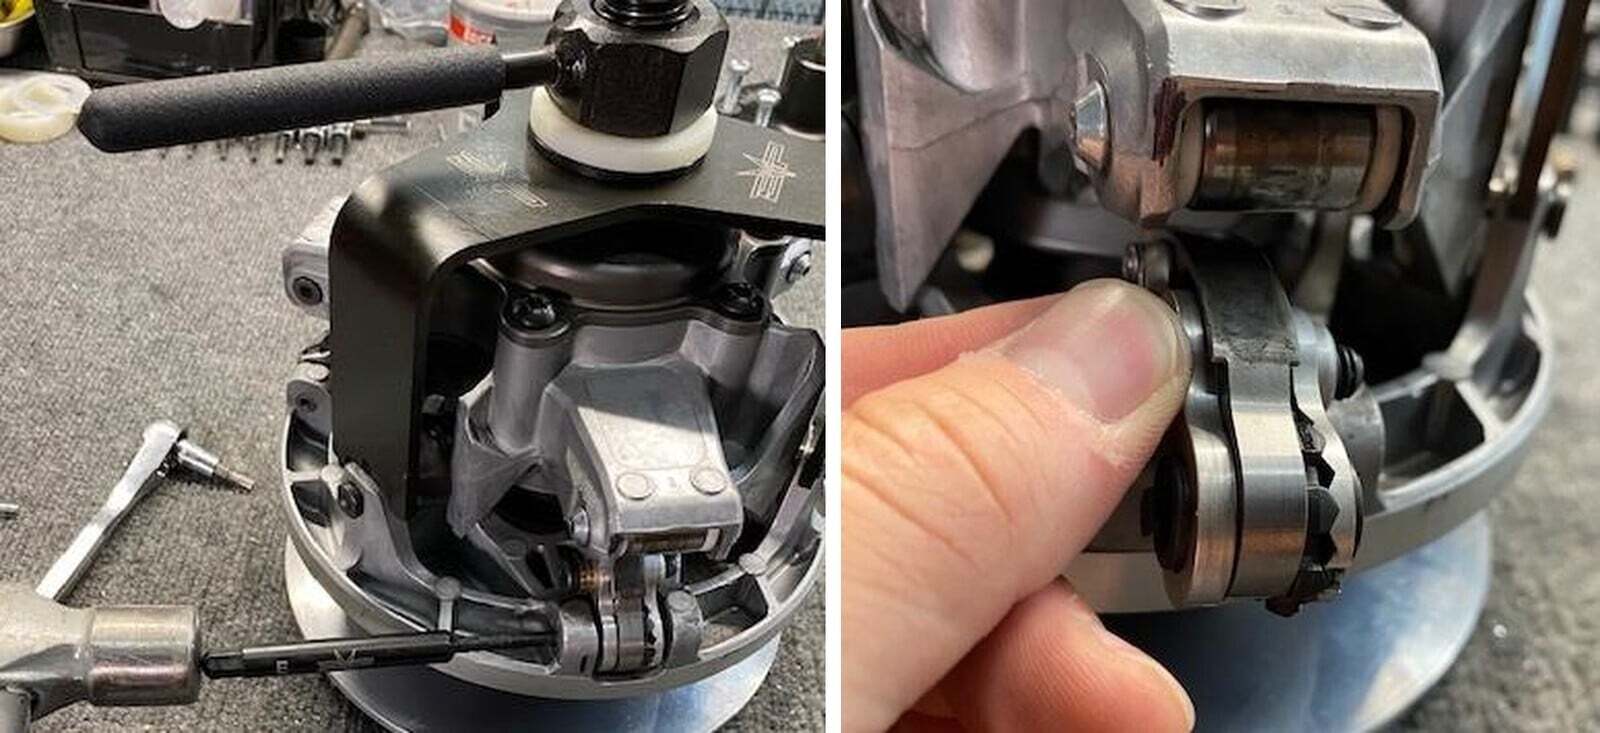
With a T25 socket remove the screws highlighted in the red box. Roller being on top, weight being on the bottom.
4
Once the screw is removed, thread in Axle Removal Tool from the left side-in. The left side castings are tapered where the axle seats. Hit the Axle Removal Tool with a hammer. Once the axle is past the taper, it will freely pull out. Remove the weight and roller once axle is removed (See figure 4-5).
5
Installation will be in reverse order. Slide the axles in from the right side to left. Install the T25 screws and torque to 4 ft-lbs. When tightening the T25 screw, it will pull the axle into the taper. Use a medium thread locker on the T25 screws. Once complete, loosen the handle on the threaded rod and remove all tools from the clutch.