What's in the Box
Installation
1
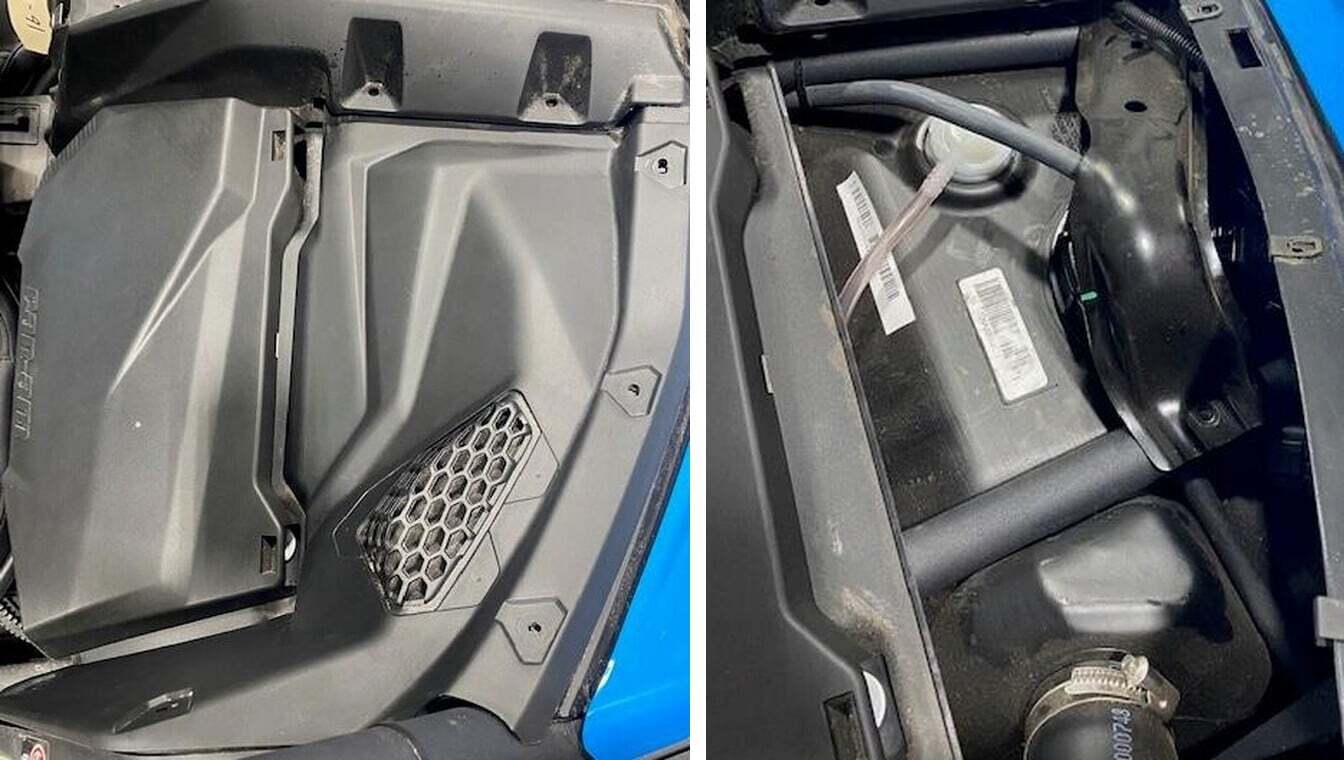
Remove the upper dash on the passenger side. There will be (2) push darts and (5) T- 30 screws.
2
Remove the fuel pump bracket, remove (2) screws using a 10mm socket.
3
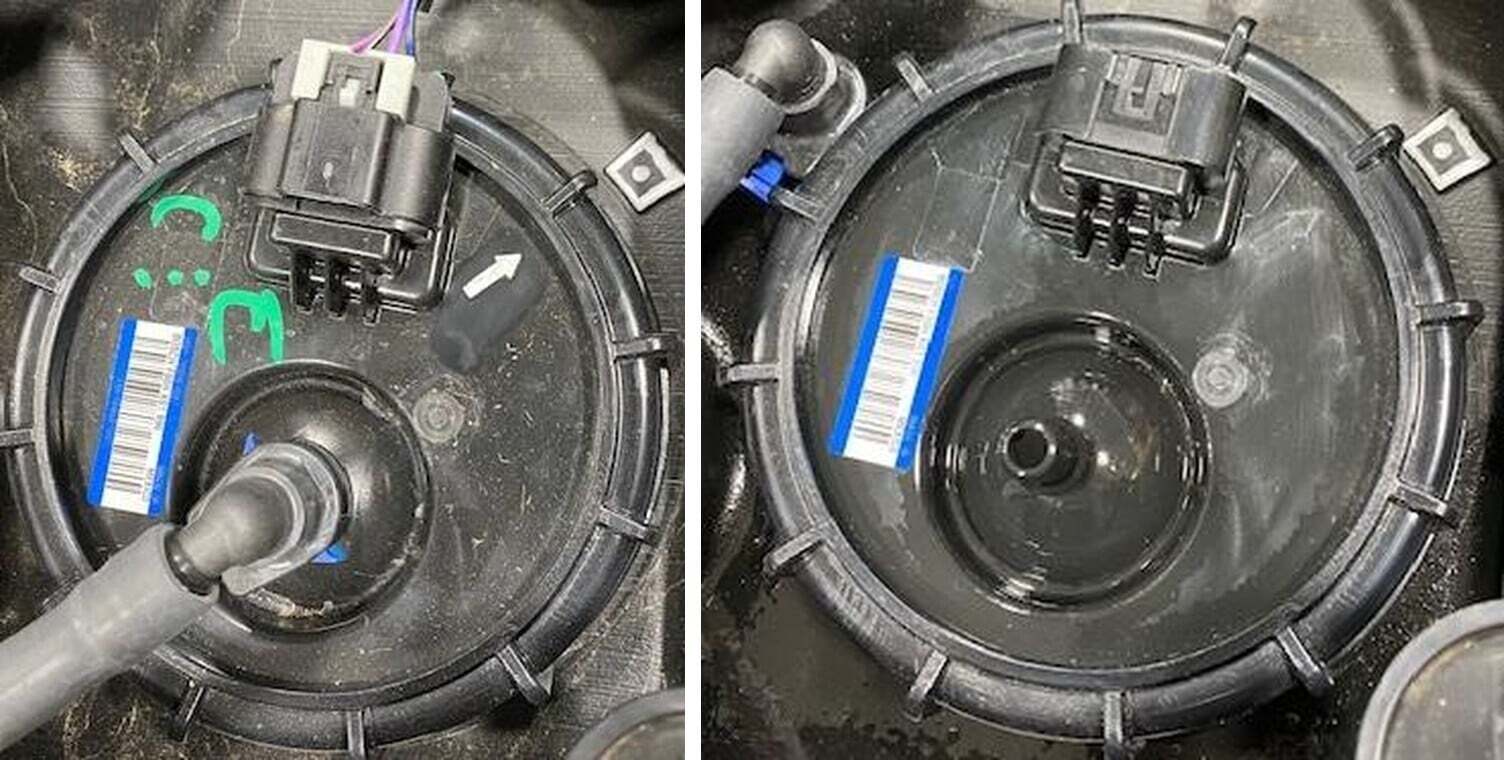
Take note where the arrow on the fuel pump hat is in relation to the fuel tank. Remove the silver safety clip on the electrical connector, then remove plug. Remove the blue safety clip on the fuel connector, press the black quick connect and remove the fuel hose.
4
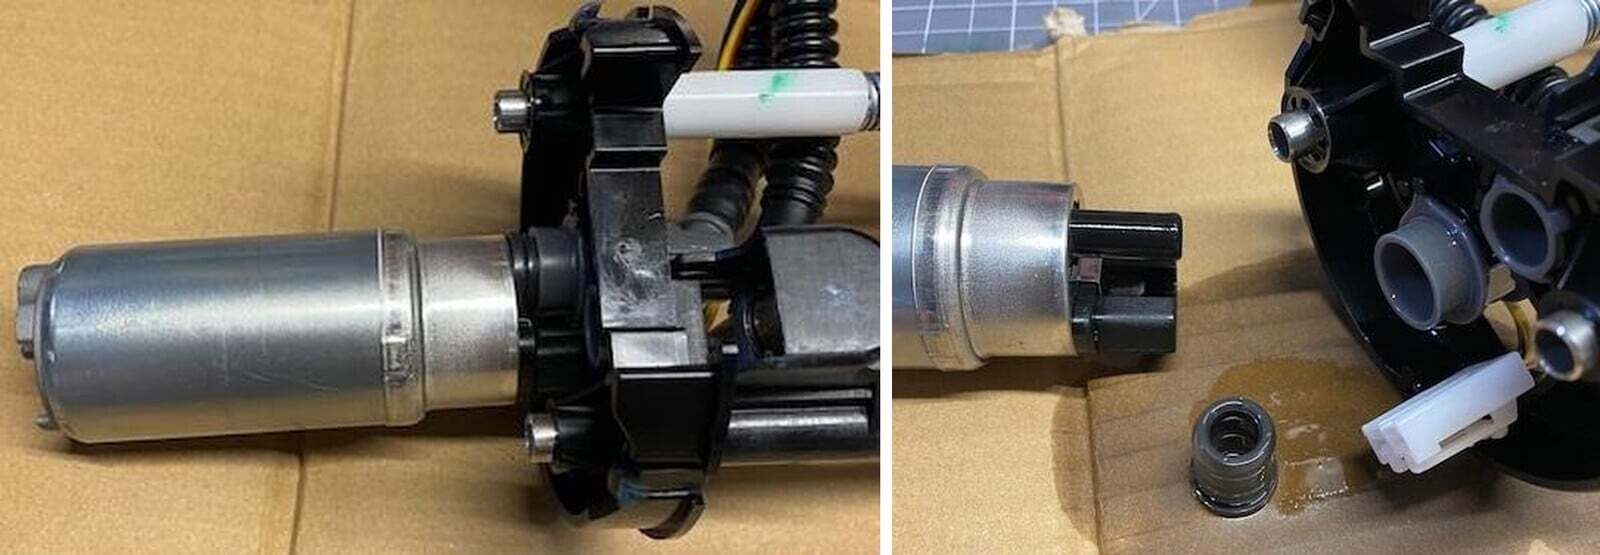
Remove the fuel pump nut, be careful not to damage it. The fuel pump assembly has springs so the hat might spring up about one inch.
5
Once the fuel pump assembly is removed, drain the surge tank. Bring the fuel pump assembly to a clean workspace. Unplug the fuel pump electrical connector.
6
Carefully push down 1 tab at a time on the surge tank, work your way around the top of the surge tank hat. Total of (3) tabs. DO NOT BREAK THE TABS!. Once complete you can slowly pull the top surge tank away from the lower half. BE CAREFUL!
7
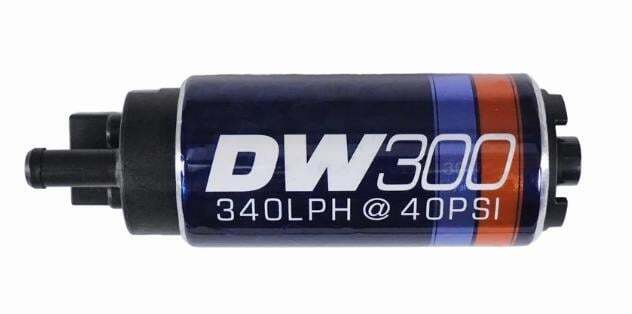
Slide the top hat away from the surge tank. The fuel pump may come with the hat or stay in the surge tank. Remove the fuel pump and rubber gromet from the hat. Reinstall the rubber gromet into the fuel hat with dielectric grease. Install the supplied fuel pump. Reinstall the lid to the basket and install the fuel pump assembly back into the car.
8
Install the new pump into the bottom surge tank. Make sure both tabs are locked into place. The pump shouldn’t move when properly locked into place.
9
Reinstall the hat to the surge tank. You may need to align the fuel pump. Click all (3) clips back together. Install the fuel pump connector, you will hear a click.
10
Reinstall the fuel pump assembly back into the tank. Line up the arrow on the fuel hat to the square box on the fuel tank. This will make sure the fuel float reads correctly.
11
2018-2026 (non 2021+ RR) install the supplied relay in line with the fuel pump, one connector will go the OEM harness and one connector will go to the fuel pump assembly. Mount the ground wire. 2021+ Turbo RR no relay is required. Reconnect the fuel pump harness. Reinstall the grey clip on both male connectors.
12
Model Specific. Located on the dashboard is a fuse box. Open the fuse box and remove the factory fuel pump fuse in box F14 (fuse location may change depending on year) and replace it with the supplied larger fuse.