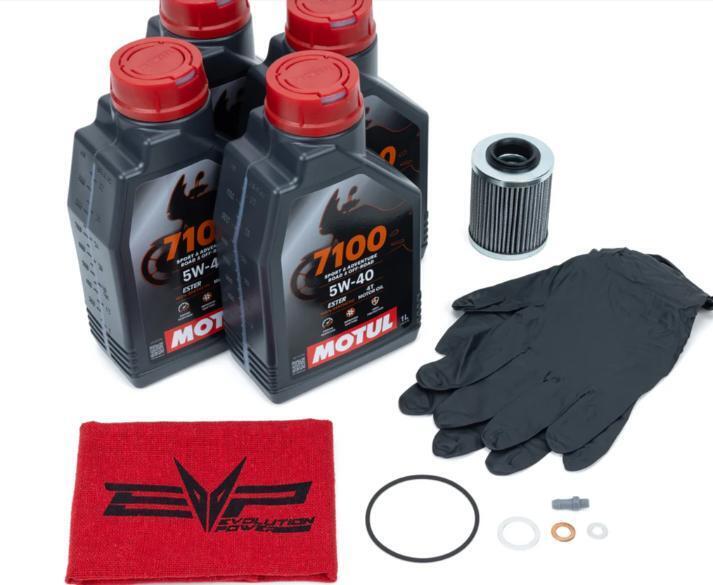
What's in the Box
Installation
1
WITH A COLD VEHCILE check the dip stick on the cold operating range. NOTE: the cold range in ONLY used as an indicator to show if there is enough oil inside the engine to start. If there is no oil showing on the COLD range, do not start the engine. Add oil.
2
If the cold level is sufficient, start the vehicle and let it reach operating temperature. Operating temperature is reached when the radiator fans kick on.
3
Shut the vehicle off. Tilt the bed up. Unscrew the dipstick and pull up slightly.
4
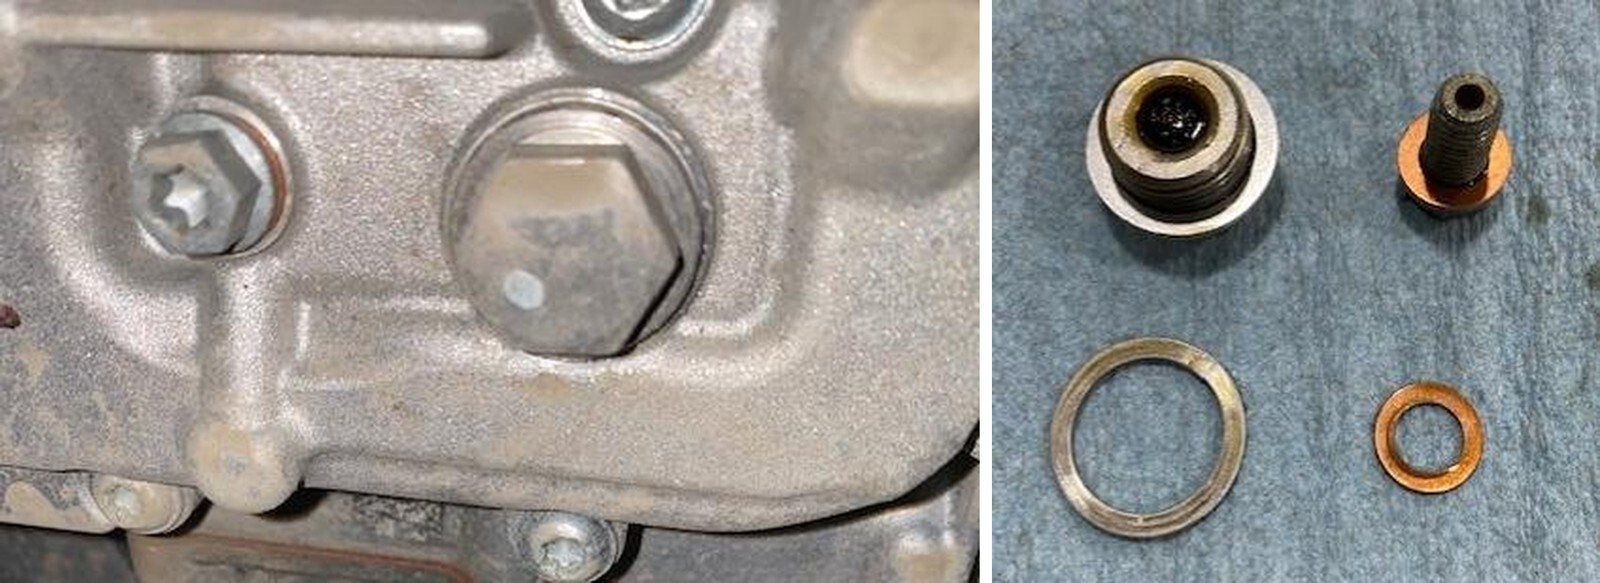
Place a drain pan underneath the engine drain plugs. There is no sequence to removing the drain plugs. Remove the magnetic drain plug using a 17mm socket. Remove the secondary drain plug using a 10mm socket. Let them fully drain.
5
Clean both drain plugs. Discard the old sealing rings and install new.
6
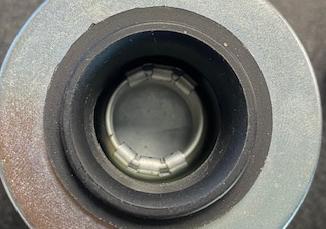
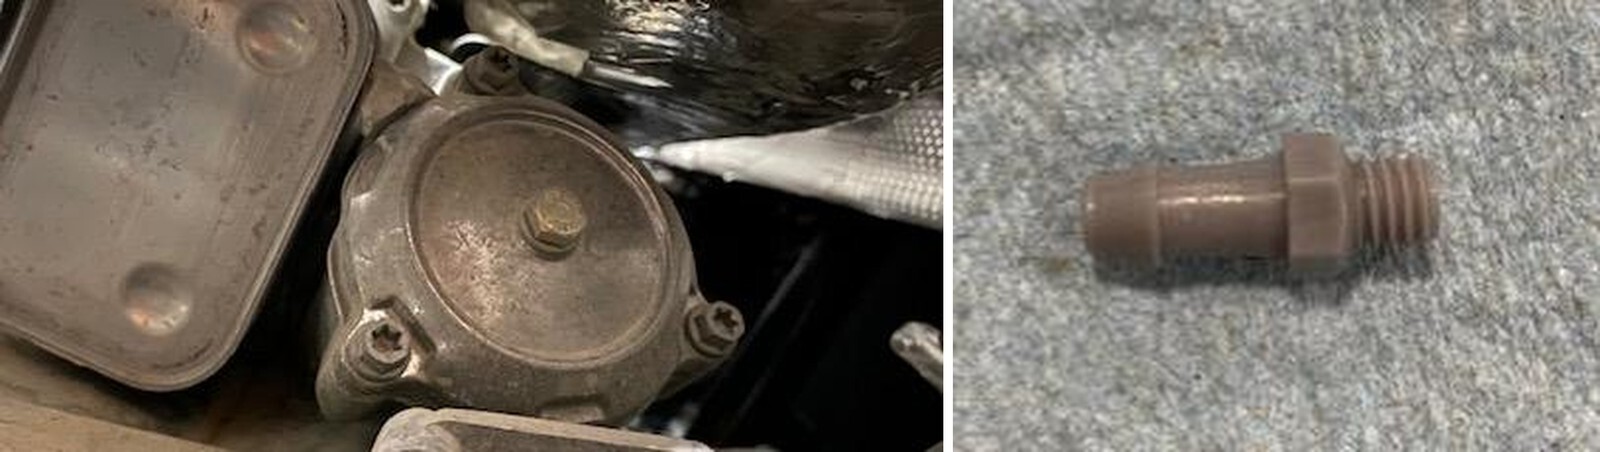
Clean around the oil filter area. Place a rag underneath the housing. Remove the evacuation screw and sealing washer on top of the oil filter cover.
7
Install the supplied barb fitting into the top of the oil filter cap.
8
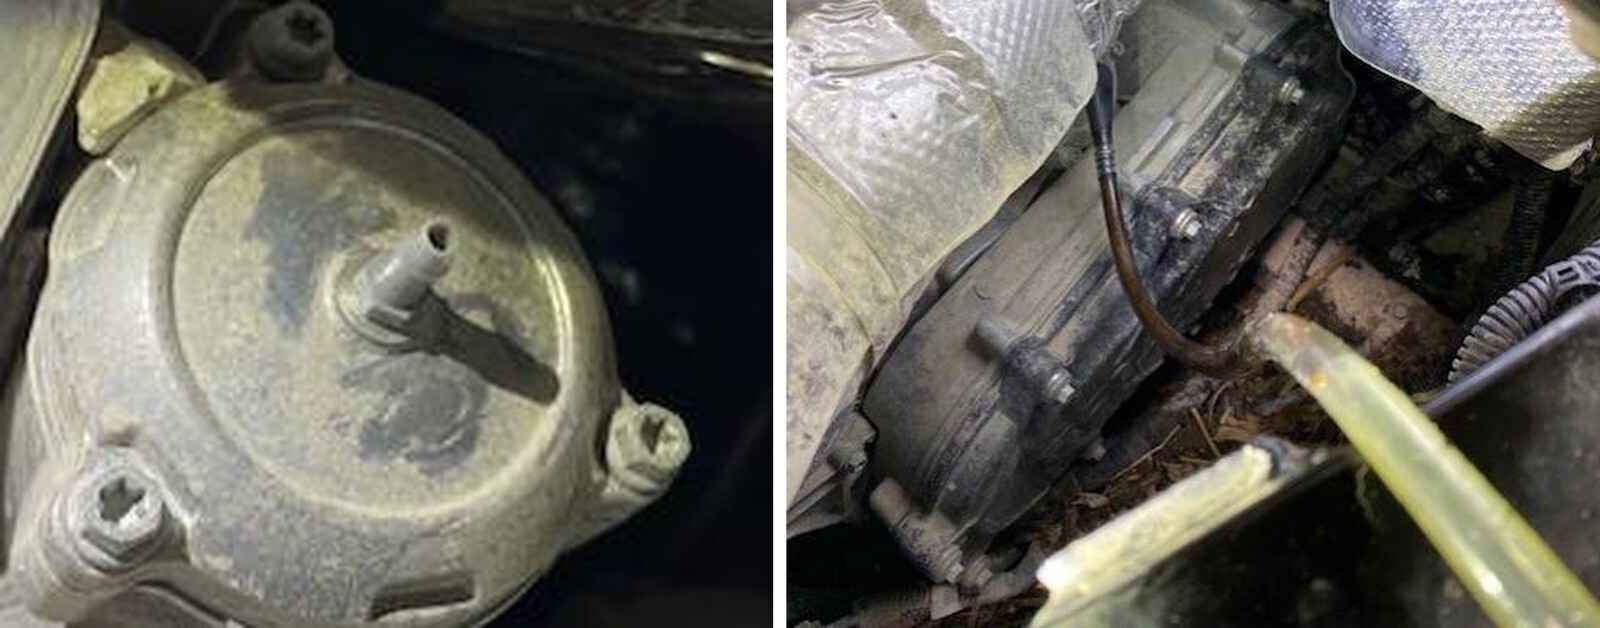
Hook up a vacuum pump or Mityvac with a canister, pump out the oil filter housing for 20 seconds. You won’t remove all the oil inside the filter. It will be enough so oil won’t drip down onto the HVAC belt.
9
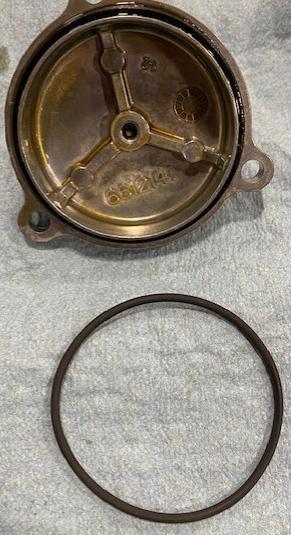
Remove the (3) 10mm fasteners on the oil filter cap. Remove and discard the oil filter.
10
Remove the used oil filter cap O-ring, discard. Reinstall the new O-ring with a thin layer of oil.
11
Discard the evacuation screw sealing washer. Install the new sealing washer and torque to 53 in-lb.
12
Wet the new oil filter seal, then install.
13
Reinstall the oil filter cover, torque screws to 80 in-lb.
14
Reinstall the magnetic drain plug, torque to 22 ft-lb.
15
Reinstall the secondary drain plug, torque to 18 in-lb.
16
Remove the dip stick, insert a funnel and add the correct amount of oil. HVAC Model: 3.4 Liter or 3.6 quart NON HVAC Model: 3.2 Liter or 3.4 quart.
17
Reinstall the dip stick, start the vehicle let it warm up. Check the dip stick on the warm indicator mark. The oil should be in between the min and max lines.