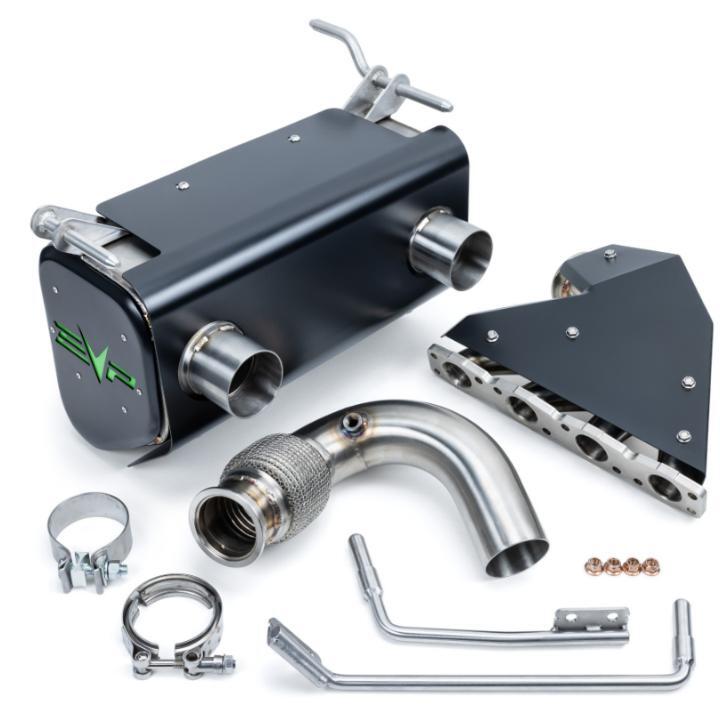
What's in the Box
Installation
1
Remove front cargo bed cover by removing (8) quick rivets. There is a tab underneath the cover holding up against the intercooler cover, you may need to pop the intercooler cover up.
2
Remove the lower cargo bed by removing (12) quick rivets, (4) cargo tie downs, (4) screws. It helps to remove (4) push darts holding the rear fascia on. Remove bed.
3
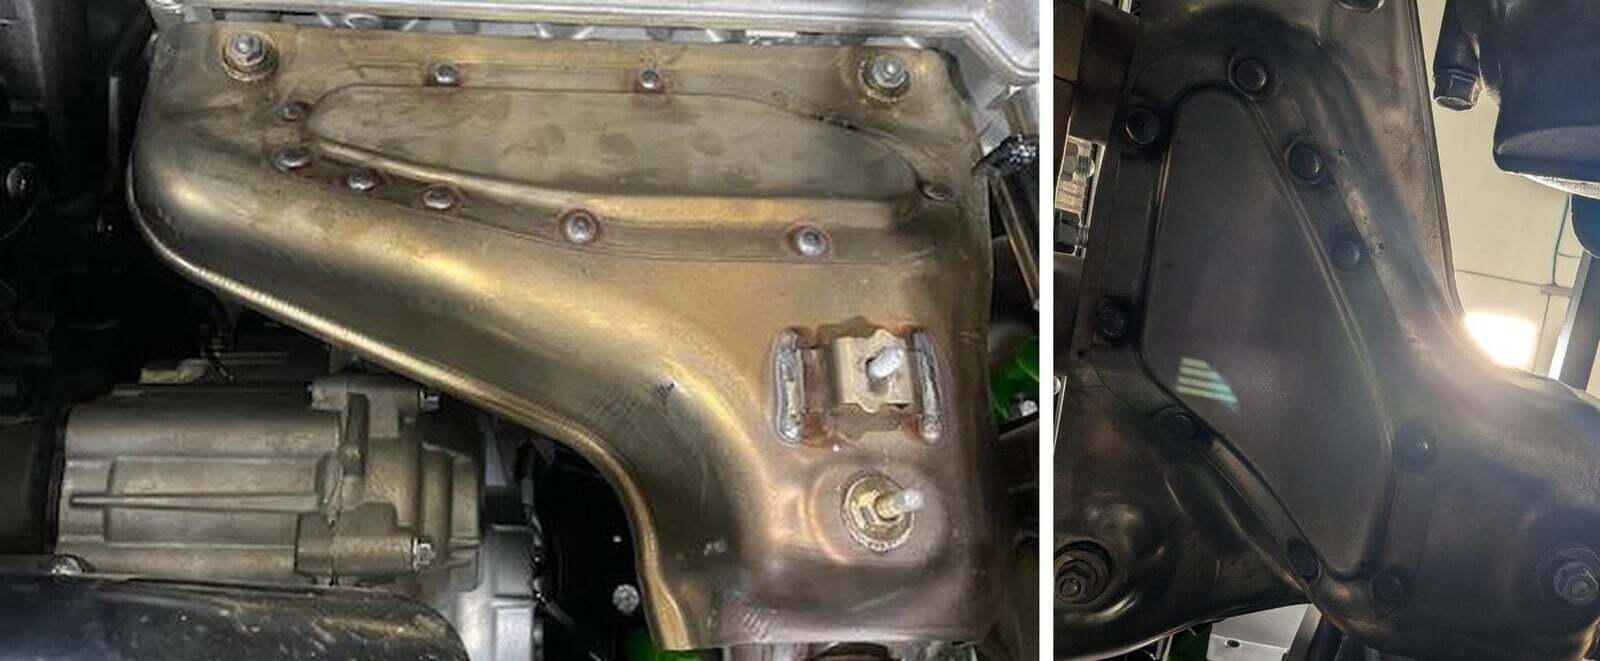
Remove heat shields under the bed by removing (8) Philips head screws and (2) 10mm. Some screws are through bolted.
3
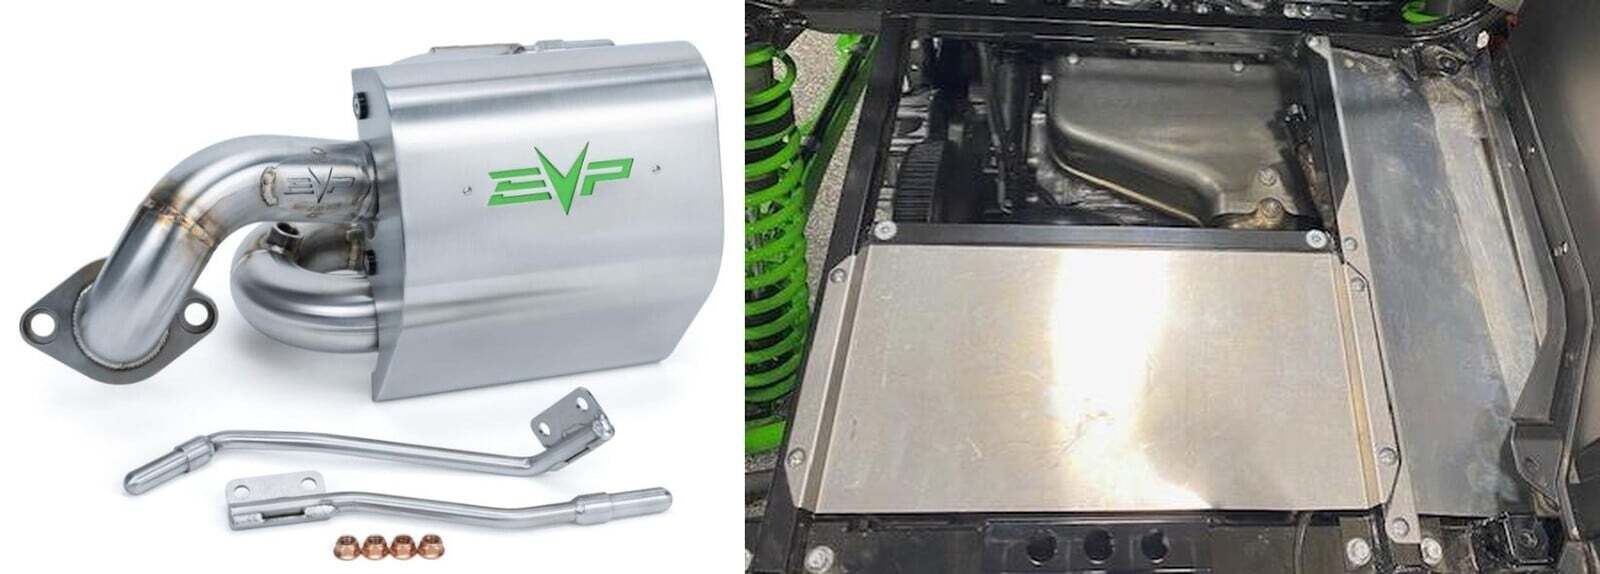
Photo of heat shields removed.
1
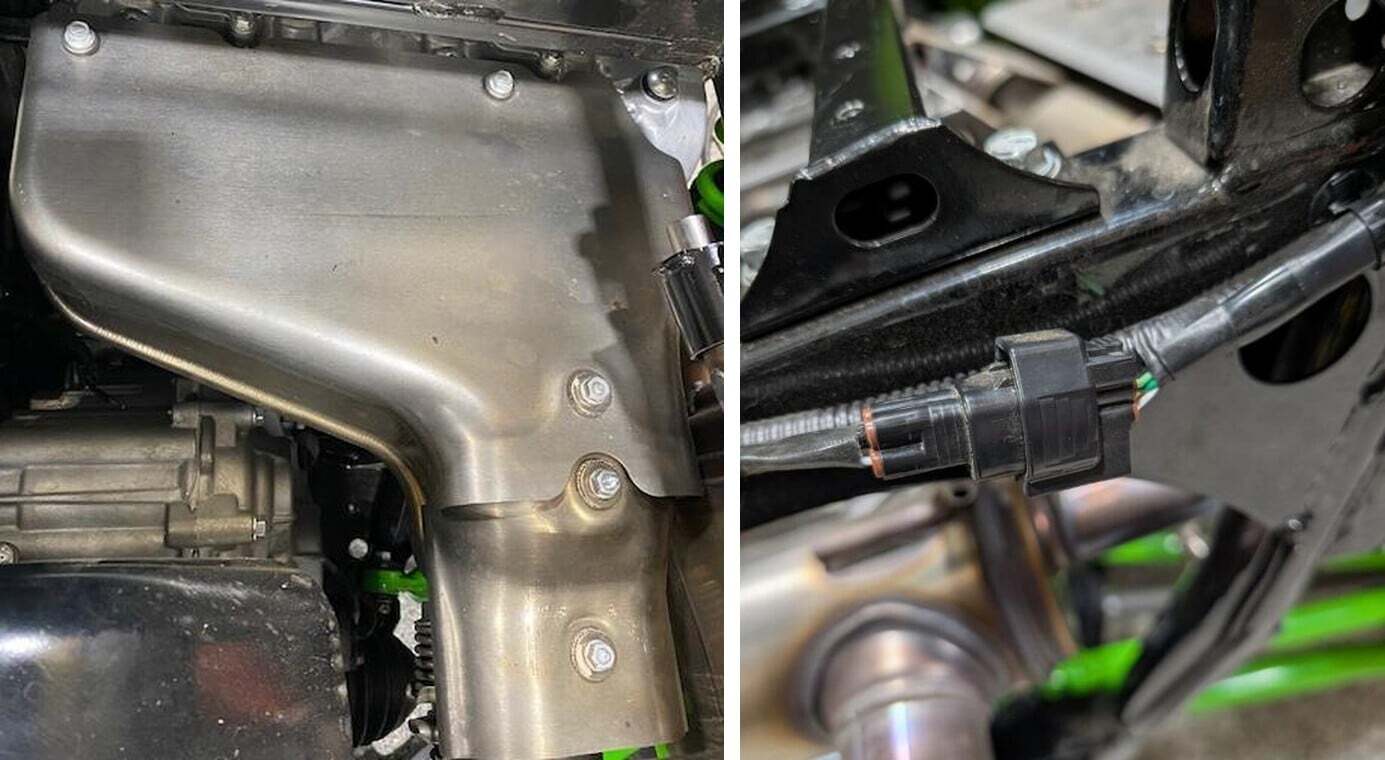
Remove the top heat shields on the header. Remove (5) 10mm nuts and washers.
2
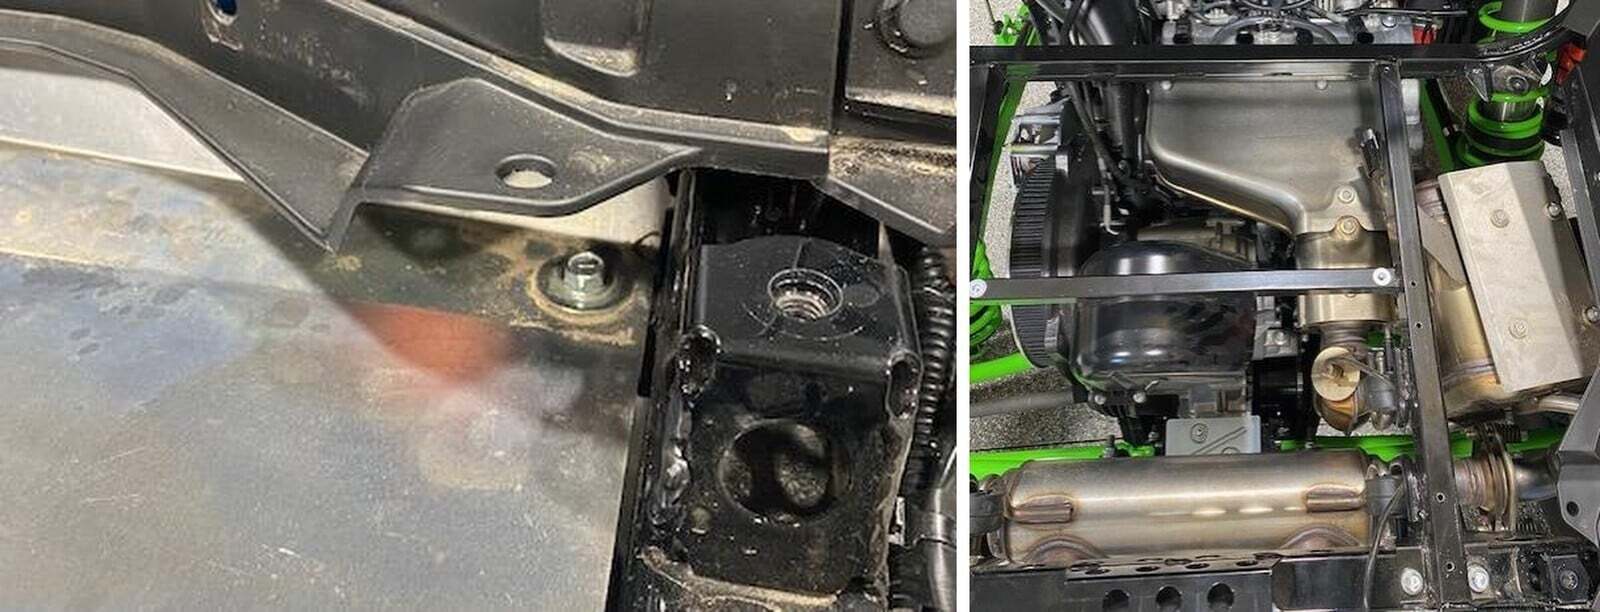
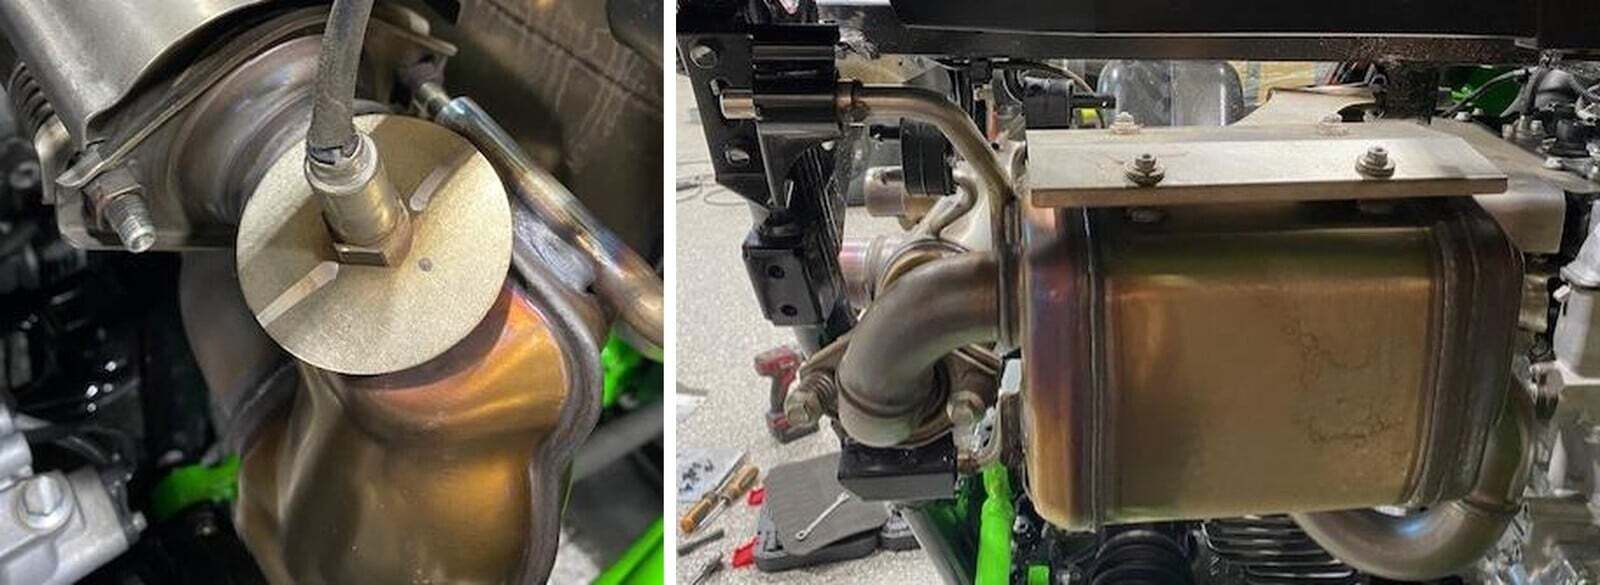
Disconnect the 02 sensor located on the rear of the vehicle. Remove the 02 sensor from the mid pipe. Don’t damage the 02 sensor.
3
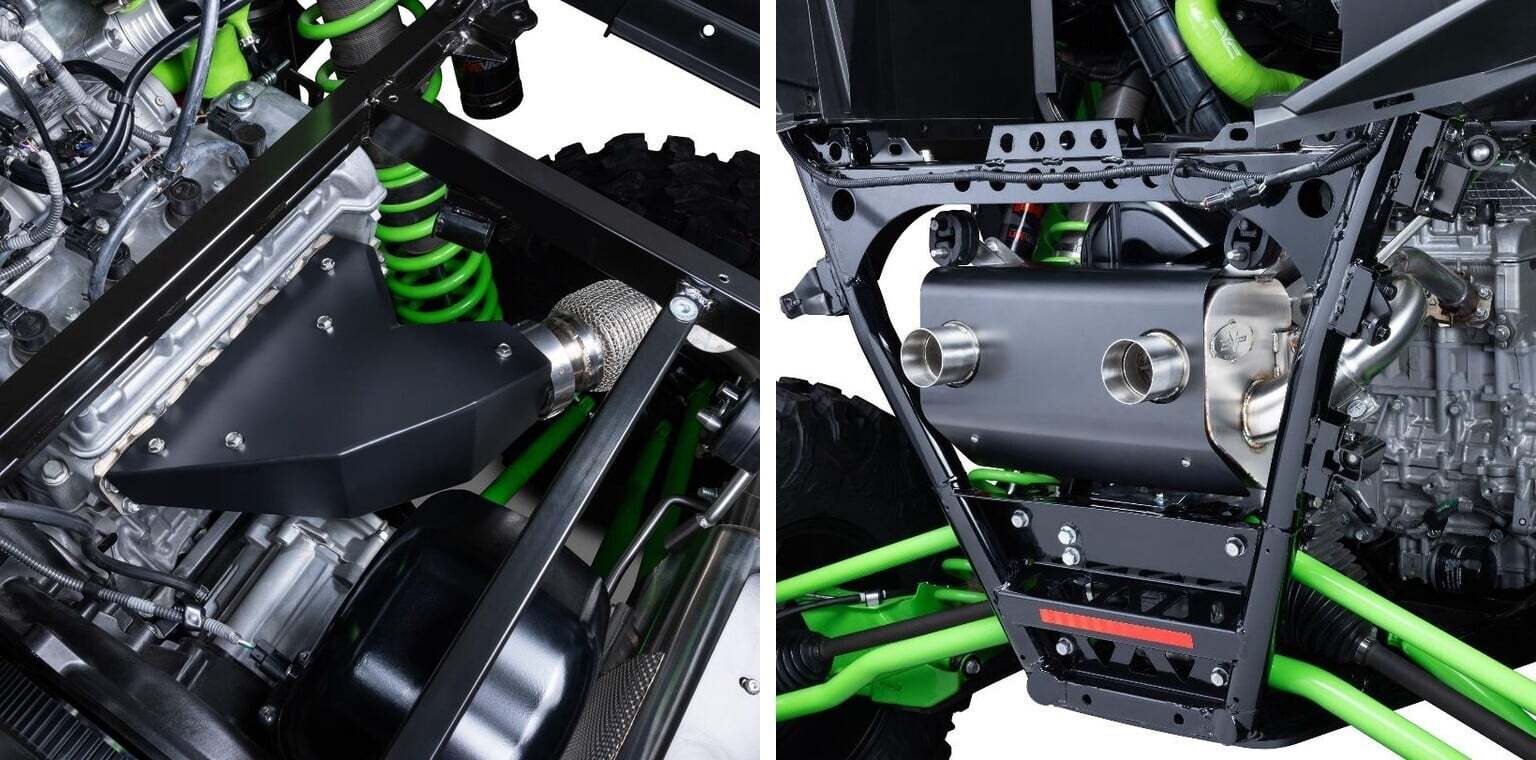
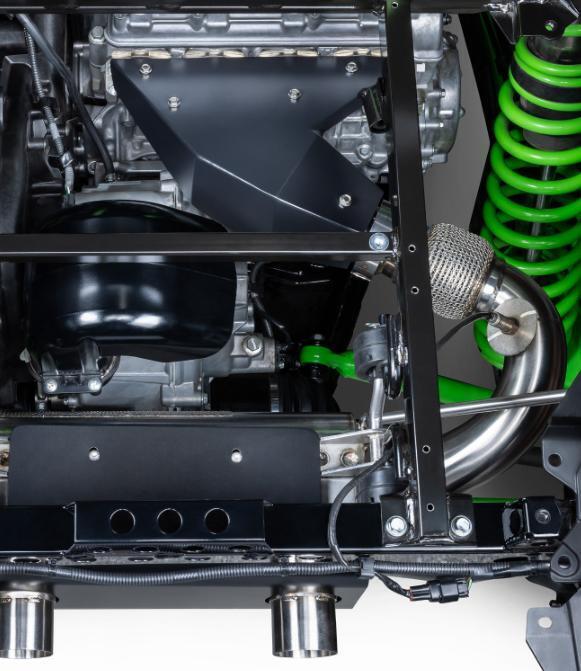
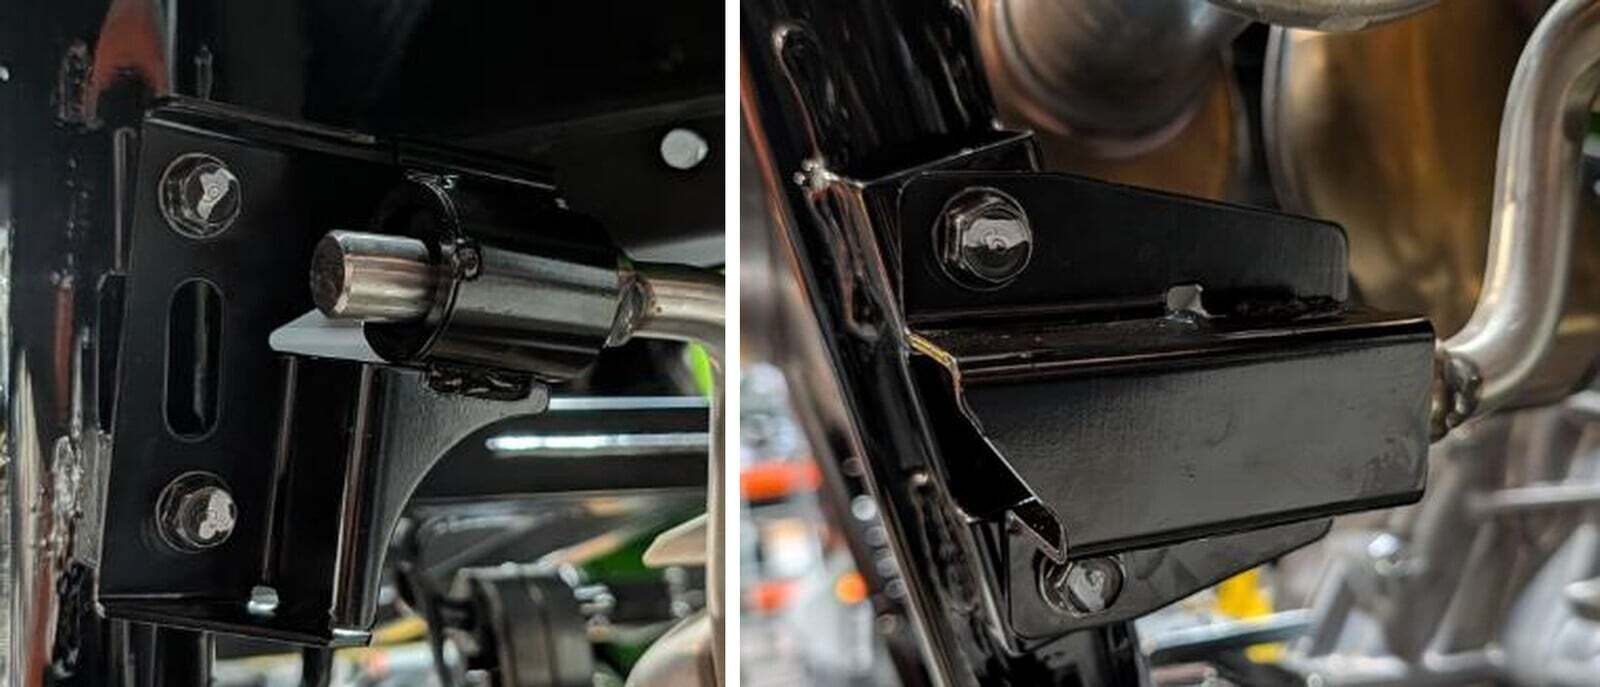
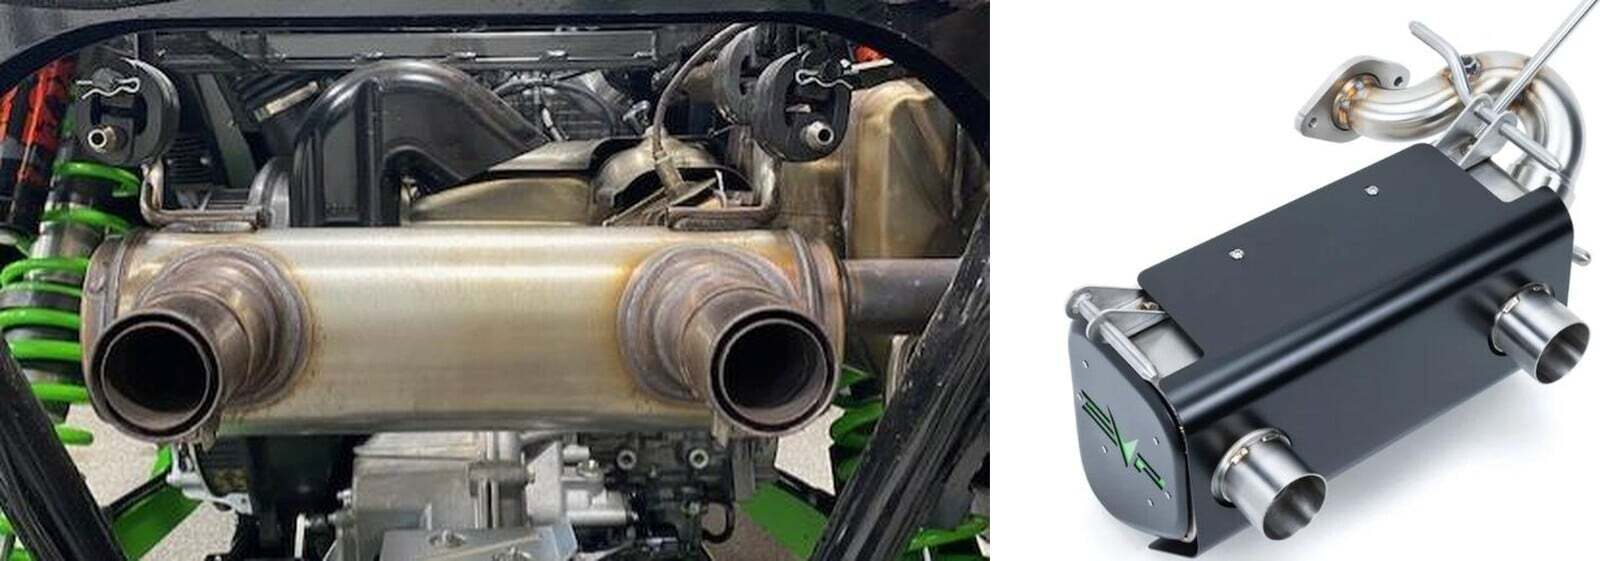
Remove both side muffler hanger brackets from the frame. (4) 14mm bolts.
4
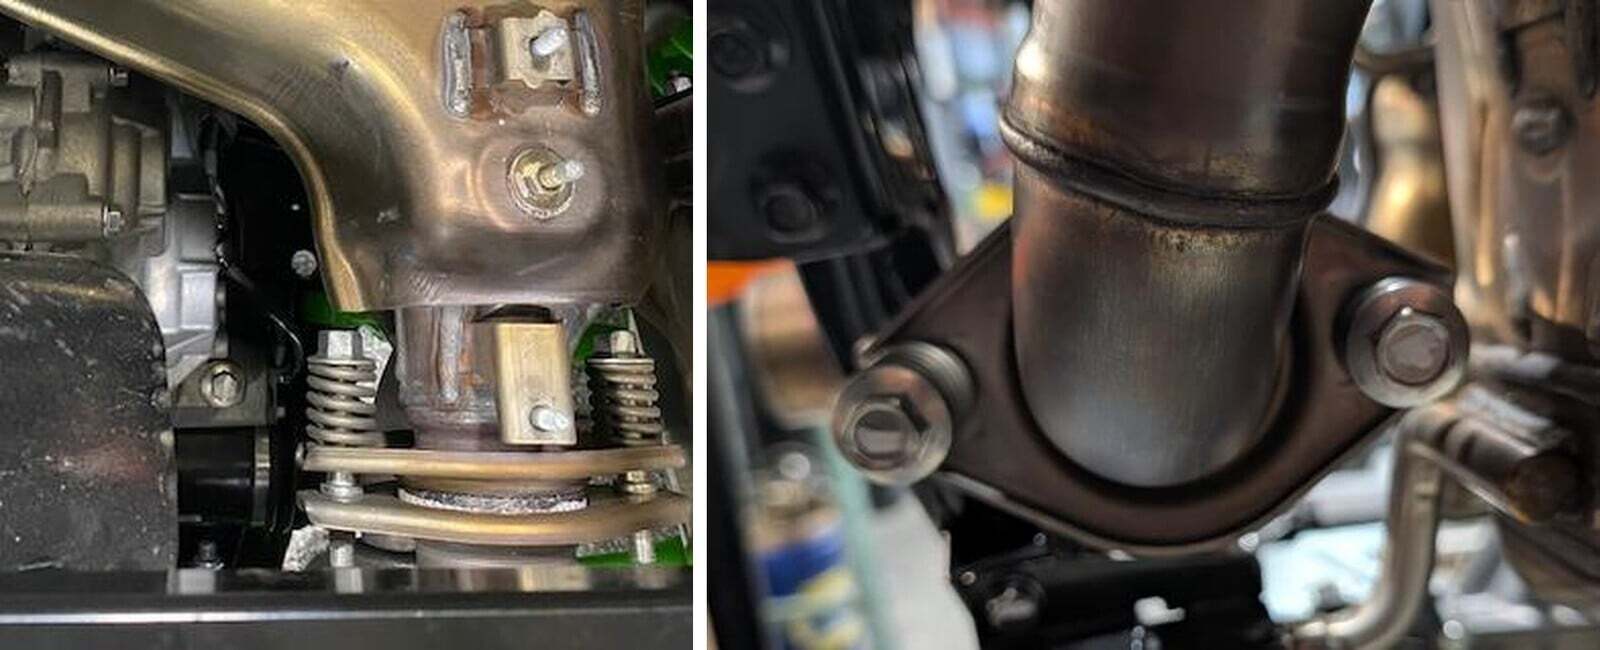
Remove (2) 14mm exhaust bolts and springs from the connection between the header and side muffler.
5
Remove (2) 14mm exhaust bolts and springs from the connection between the rear muffler and side muffler.
6
Remove the side muffler, there is hanger in the front you must slide out of the rubber grommet. Remove both exhaust donuts.
7
When installing the new side muffler, use the (1) included 2.25” exhaust donut for the rear muffler mating. Use the OEM 2.0” for the header mating. Apply copper anti-seize to the threads of the 02 sensor. Installation will be the same process as removal.
1
Remove (2) 14mm exhaust bolts and springs from the connection between the rear muffler and side muffler.
2
Remove (2) pins holding the rear muffler isolators in place.
3
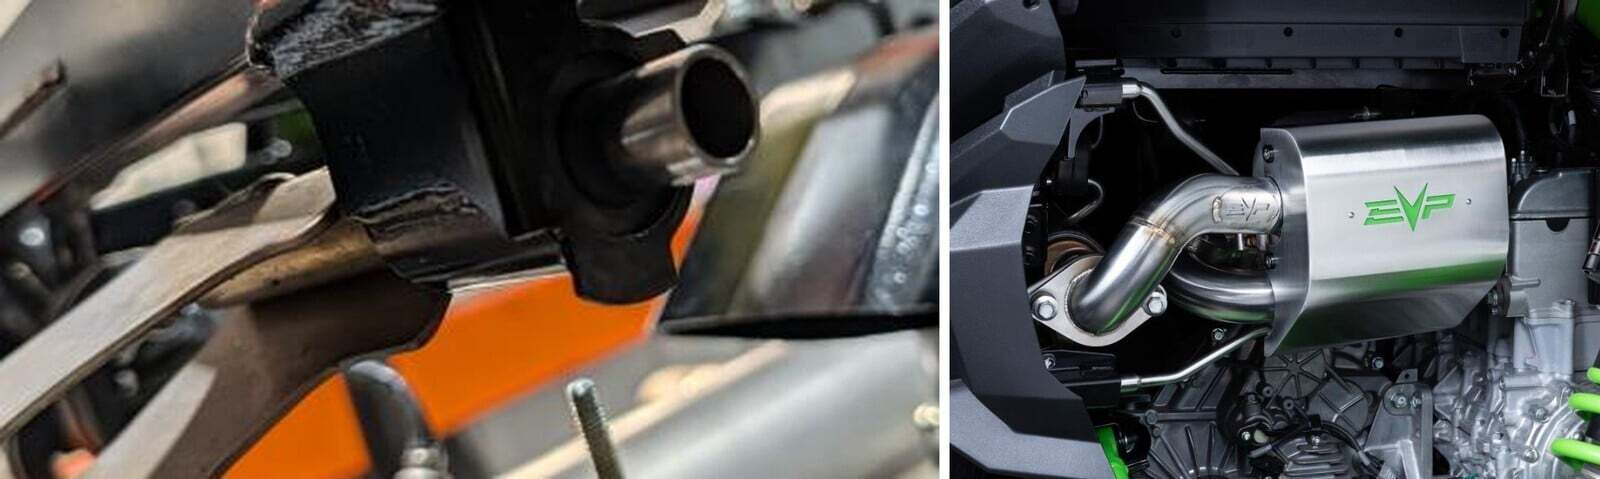
Remove the rear muffler from the vehicle. This can be done with or without the side muffler installed.
4
Use the OEM 2.0” exhaust donut to mate the link pipe to OEM header. Install (2) supplied support brackets. Install EVP rear muffler into rubber grommets and reinstall the pins.
1
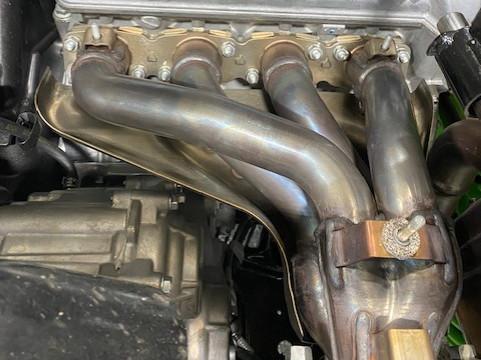
Remove both upper and lower heat shields on the header. (6) 10mm nuts and washers.
2
Remove (10) 10mm nuts holding the header on. (Photo shows lower heat shield on).
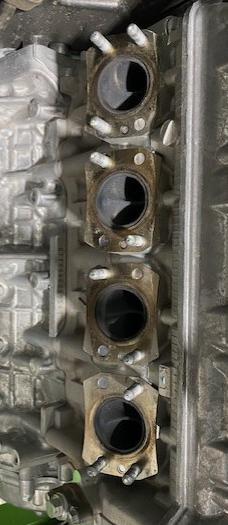
3
Remove the header and (4) OEM exhaust gaskets.
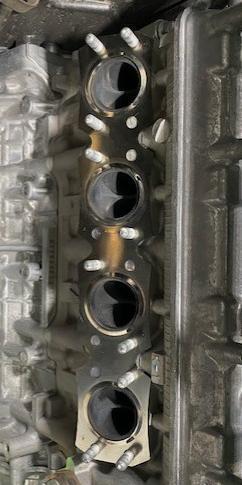
4
Clean the head surface and install new gaskets or EVP single gasket.
5
Install the EVP header (without heatshield) Torque exhaust nuts to 15 ft-lb. It is best to heat cycle the header a few times, re-torque the header nuts. Install the heat shield after.
6
Install the rear muffler into the rubber gromets, reinstall the cotter pins. Align the mid pipe V-band to the header. Leave V-band clamp loose for now. Slip the mid pipe over the muffler entrance. Once all aligned, tighten the clamps.