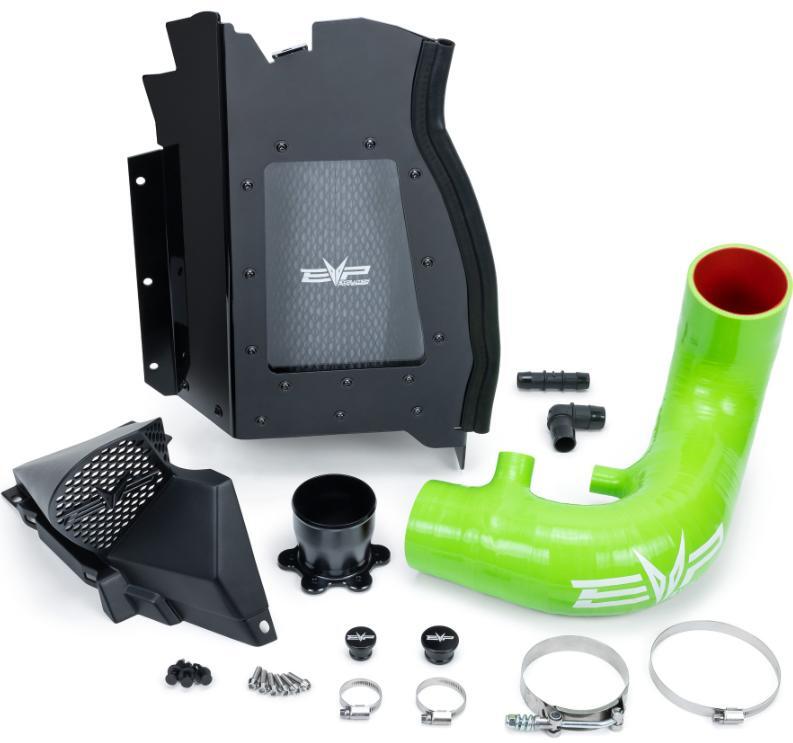
What's in the Box
Installation
1
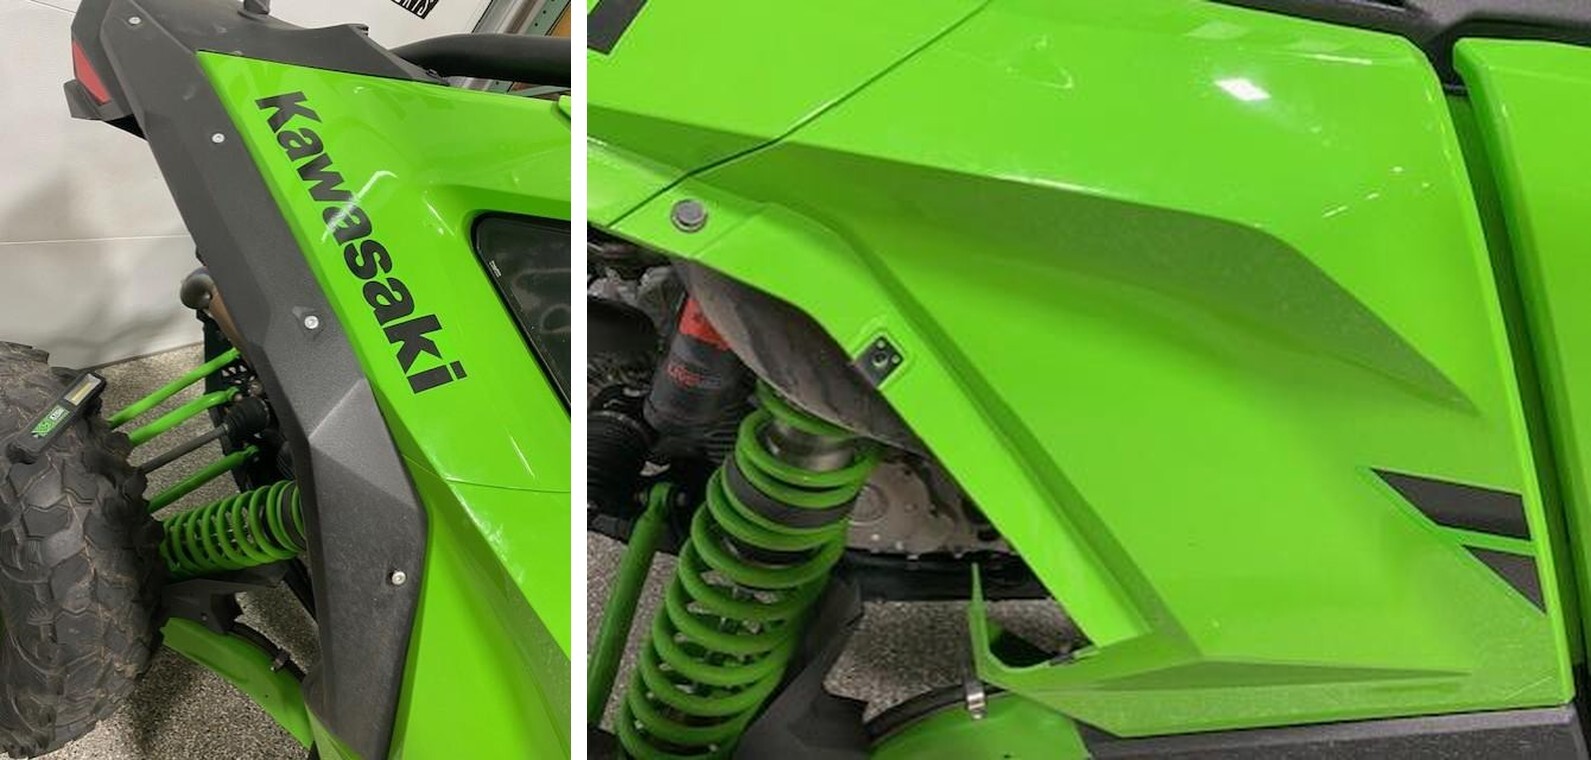
Remove (5) Allen screws on the passenger side fender. Remove fender.
2
Remove (6) push darts holding the rear passenger wheel well on. When removing the wheel well there are (2) clips up top.
3
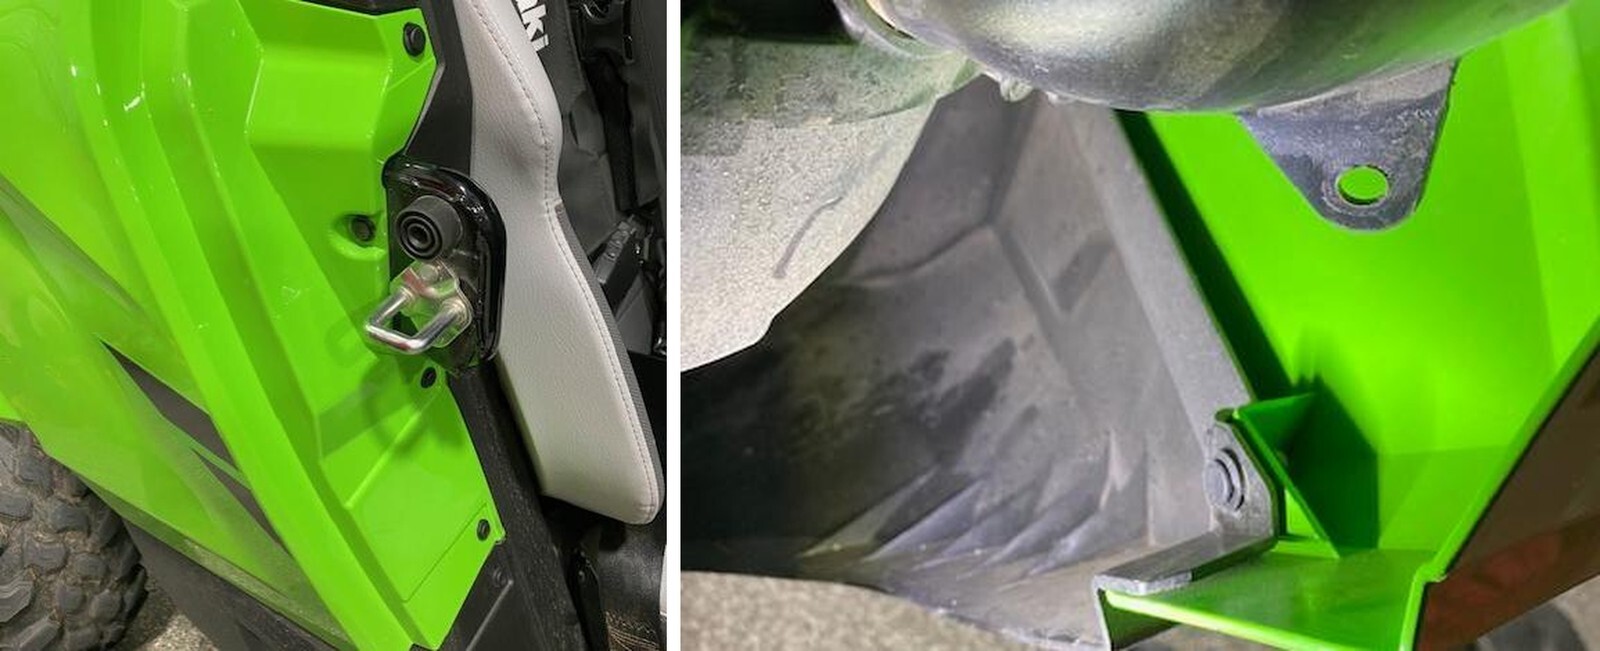
Remove the factory plastic guard around the intake system. (3) push darts and (1) Philips screw.
4
Remove (4) Philips screws and (1) worm drive on the fresh air to airbox tube.
5
Remove (1) worm drive, (5) Allen screws,(1) push dart from airbox to compressor cover.
6
Remove (2) 13mm screws holding the airbox to the vehicle. NOTE: the screws are in backwards facing the firewall.
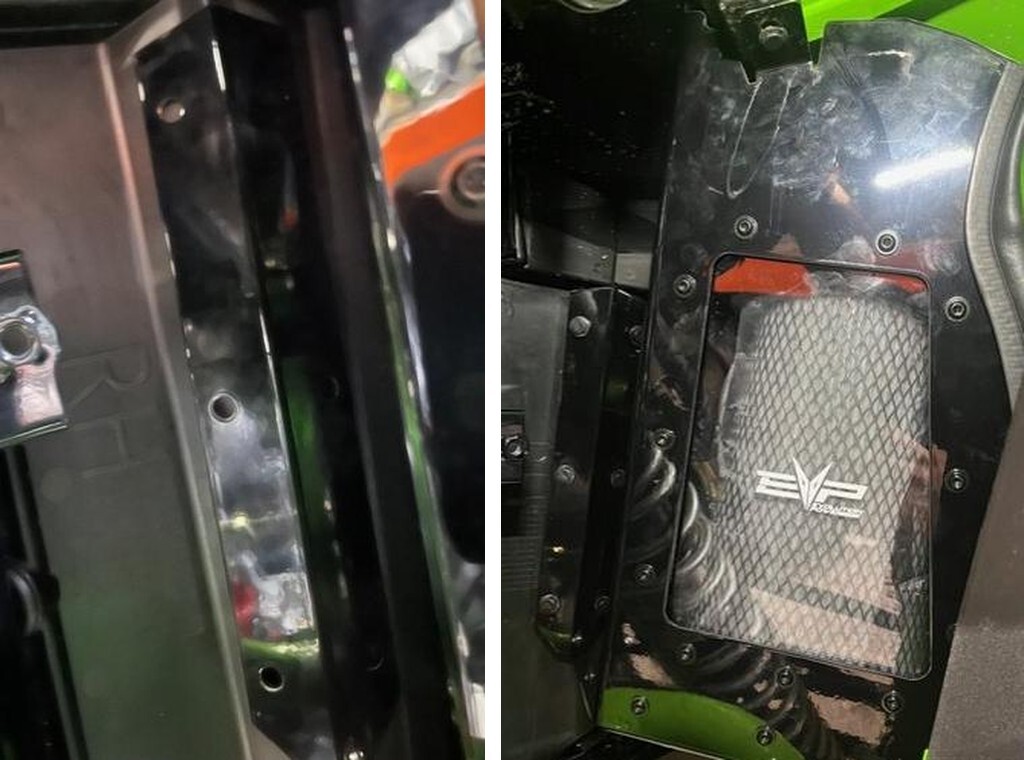
7
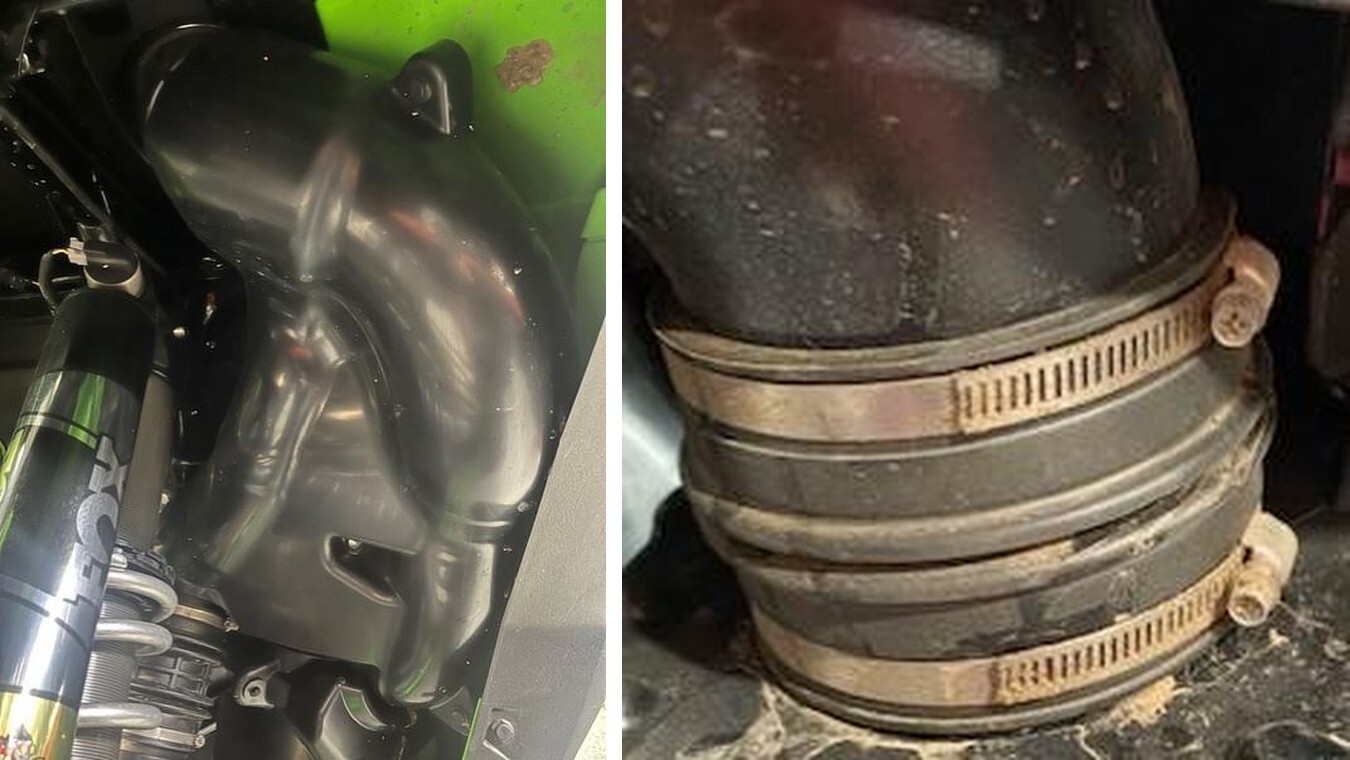
Remove (6) 12mm bolts holding the back plastic intake onto the compressor cover. Check the gasket. Keep the gasket in place.
8
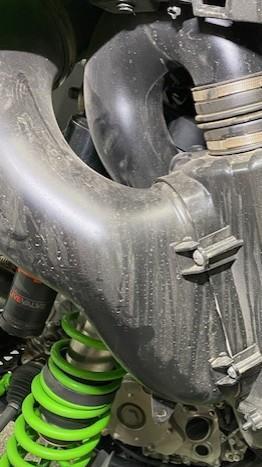
This is the current state of the vehicle. You can remove the rubber boot that pulls air in through the upper vent.
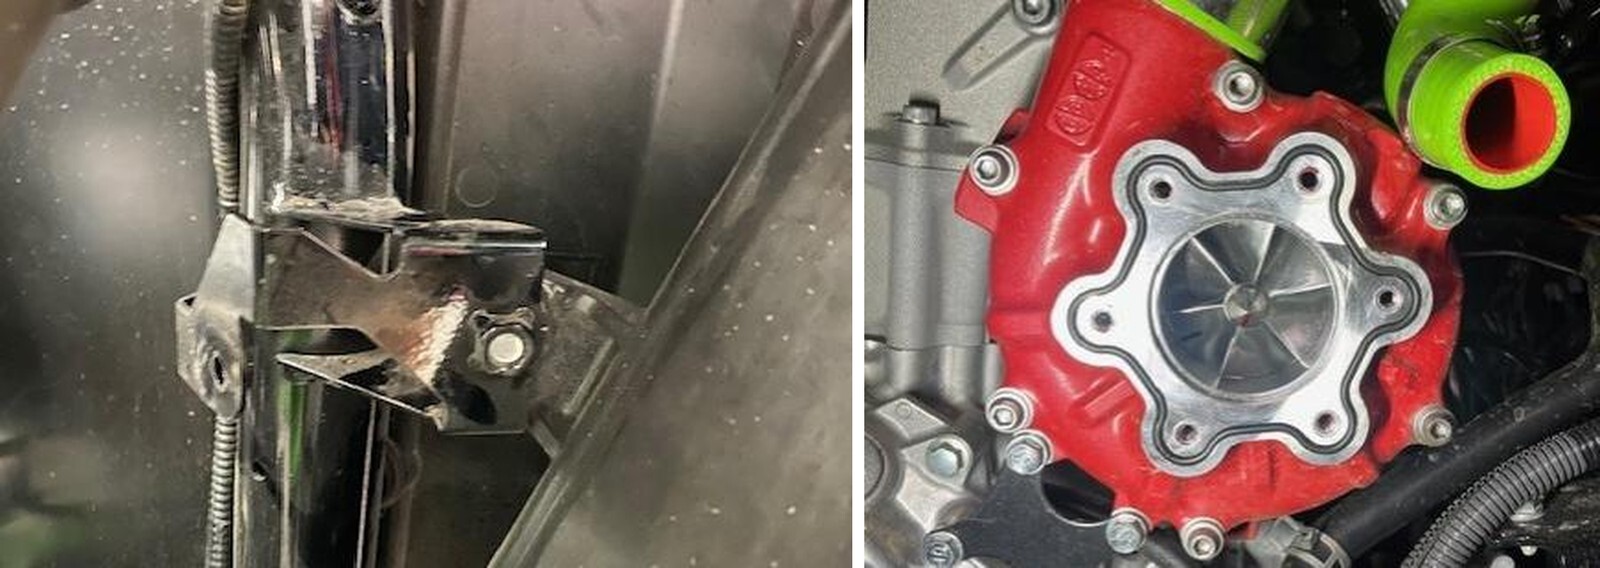
9
Install the billet venturi to the compressor cover. Keep the gasket on the compressor cover. Use supplied taper Allen hardware and use a ball end socket to tighten.
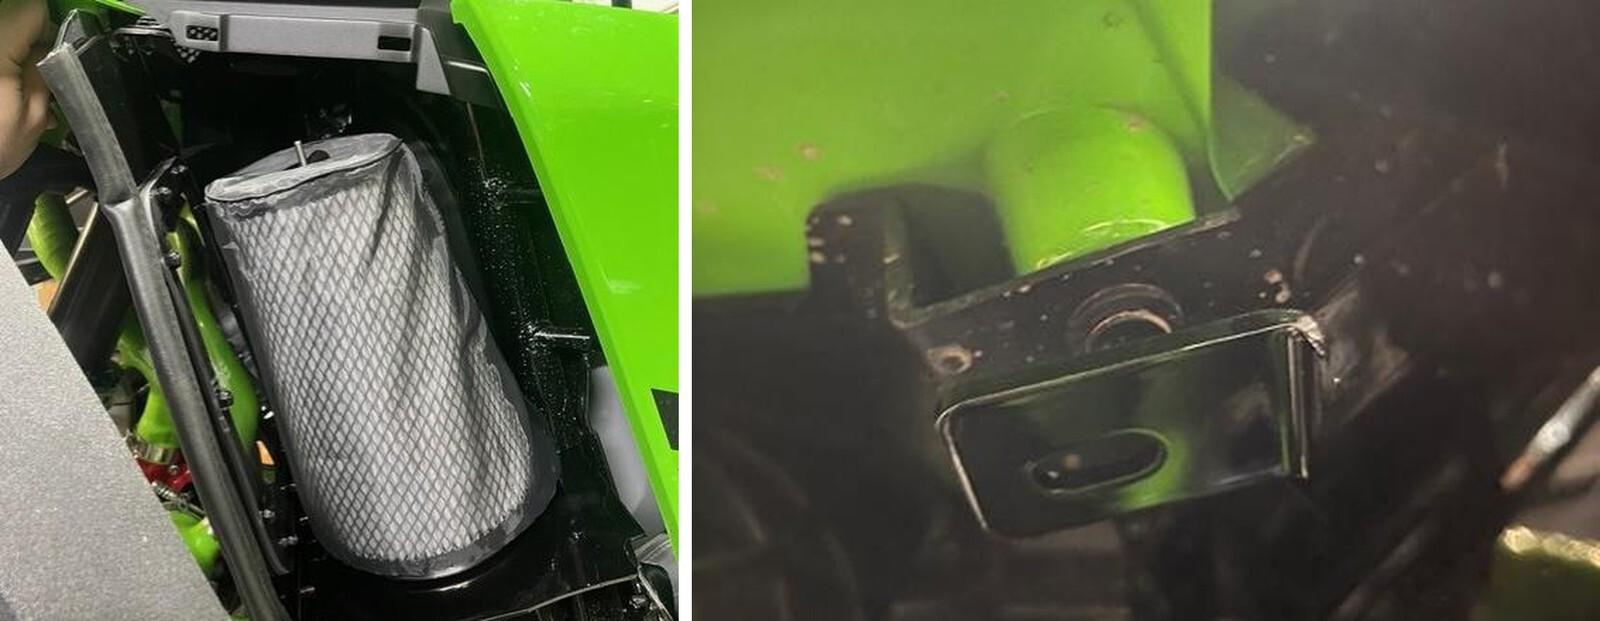
10
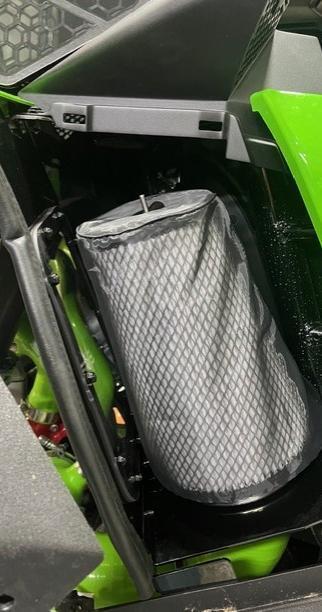
Loosely install the air filter encloser. Make sure the air filter is tight and rubber seal is tight to the encloser.

11
The tab located on top of the encloser will reuse an OEM push dart. Remove the push dart and reinstall through the air filter bracket.
12
Firmly hold the encloser straight against the firewall. With a silver sharpie mark (3) holes along the side of the encloser. (photo is sideways).
13
Remove the passenger back seat or pry it away from the firewall 1/2". With a 11/32” drill bit, drill out the (3) holes you marked. Be careful of the back seat. Install supplied (3) push darts.
14
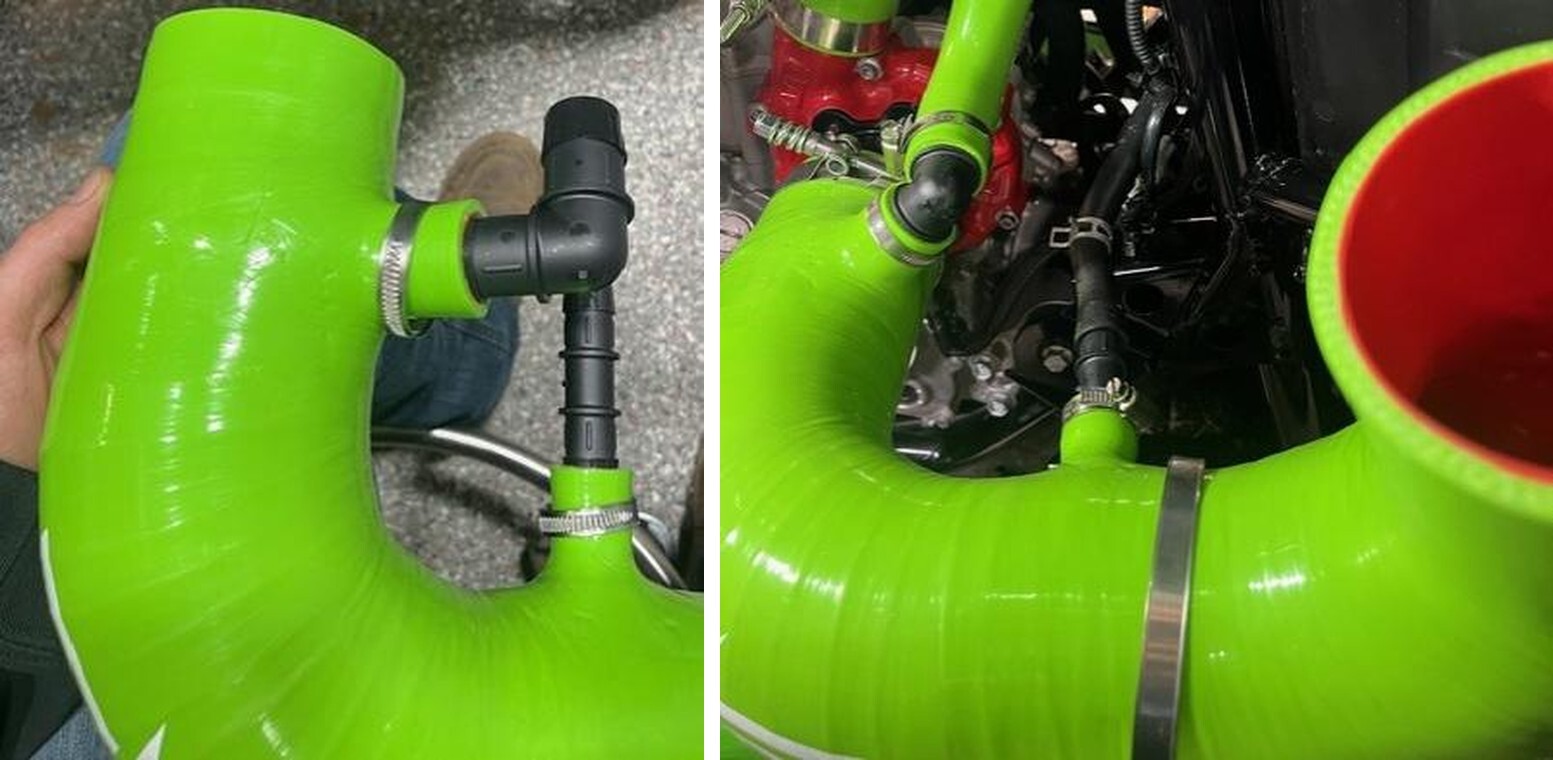
Install the 1.0” 90-degree barb into the intake tube. This is for the boost recirculation tube. Install the 3/4" coupler into the intake tube, this is for the crankcase vent. If you are running a catch can, plug this port with supplied 3/4" plug. Use supplied worm drives to tighten down.

15
Install the intake tube to the billet venturi with a t-bolt clamp. DO NOT push the silicone all the way onto the venturi. It is tapered and will not seal properly. Only install until the rib seats to the silicone indent. Install the BRV and crankcase hoses.
16
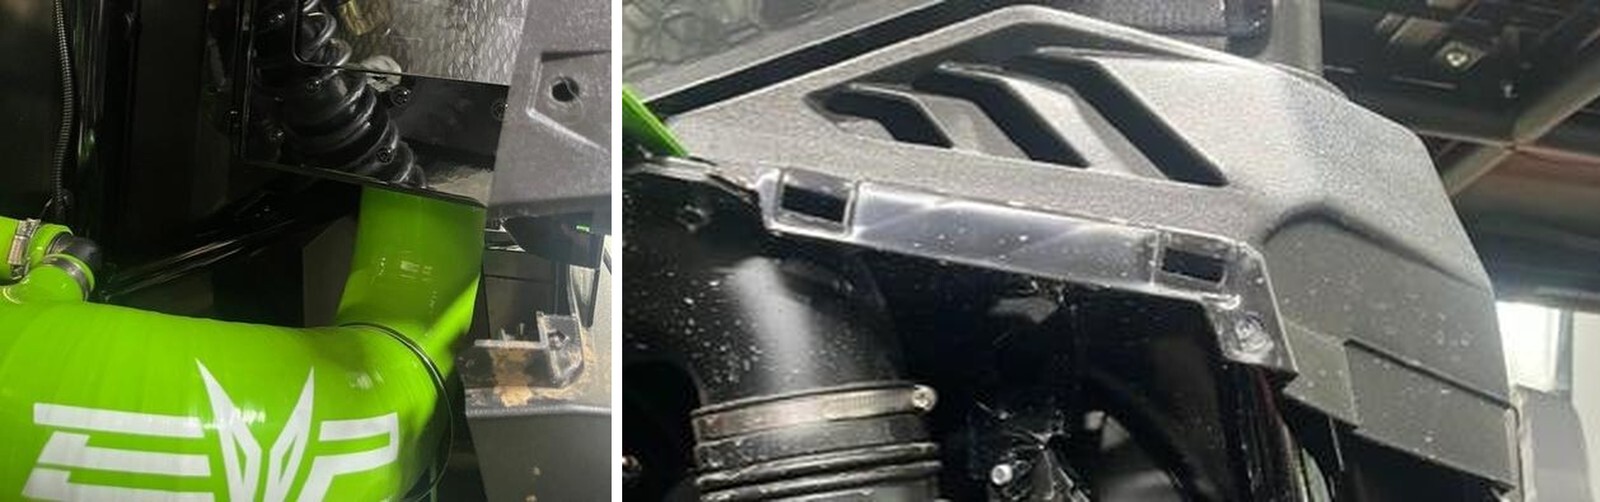
Install the other end of the intake tube to the air filter encloser. Make sure it is installed all the way. Use supplied worm drive to tighten down.
17
Remove (3) push darts holding the OEM plastic shroud on. Install the supplied shroud in reverse order. Reuse push darts.
18
Reinstall the wheel well and fender. The encloser seal will push up against the wheel well as it was designed to stay airtight. Reuse all OEM hardware.