What's in the Box
Installation
1
Make sure the vehicle is cold and parked on a flat surface. You can remove the bed but it is not required.
2
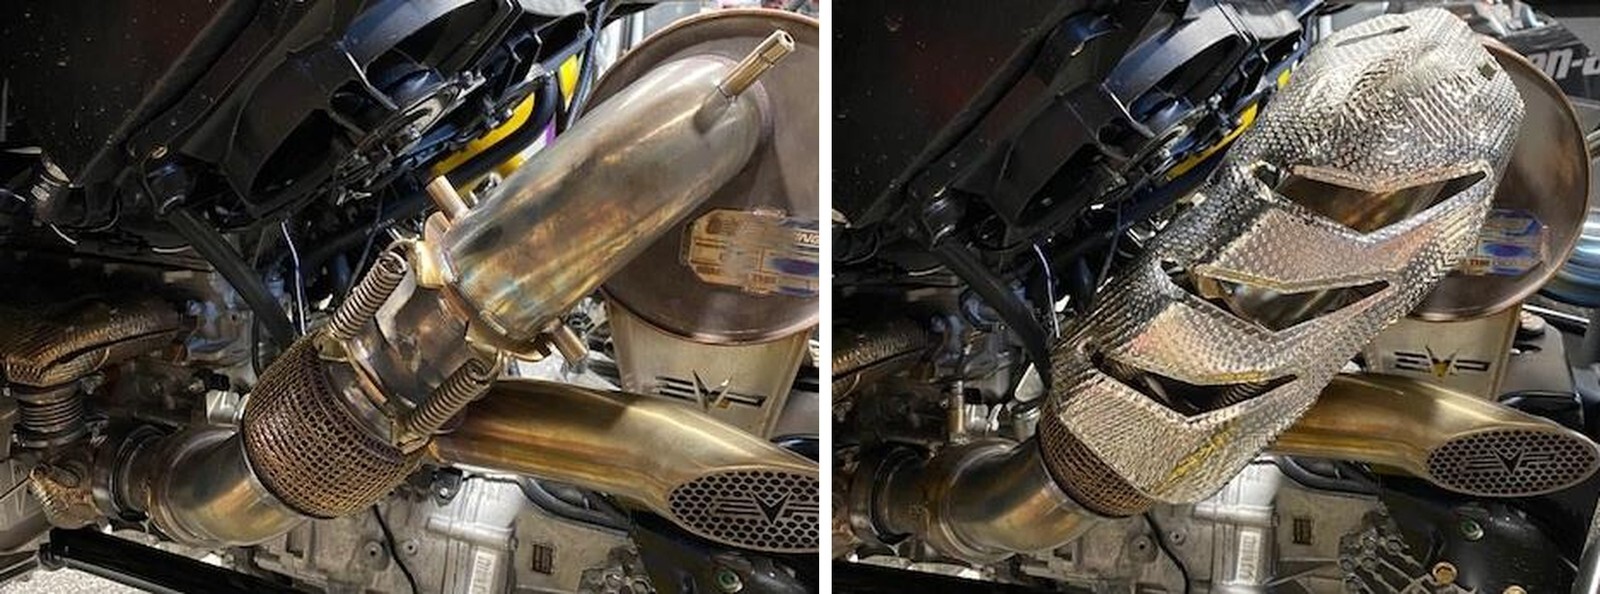
Remove the muffler joint heatshield by removing (3) 10mm screws.
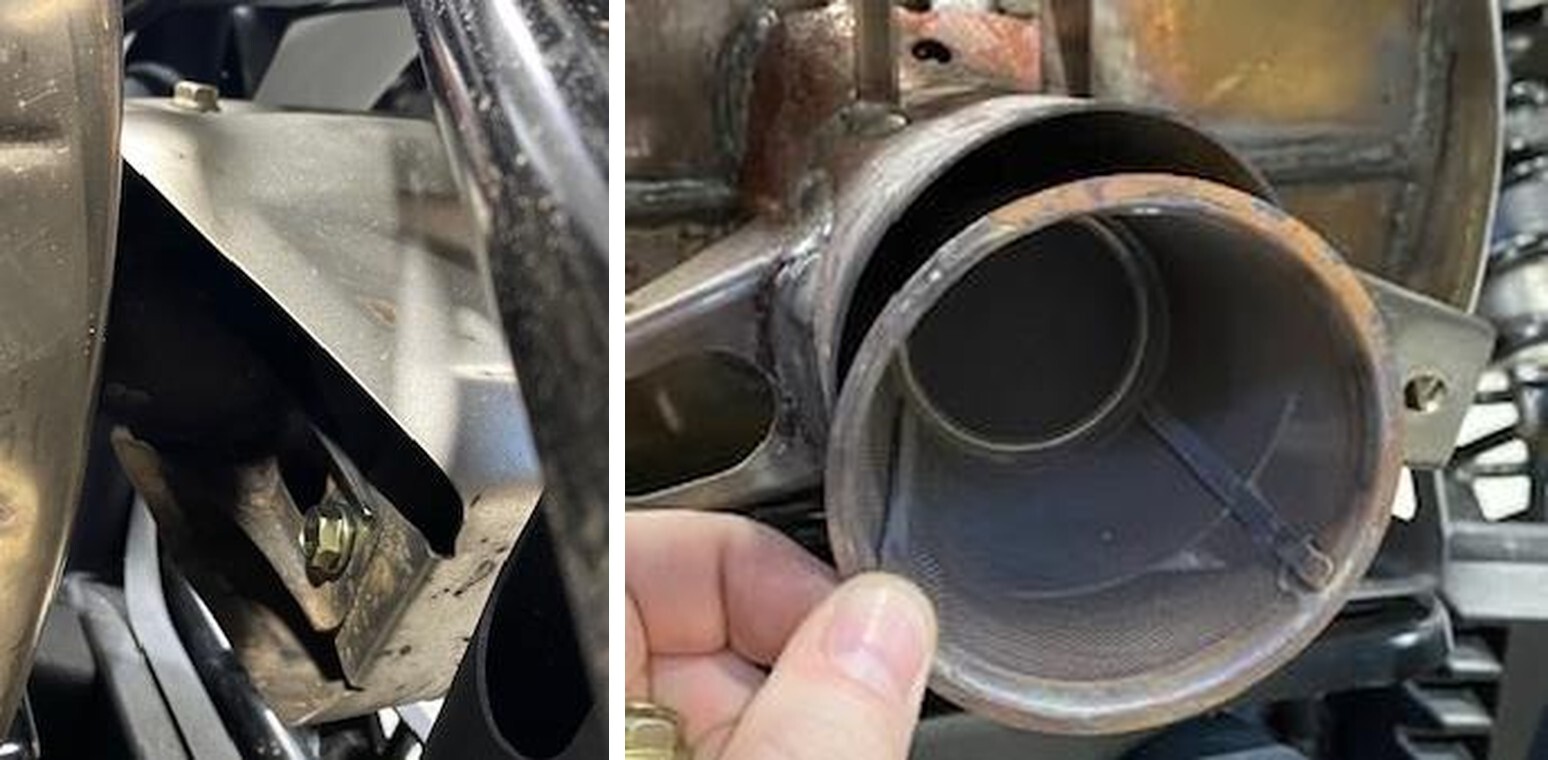
3
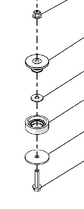
Remove the (3) 13mm screws holding the OEM tip on. Two are located on the sides and one located on top. Also remove the spark arrestor.
4
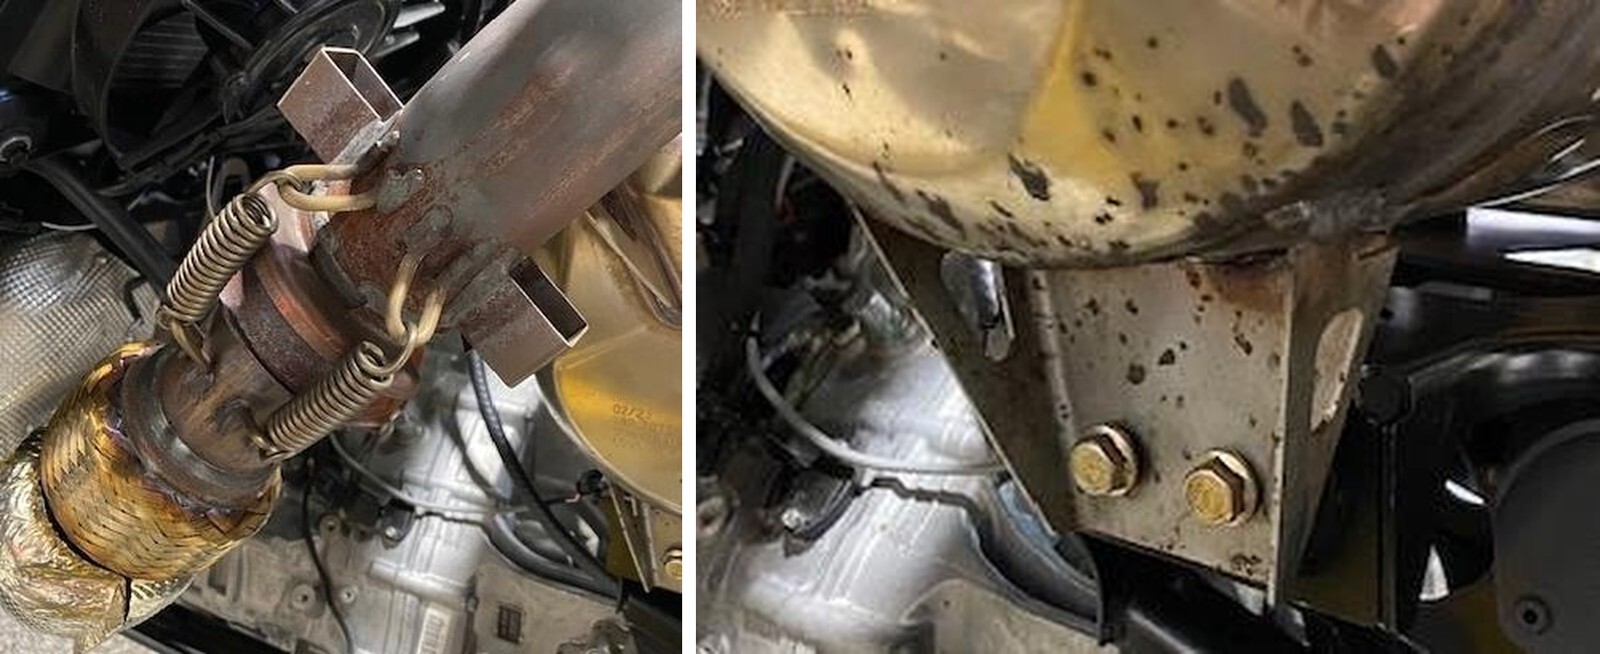
Remove (4) exhaust springs holding the muffler to downpipe. Keep these springs.
5
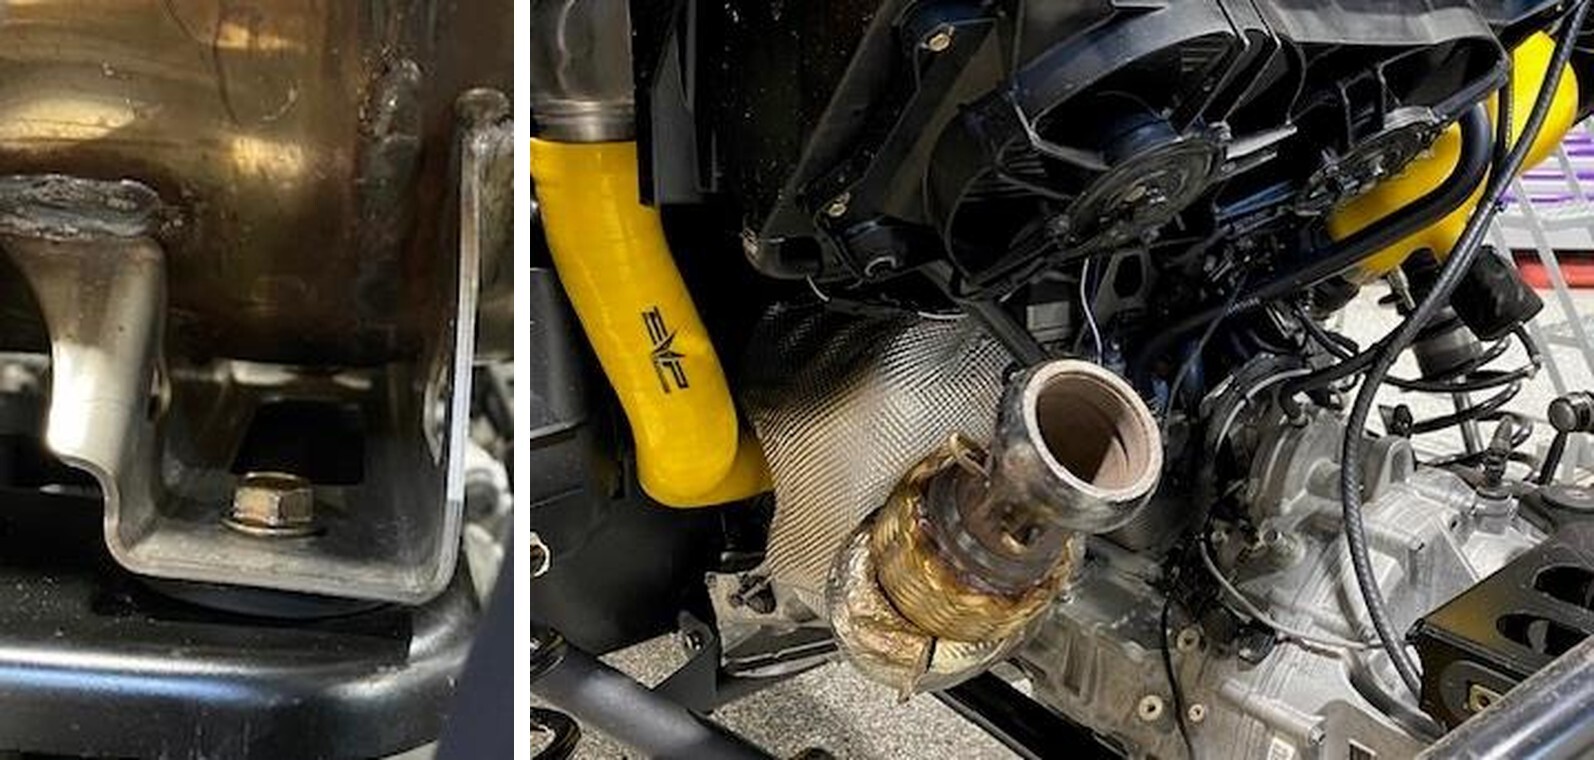
Remove (4) 13mm bolts with nuts. (2) of the 13mm bolts have anti vibration mounts. Keep these.
6
Remove the muffler from the rear-right side.
7
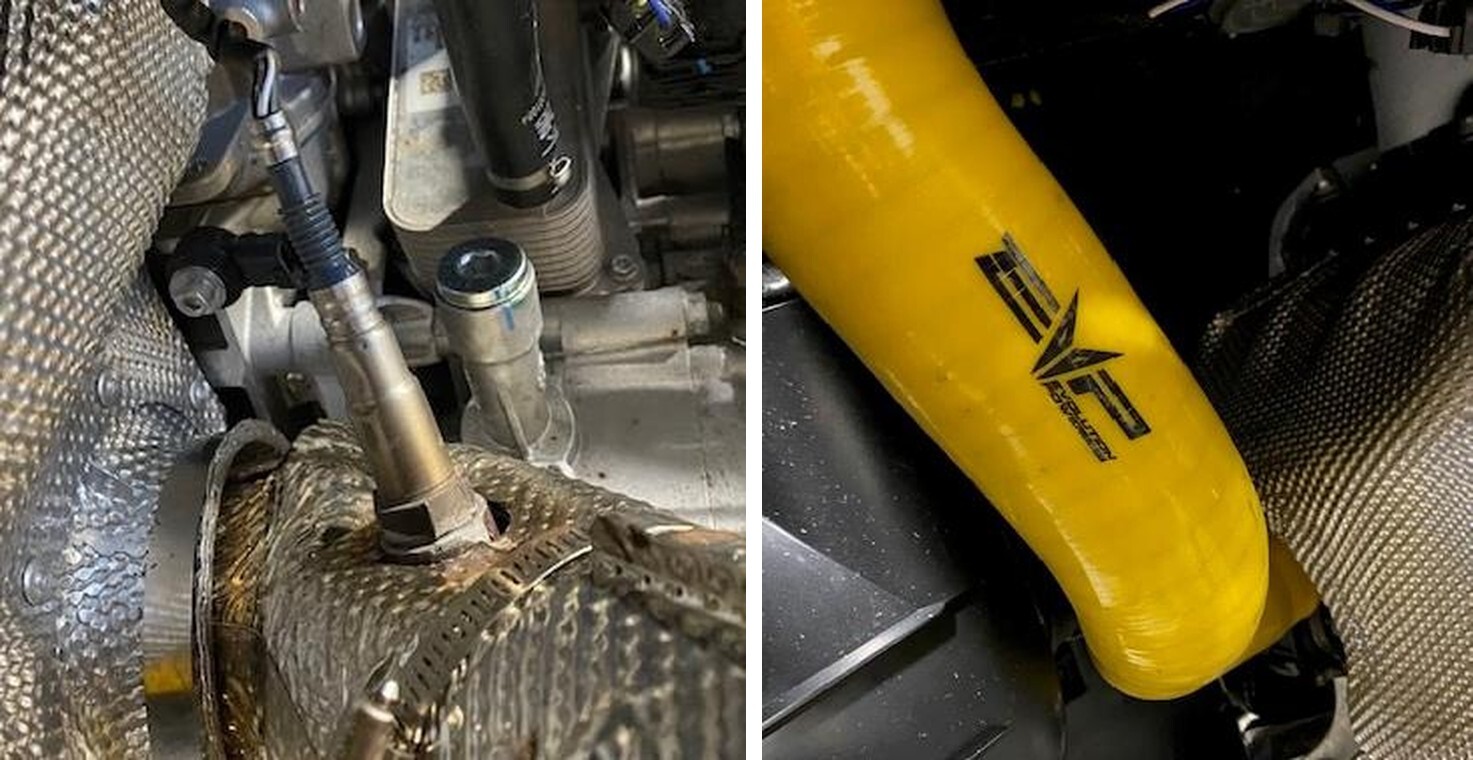
Loosen and remove the 02 sensor from the downpipe. Use a 22mm wrench. It works best to unplug the pigtail, don’t damage the wires.
8
Remove the charge tube going from the turbocharger to intercooler. Use an 11mm socket or screwdriver.
9
Remove the heat shields (2 part) around the turbocharger. 1 hose clamp, (2) 10mm screws underneath and (4) on top by the valve cover.
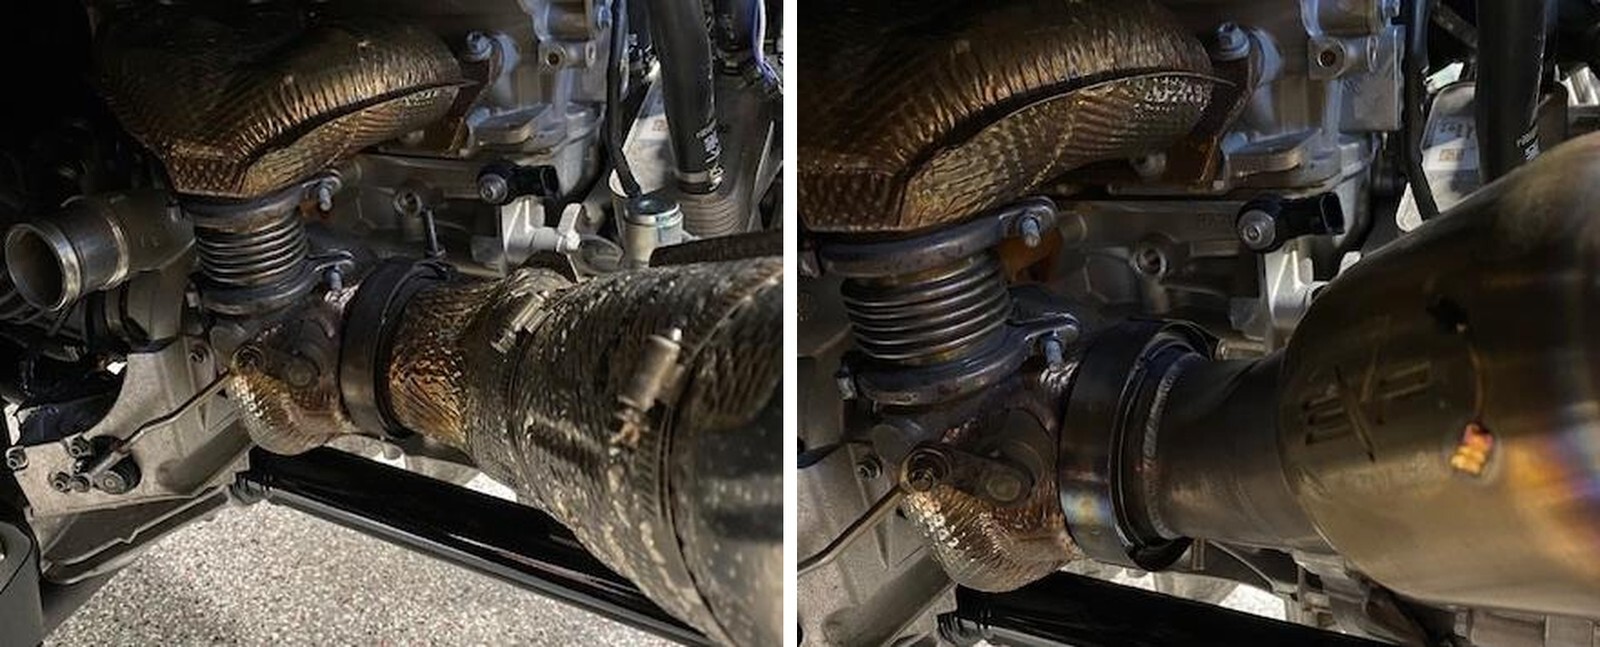
10
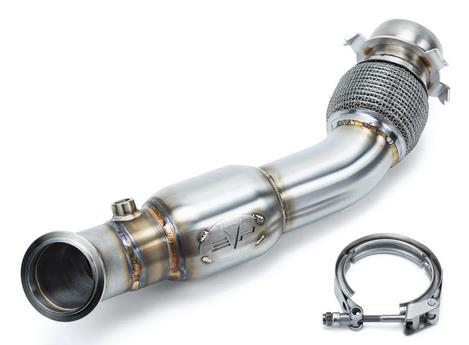
Remove the OEM V-Band clamp using an 11mm socket.
11
Install the new 3” downpipe or shocker onto the turbocharger, using supplied V-Band clamp. Keep it loose for now.
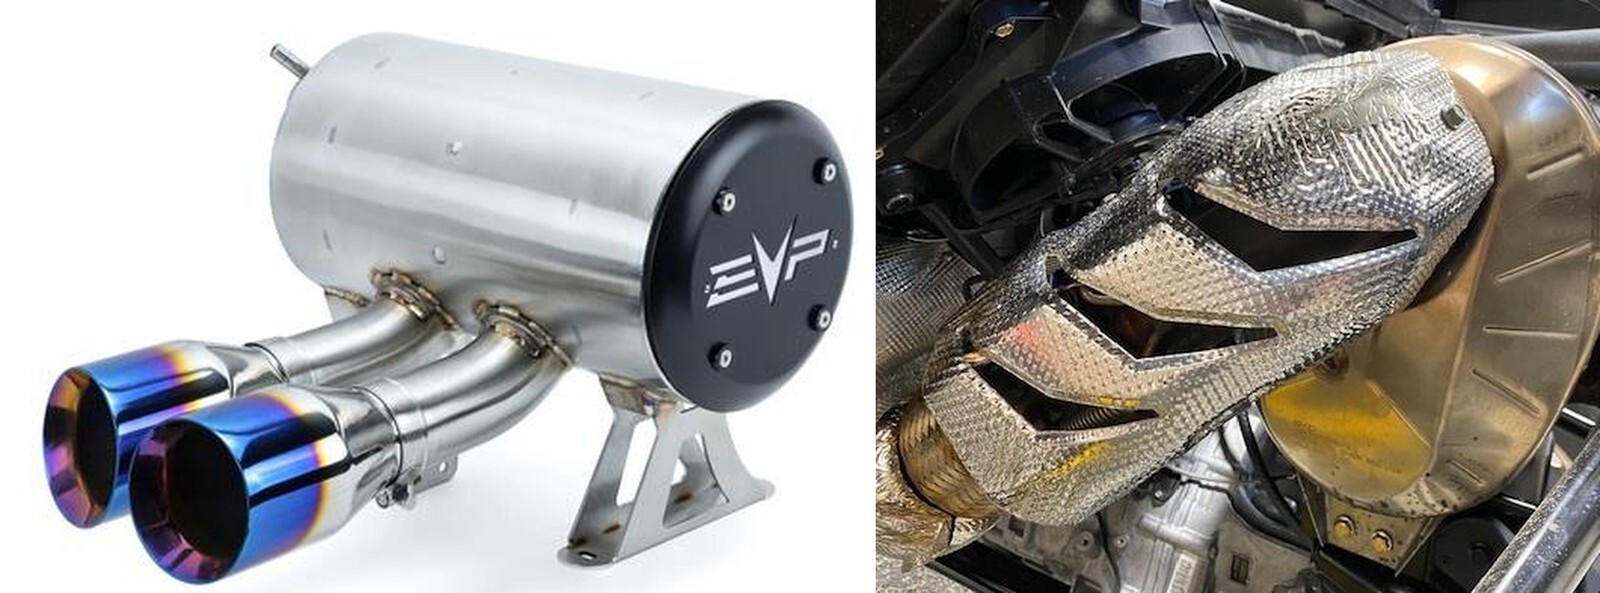
12
Install the new muffler from the right rear of the vehicle. Mount it to the OEM bracket. Reuse OEM hardware. Don’t tighten any bolts down yet.
13
With everything mounted loosely, reinstall the (4) exhaust springs holding the downpipe and muffler joint together.
14
Tighten everything from the turbocharger V-Band clamp to muffler, do NOT overtighten the V-Band clamp.
15
The turbocharger heat shield can be reinstalled, if wanted.
16
Reinstall the charge tube going from the turbocharger to intercooler.
17
Apply anti seize on the threads of the 02 sensor, reinstall with 22mm wrench.
18
Wipe down the entire exhaust system in this sequence: Brake cleaner, Windex, finished off with rubbing alcohol. This will remove all fingerprints during installation.
19
Install your set of tips onto the muffler, angle them however you want. Tighten down with supplied clamps, DON’T OVER TIGHTEN!
20
Reinstall the muffler jointer heat shield, using OEM hardware.