What's in the Box
Installation
1
Remove the bed and lower/upper wind dam if equipped. See Maverick R Upper Scoop and Bed Removal Instructions.
2
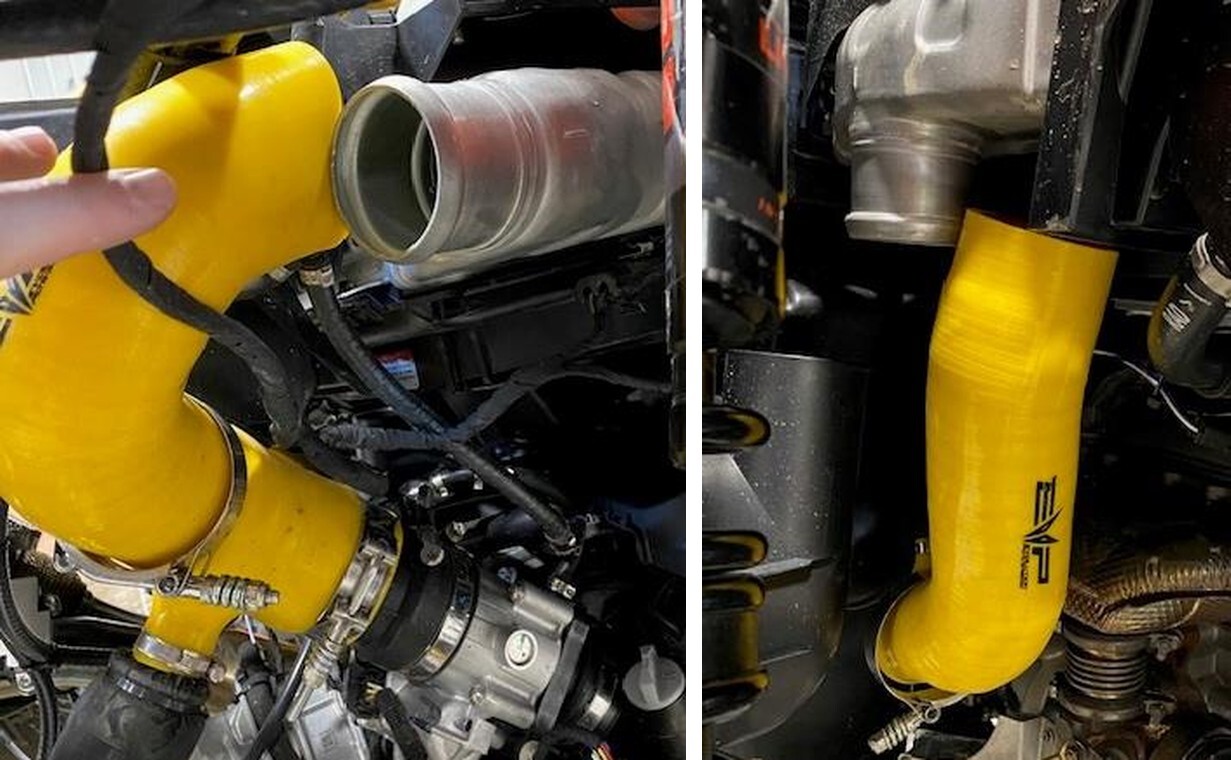
Remove both charge tubes from the intercooler using an 11mm socket.
3
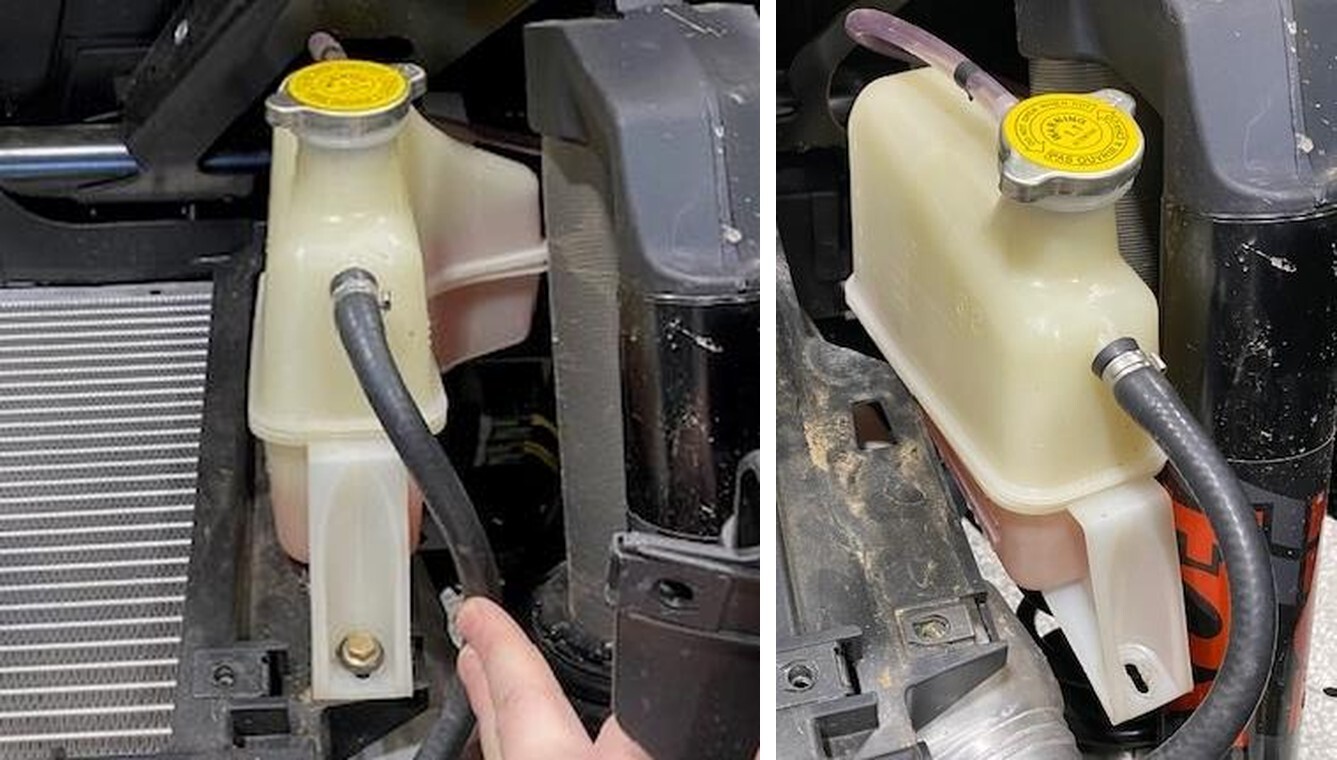
Remove the (1) coolant reservoir mounting screw using a 10mm socket.
4
Remove the coolant reservoir and bungee it up to the cage.
5
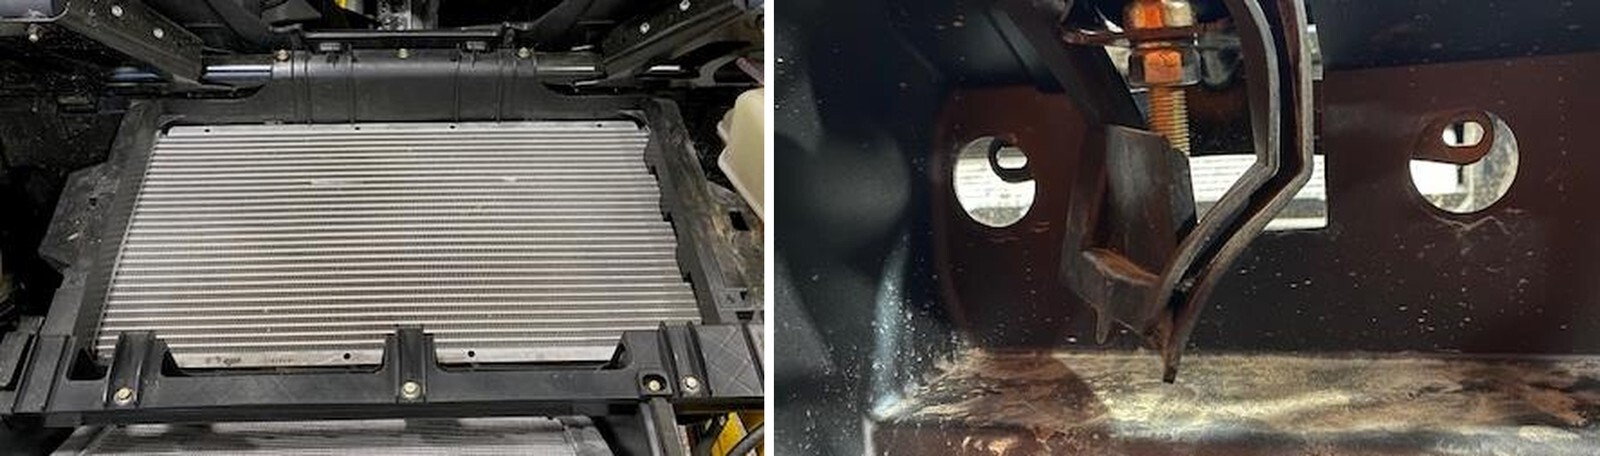
Remove (6) intercooler tray screws using a 10mm socket.
6
Behind the seats, remove (4) rubber plugs and access (4) 10mm screw. Two located behind the passenger seat and drivers seat.
7
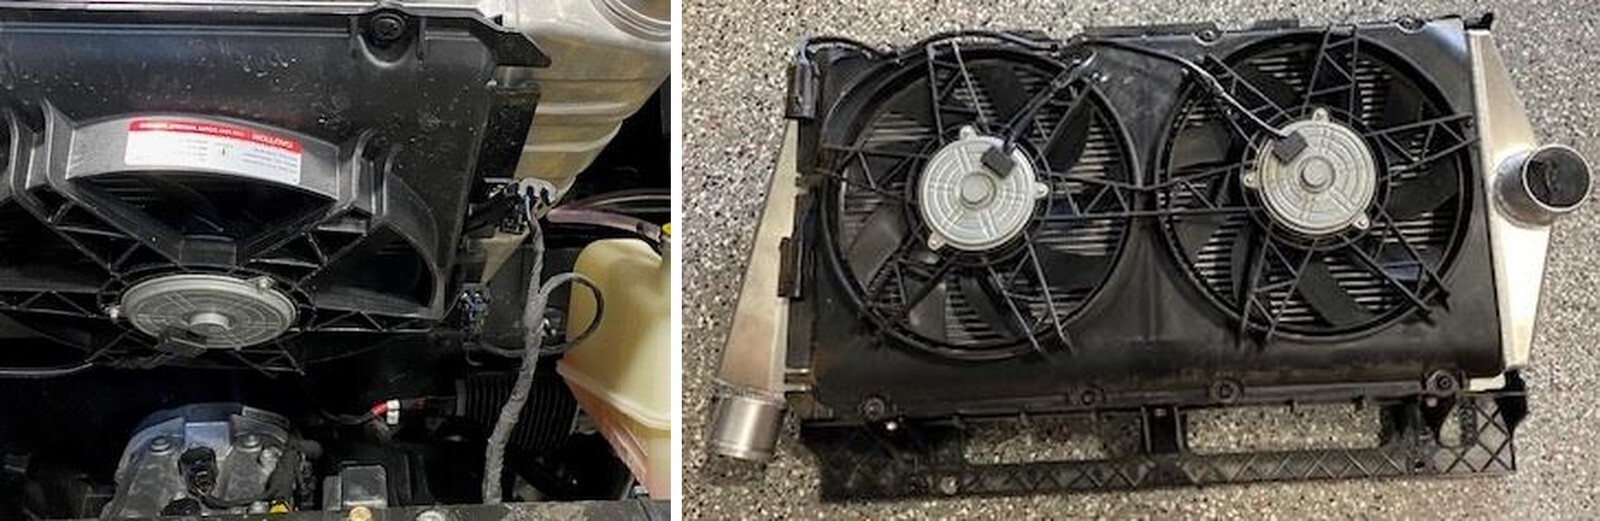
Tilt the back of the intercooler upwards, unplug (2) intercooler fan connectors. Remove the intercooler from the vehicle.
8
BLOW OUT THE NEW INTERCOOLER. With the intercooler removed, remove (8) T- 30 screws holding the fan shroud on and (6) 10mm screws holding the tray on. Transfer to the new intercooler.
9
Install the intercooler in reverse order.