What's in the Box
Installation
1
Remove the bed and lower/upper wind dam if equipped. See Maverick R Upper Scoop and Bed Removal Instructions.
2
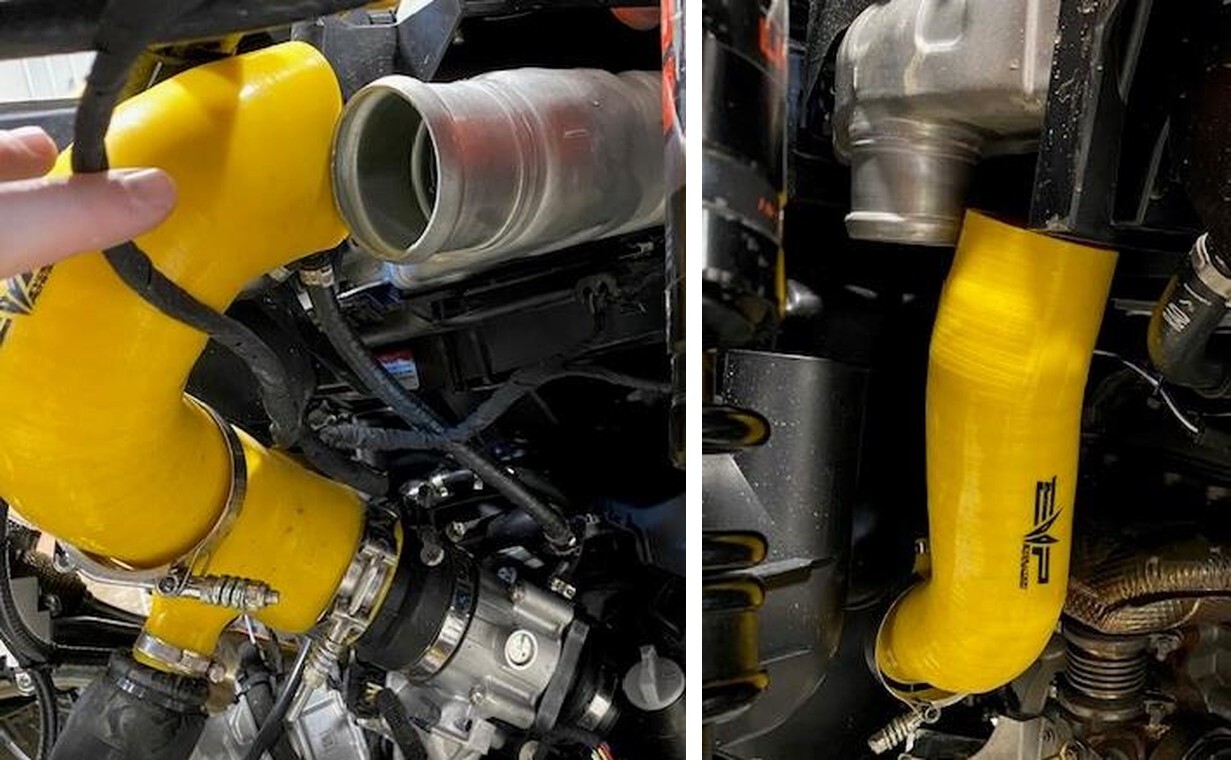
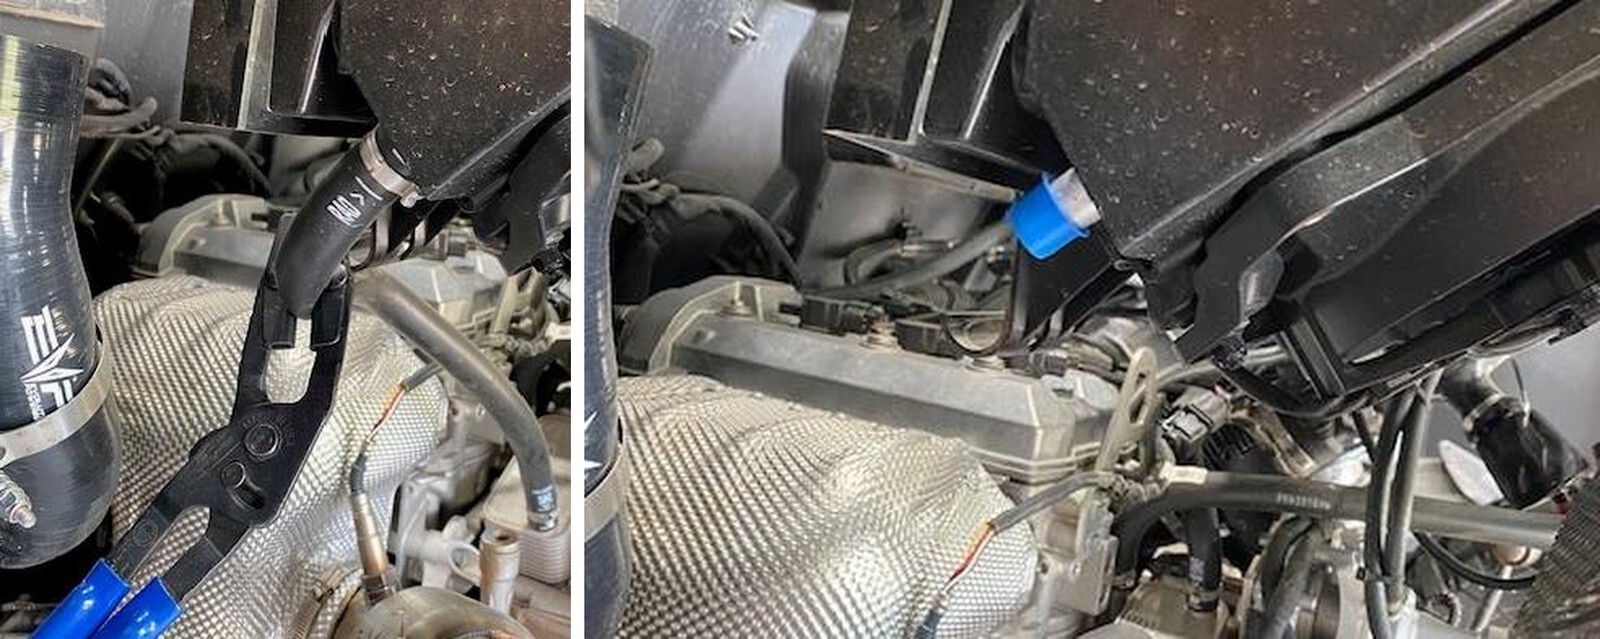
Remove both charge tubes from the intercooler using an 11mm socket.
3
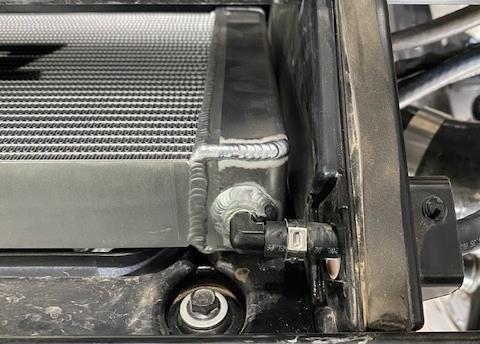
Remove the (1) coolant reservoir mounting screw using a 10mm socket.
4
Remove the coolant reservoir and bungee it up to the cage.
5
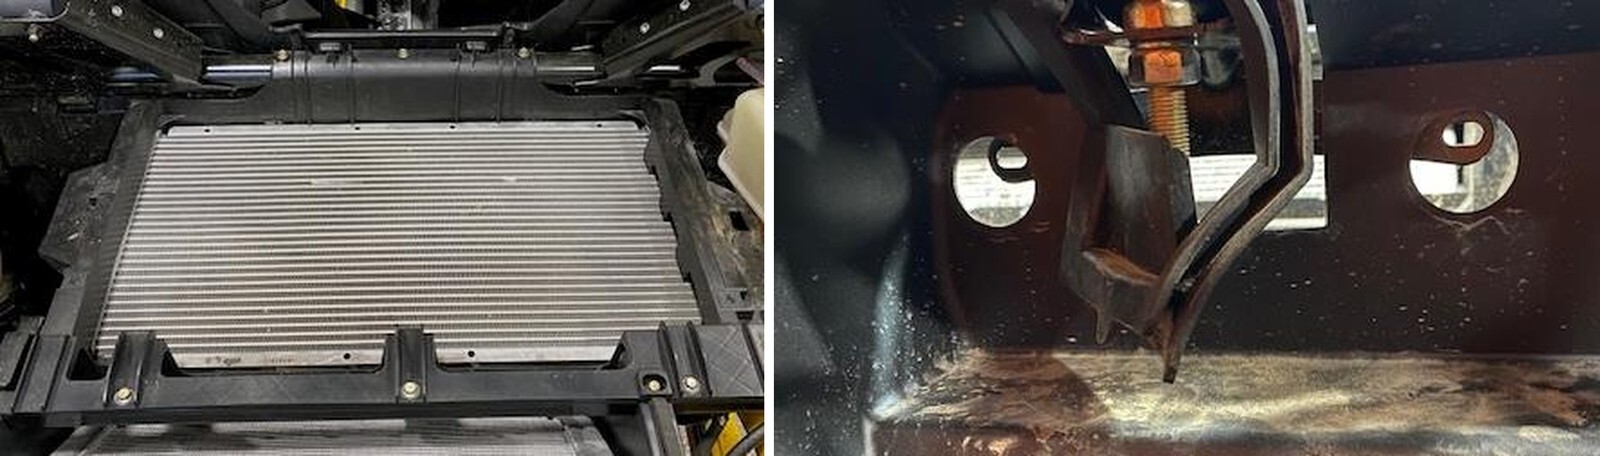
Remove (6) intercooler tray screws using a 10mm socket.
6
Behind the seats, remove (4) rubber plugs and access (4) 10mm screw. Two located behind the passenger seat and drivers seat.
7
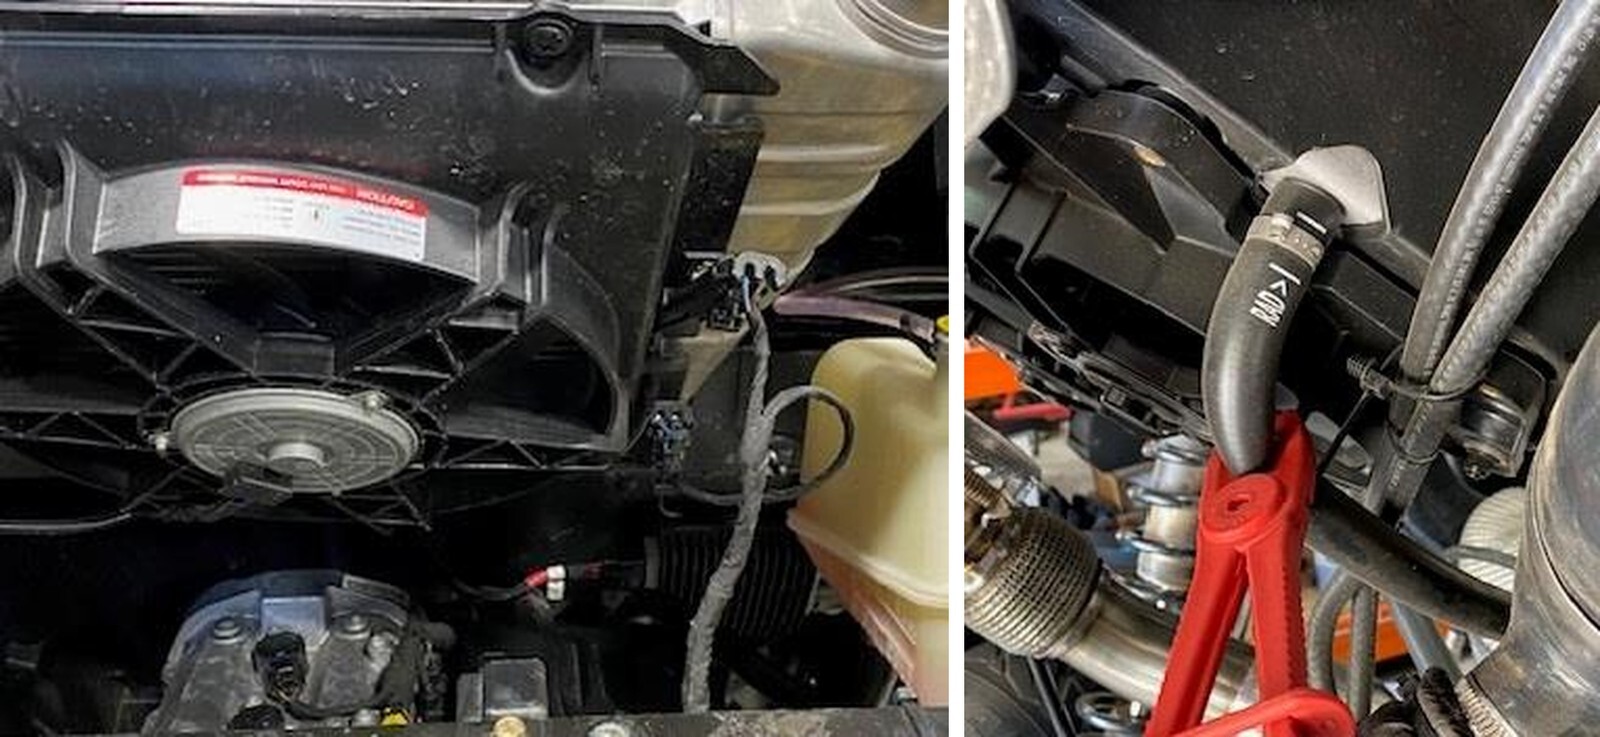
Tilt the back of the intercooler upwards, unplug (2) intercooler fan connectors. Remove the intercooler from the vehicle.
8
With the intercooler removed, pinch off both lines going to the transmission radiator.
9
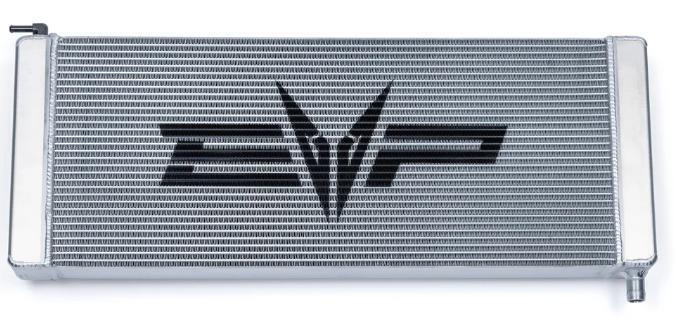
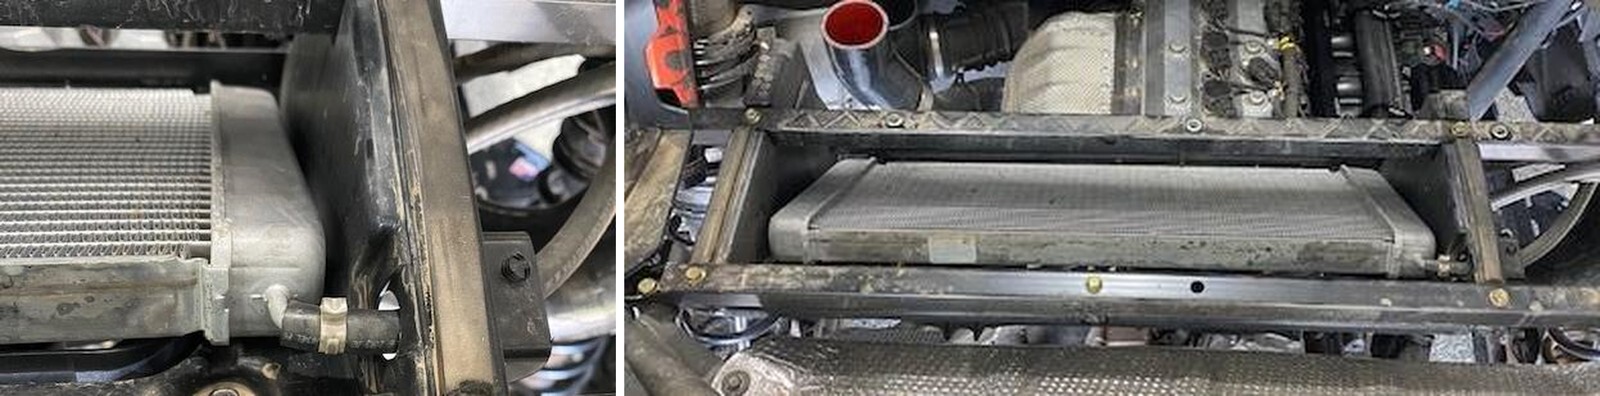
Place a drain pan underneath the lowest port on the transmission cooler, located on the drivers side. Cut the pinch clamp and drain. Once done draining, take the port caps off your new cooler and place on the OEM cooler.
10
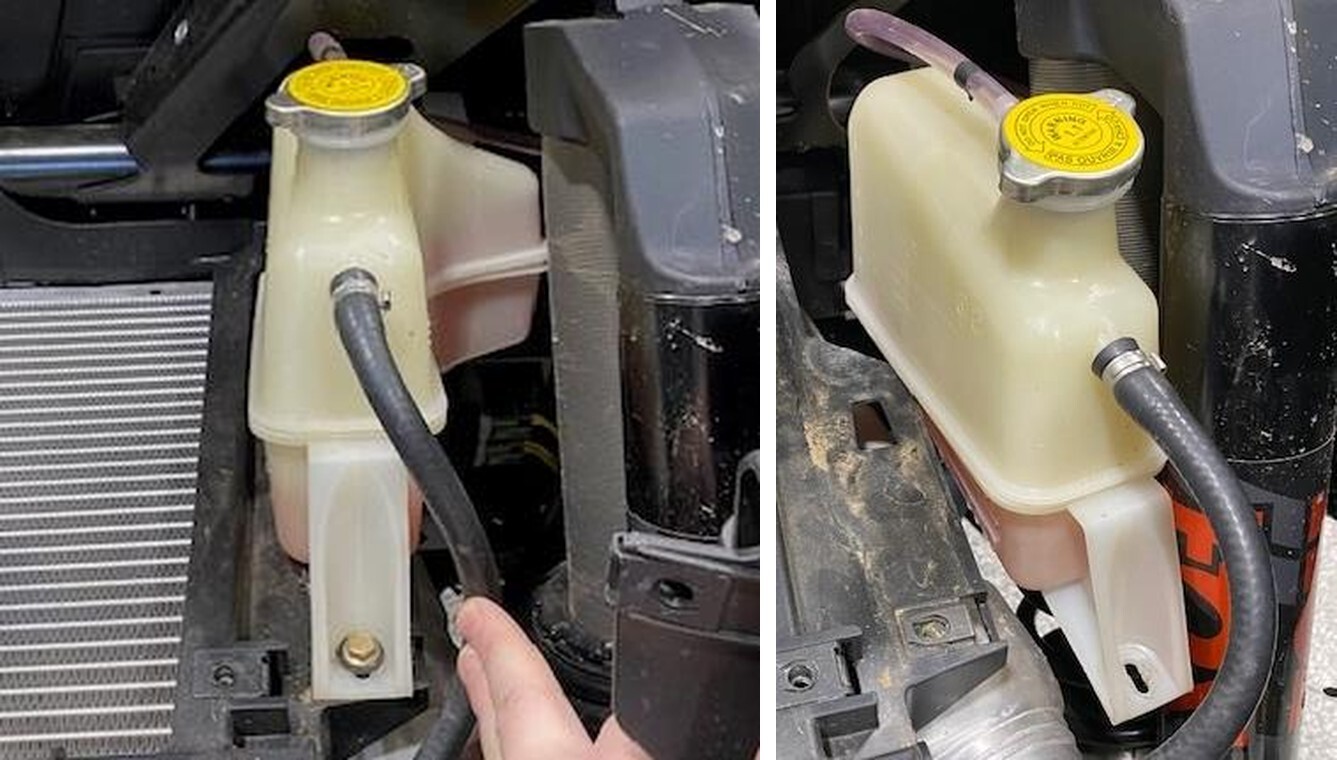
Cut the pinch clamps off the overflow and inlet hose. Remove hoses.
11
Remove (5) 10mm screws holding the transmission cooler tray to the frame. The (2) front screws are through bolted. Remove (2) 13mm bolt and nut on the transmission cooler cross member. Remove the cross member.
12
Remove the transmission cooler and tray out towards the engine and up. You can turn the cooler 45 degrees and unplug both fan connectors. Cut one zip tie.
13
With the cooler out of the car, remove the fan shroud (4) 10mm screws and install onto the new cooler.
14
Install the new cooler in reverse order, plug in the fan connectors, zip tie wires, install supplied 25.6 pinch clamps on the hoses, 13.3mm pinch clamp on the overflow.