What's in the Box
Installation
1
Remove the heat shields (2 part) around the turbocharger. 1 hose clamp, (2) 10mm screws underneath and (4) on top by the valve cover.
2
Remove both V-band clamps holding the flex jointer from the header to turbocharger. Take note on where these clamps are orientated. Use a 10mm socket.
3
Remove (4) 10mm screws on the top of the header.
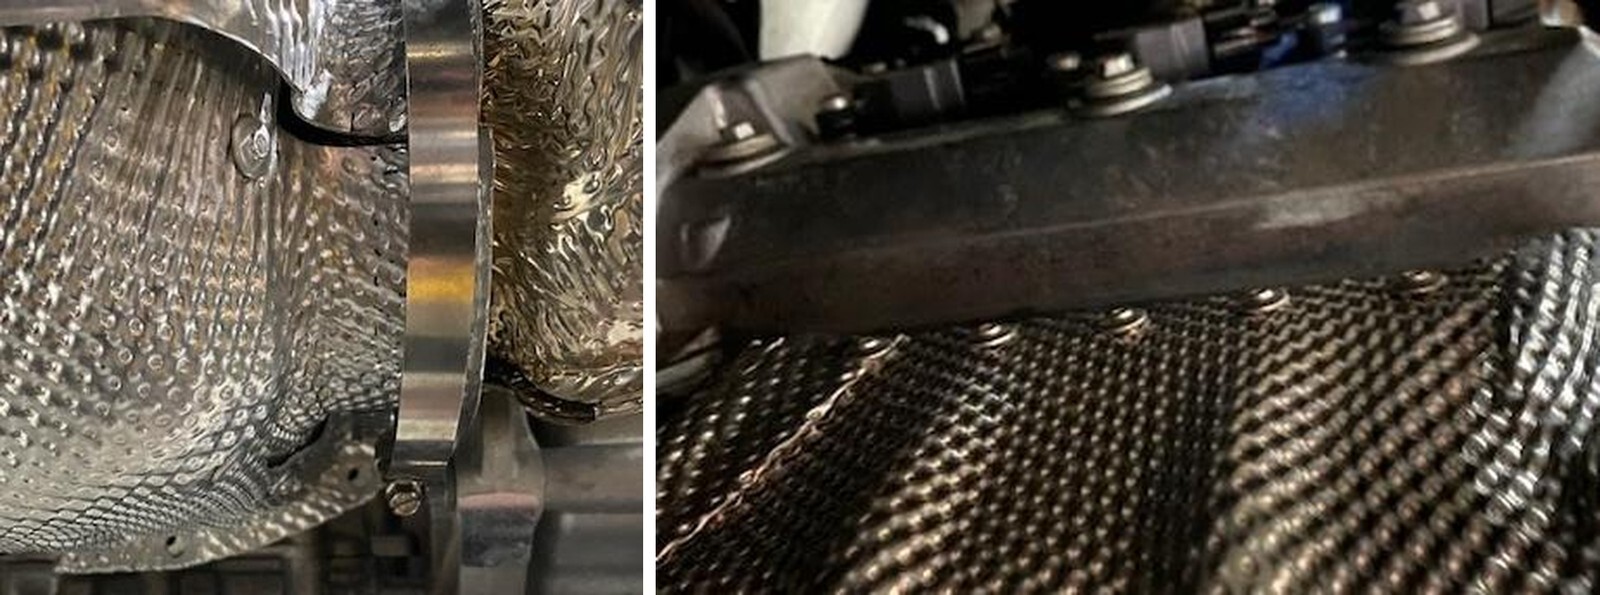
4
Loosen the bottom pinch plate screws holding the header to the block. You may need to indent the heat shield to get a socket on the screw. Remove the exhaust manifold.
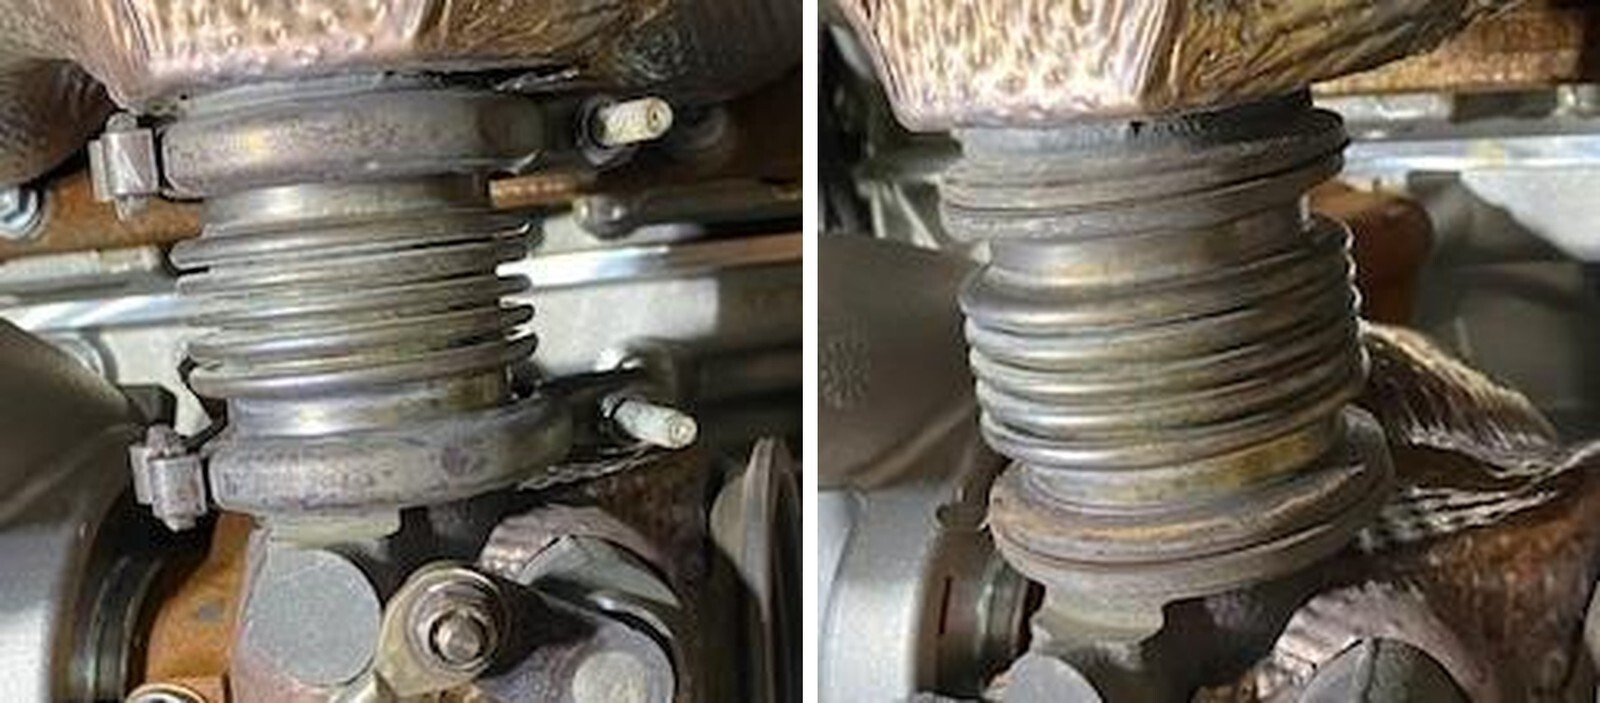
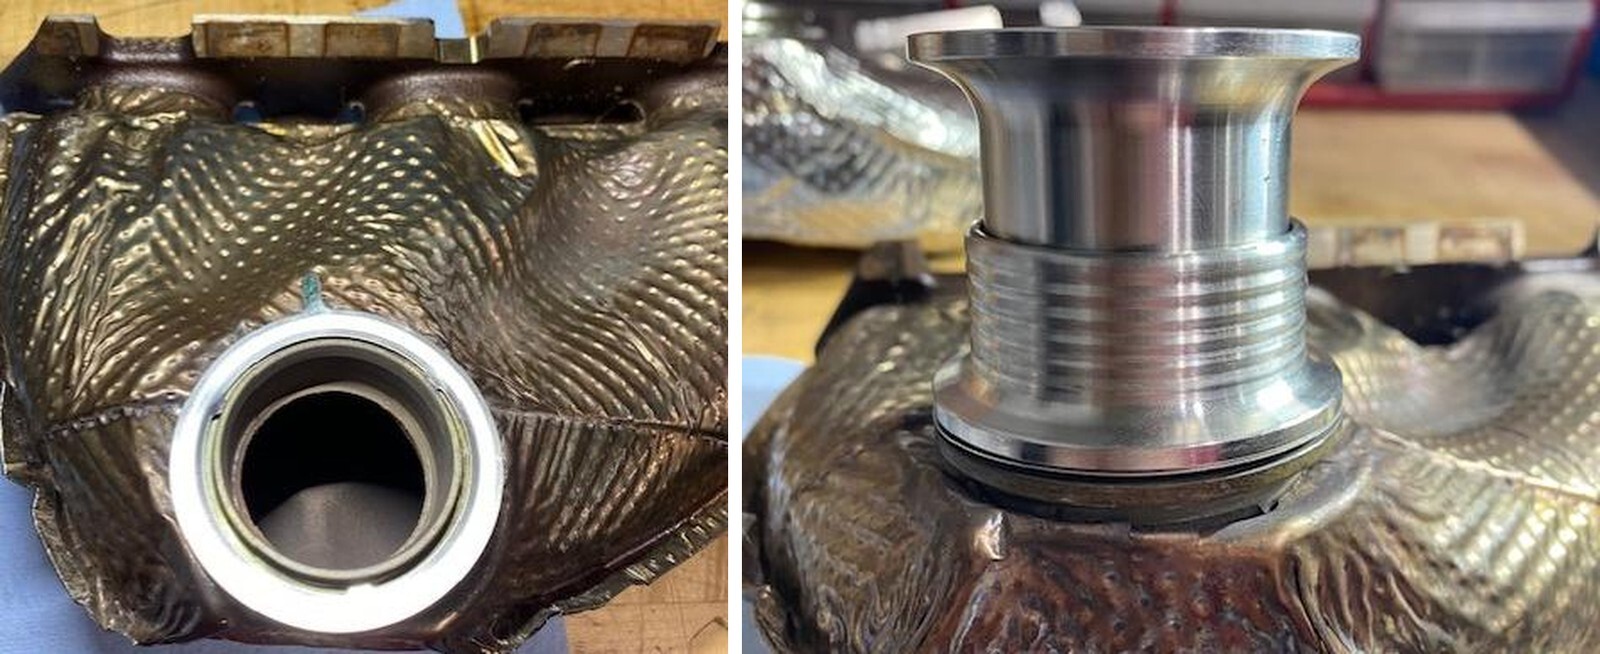
5
The inner tube should stay with the exhaust manifold. You may have to tap it with a rubber mallet to remove. Below is a photo of the OEM compensator. We recommend changing the gaskets when removing. You can reuse the clamps if they’re not damaged.
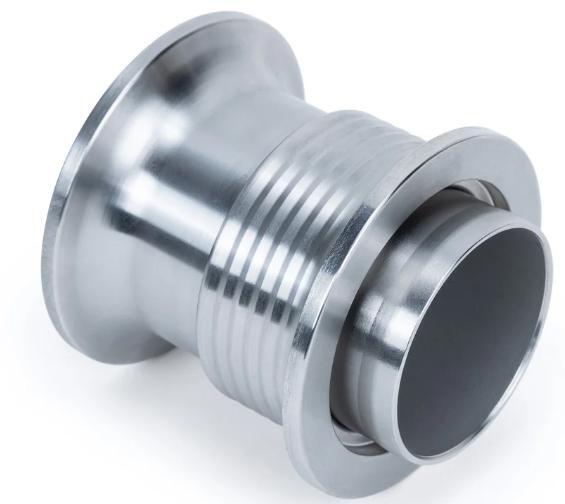
6
Below is the 3-piece slip fit compensator.
7
Install a new gasket onto the turbocharger. They are a tight fit you can slightly bend the tabs upward. Remember the clocking of the alignment tab.
8
Install a new gasket onto the exhaust manifold. Watch clocking of the alignment tab.
9
PHOTO IS UPSIDE DOWN. Install the new compensator onto the exhaust manifold with the inner tube fully seating into the exhaust manifold. You can install the upper clamp now or later.

10
Install the manifold onto the engine and turbocharger. Make sure gaskets are aligned. Install both compensator clamps snug.
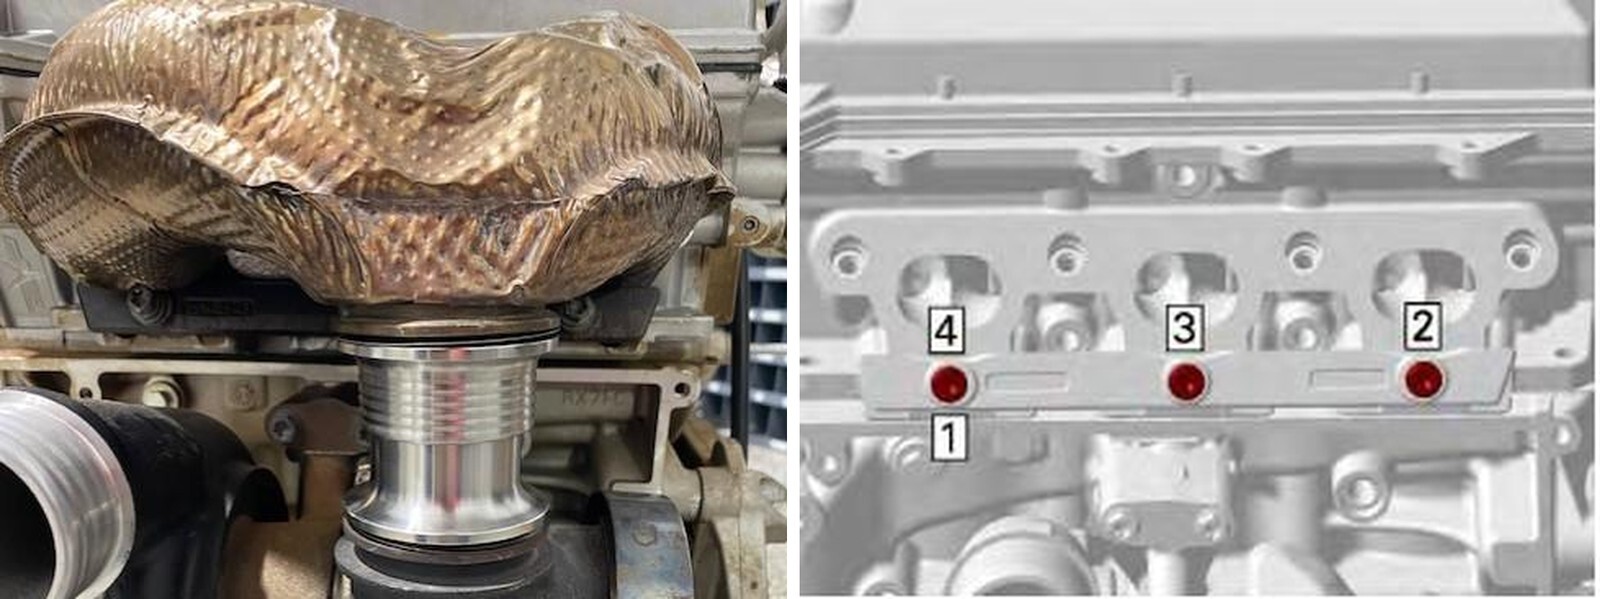
11
Torque the bottom (3) screws on the clamping plate to 18 ft-lb in sequence.
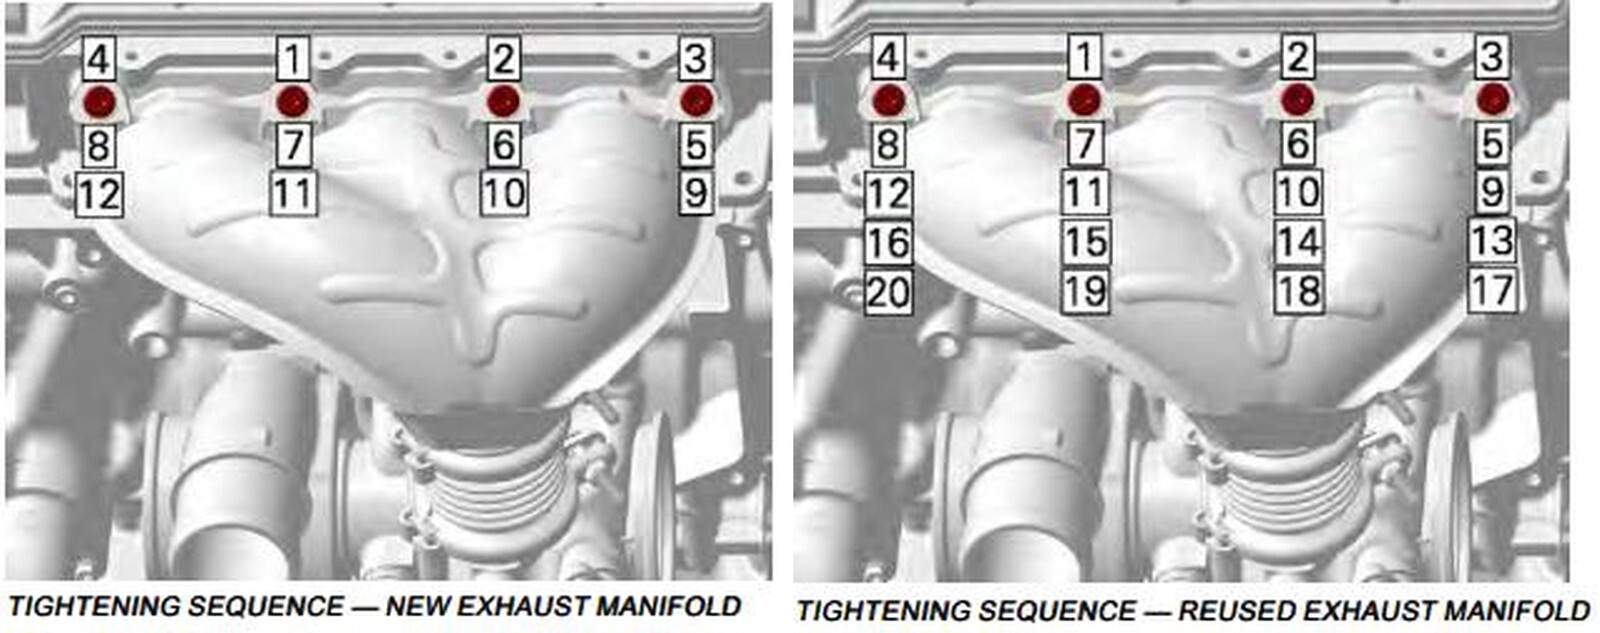
12
Torque the upper exhaust manifold screws to 18 ft-lb, in sequence. Notice the difference between “NEW” and “USED”.
13
Check the compensator clamps. Start the vehicle and check for any exhaust leaks. Reinstall the heat shields.