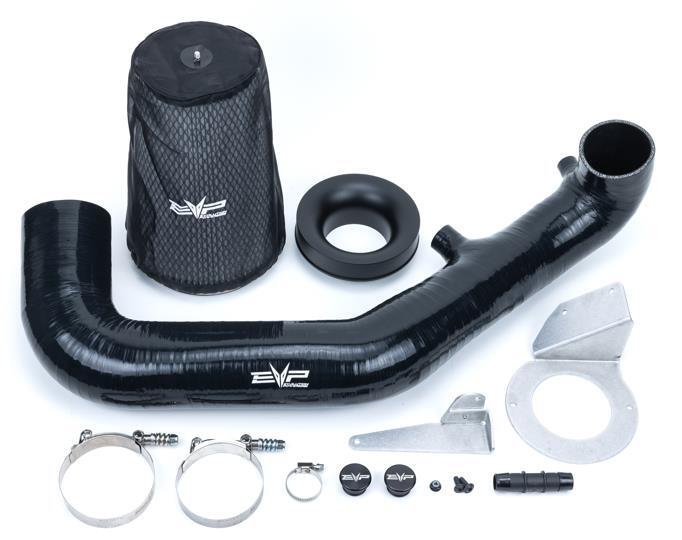
What's in the Box
Installation
1
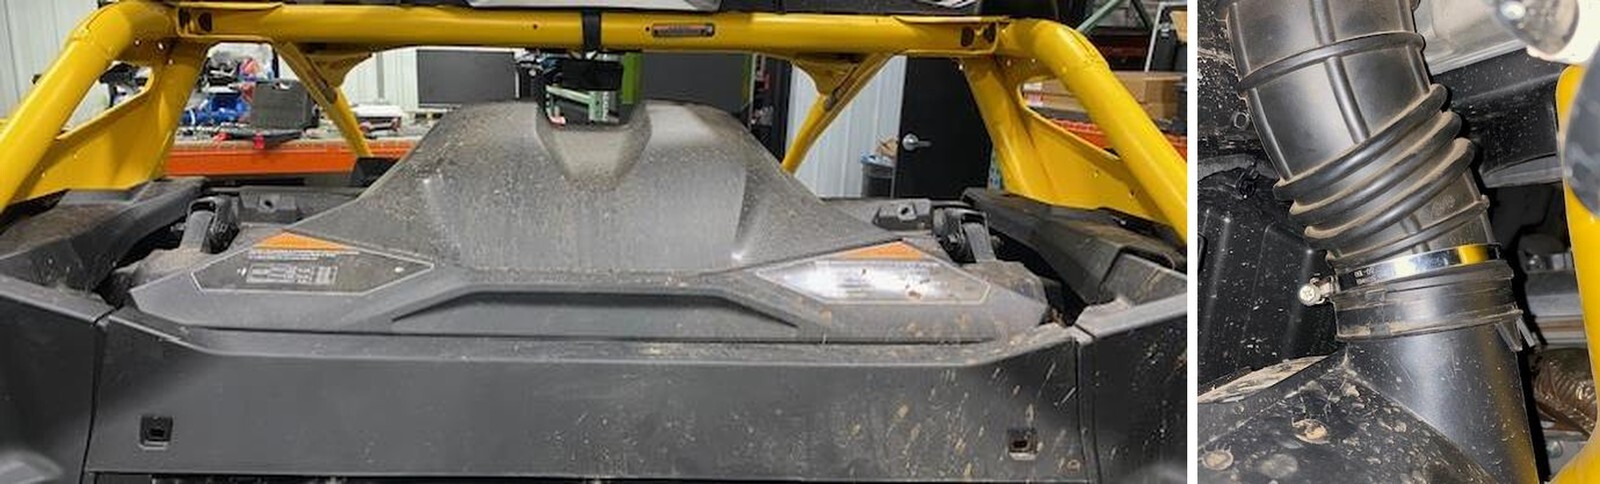
Remove the upper wind dam plastic above the intercooler and fresh air intake. (4) T-25.
2
Remove the upper fresh air intake tube by loosening the worm drive on the air filter box and pushing the tube through the side panel.
3
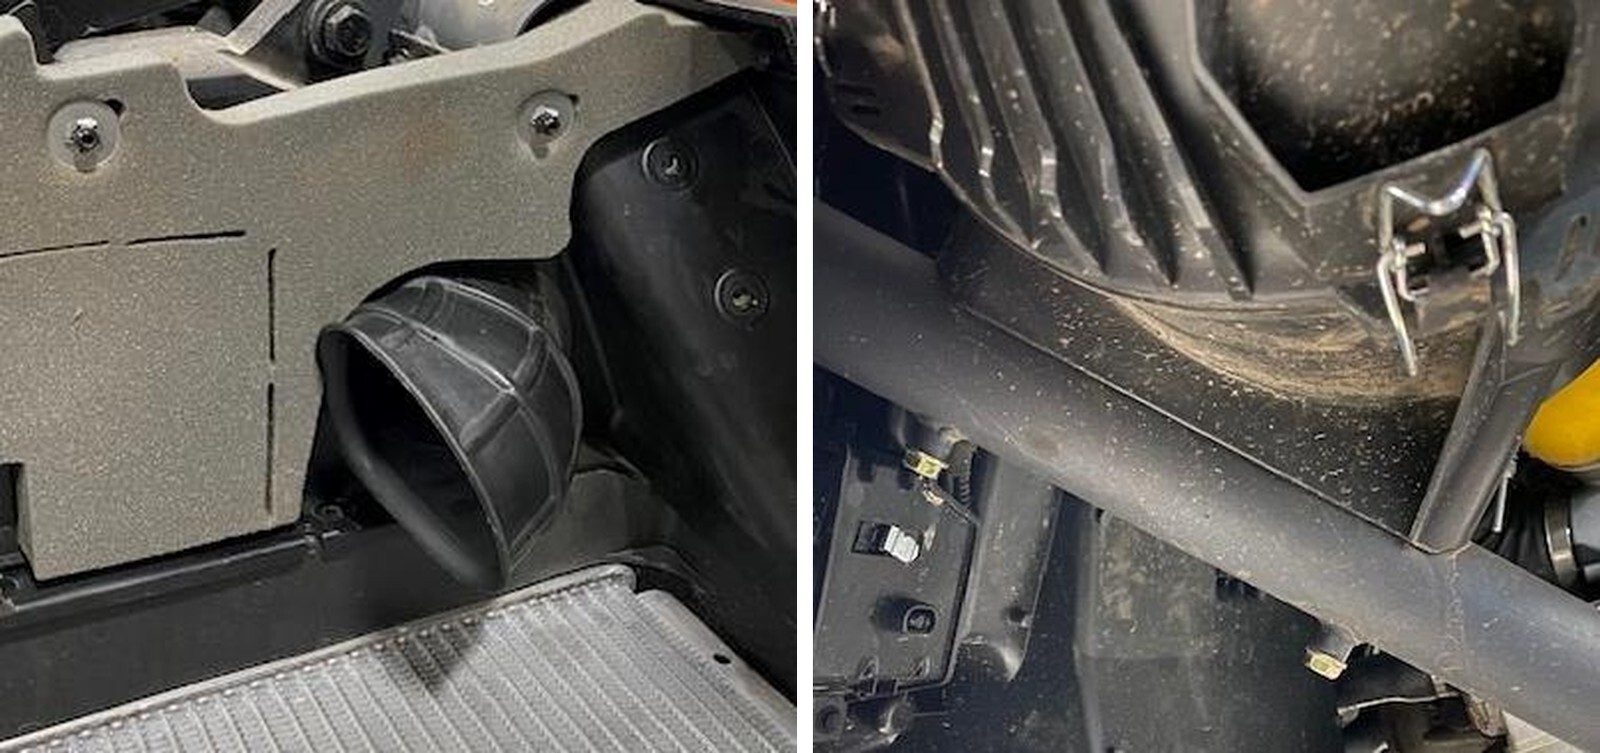
Remove the OEM air box buy loosening the worm drive clamp on the intake tube going to the turbocharger and (2) 13mm bolts located on the frame.
4
Loosen the worm drive clamp on the valve cover breather tube. Loosen the worm drive on the intake tube located on the turbocharger. Remove the tube.
5
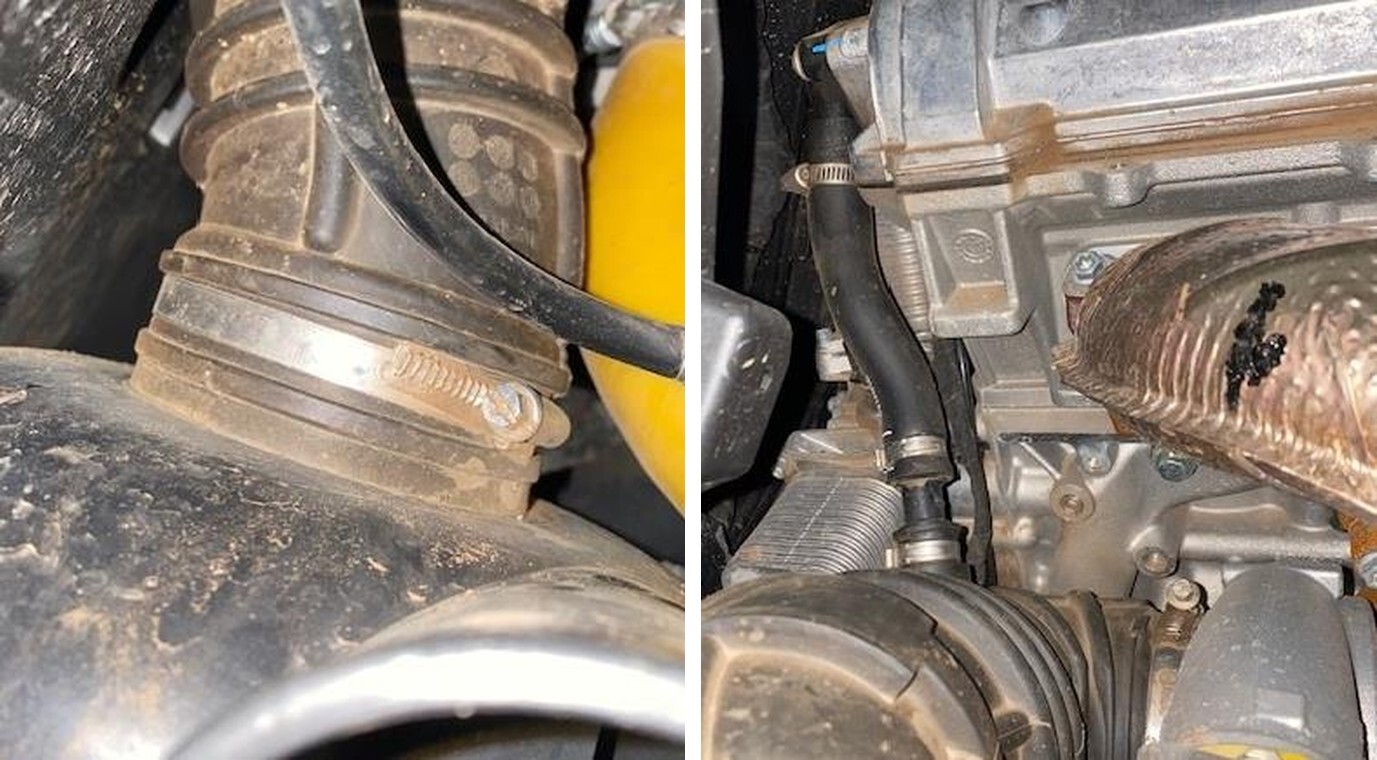
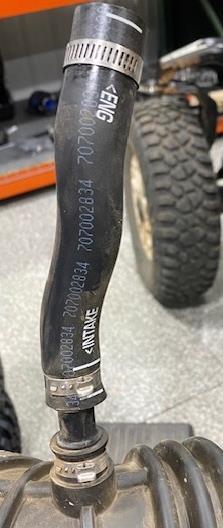
If you are NOT running a catch can, remove the pinch clamp on the OEM intake hose and remove the hose assembly. This will be used in the new HFI tube.
6
If you are NOT running a catch can you will install this hose onto the small port located on the new HFI tube. Use supplied pinch clamp.
7
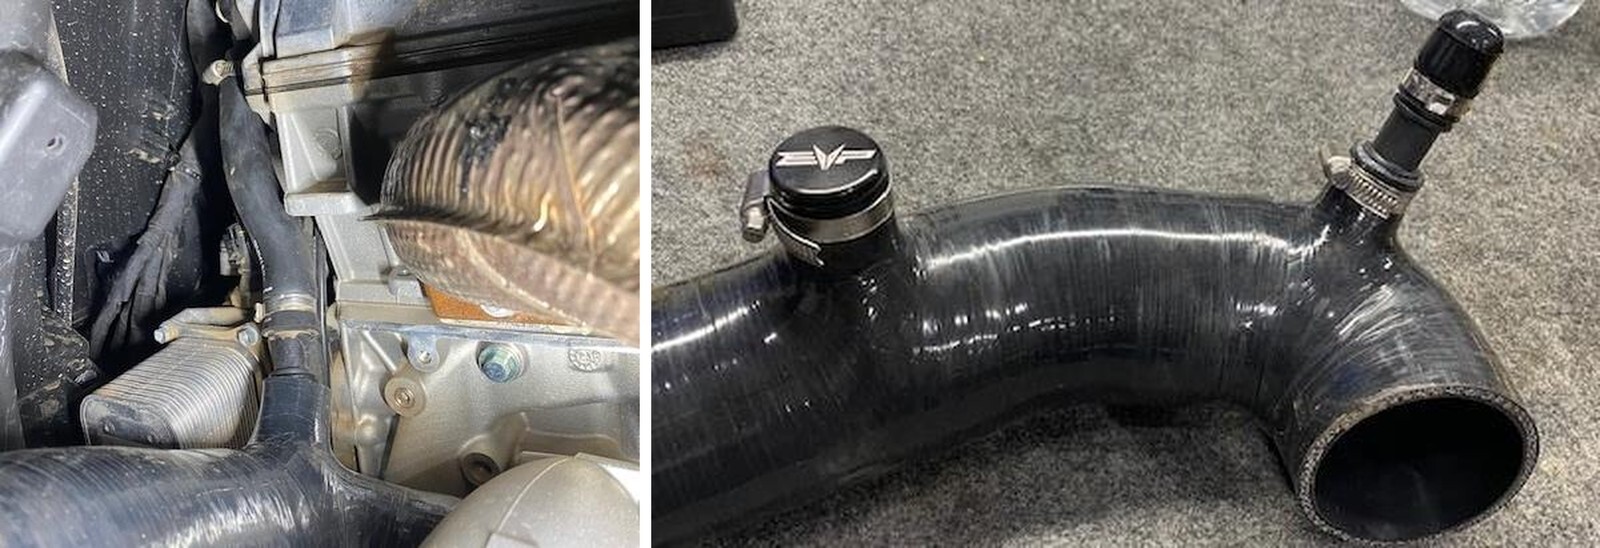
If you ARE running a catch can, install supplied 3/4" billet plug in the valve cover breather port. If you are NOT running a boost recirculating valve, install the supplied 1.0” plug in the larger port.
8
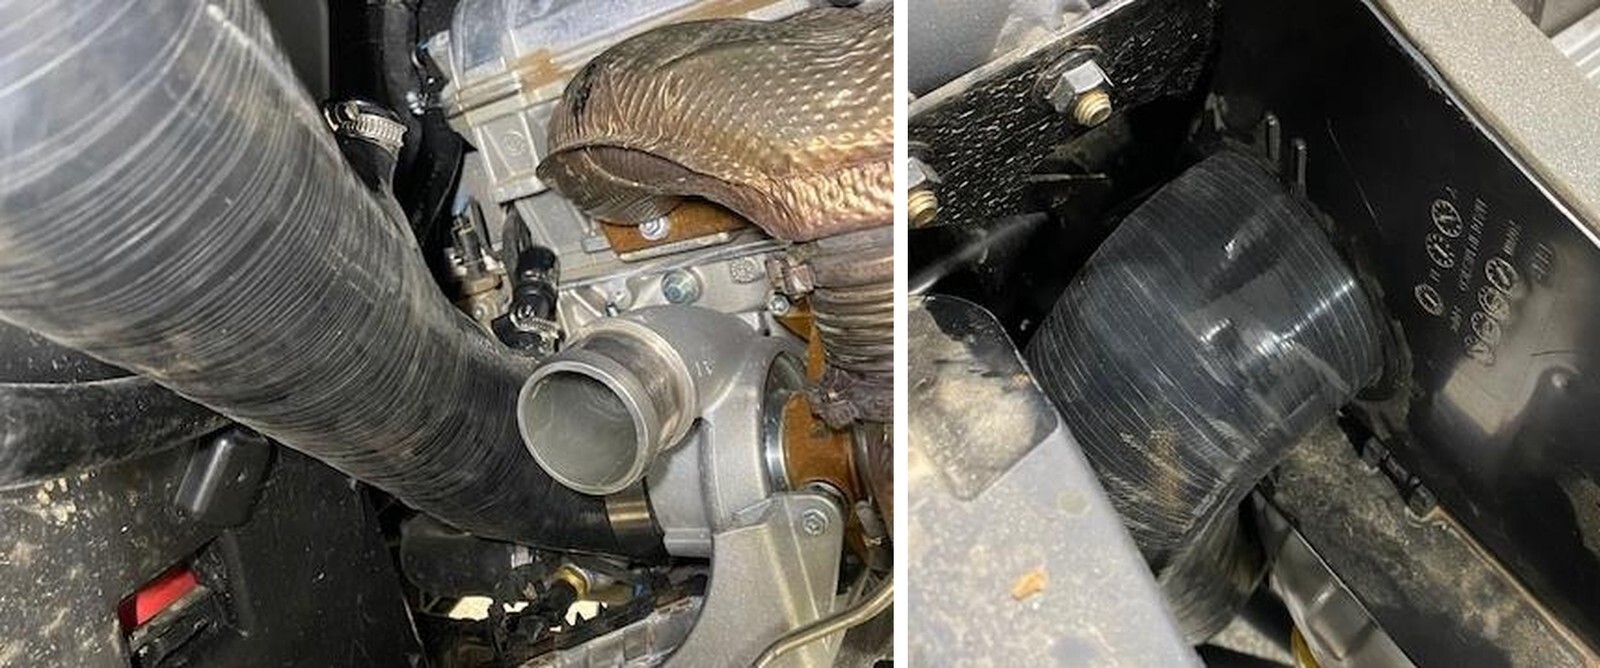
Install the HFI tube onto the turbocharger with supplied 359 T-Bolt clamp, loosely.
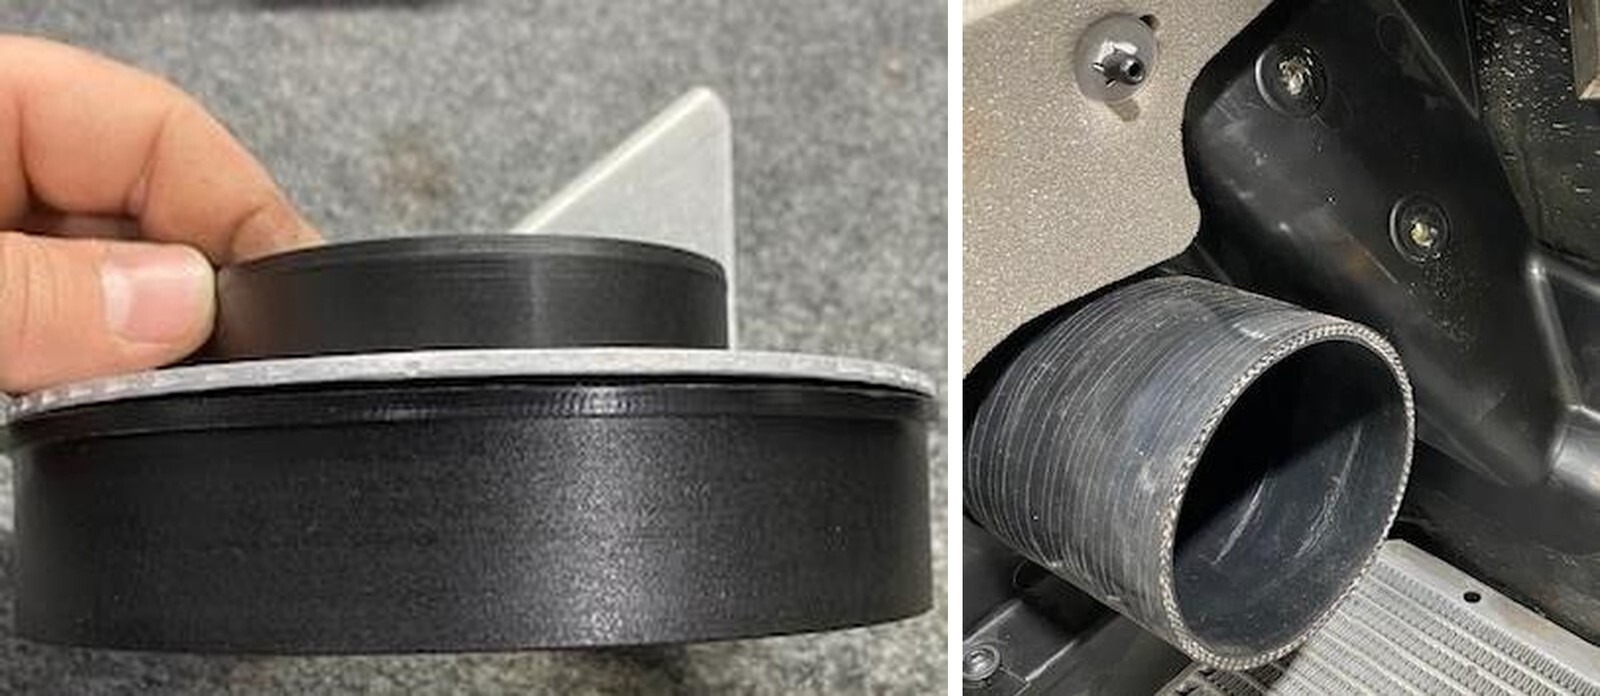
9
Install the other end of the HFI tube through the upper wind dam side panel. This is a tight fit.
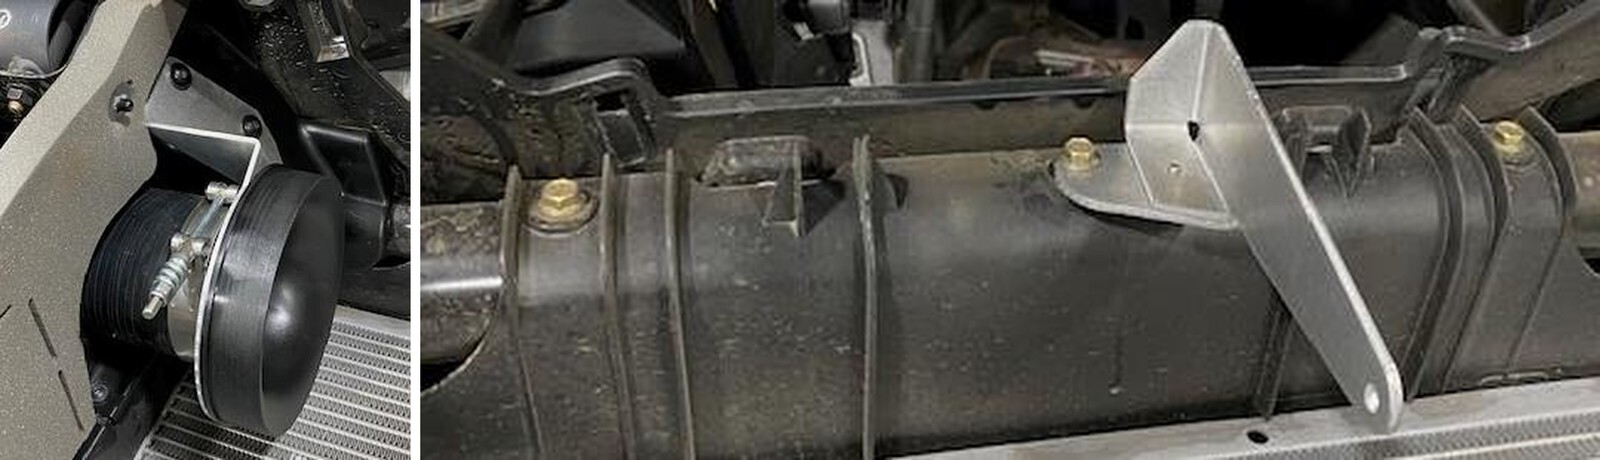
10
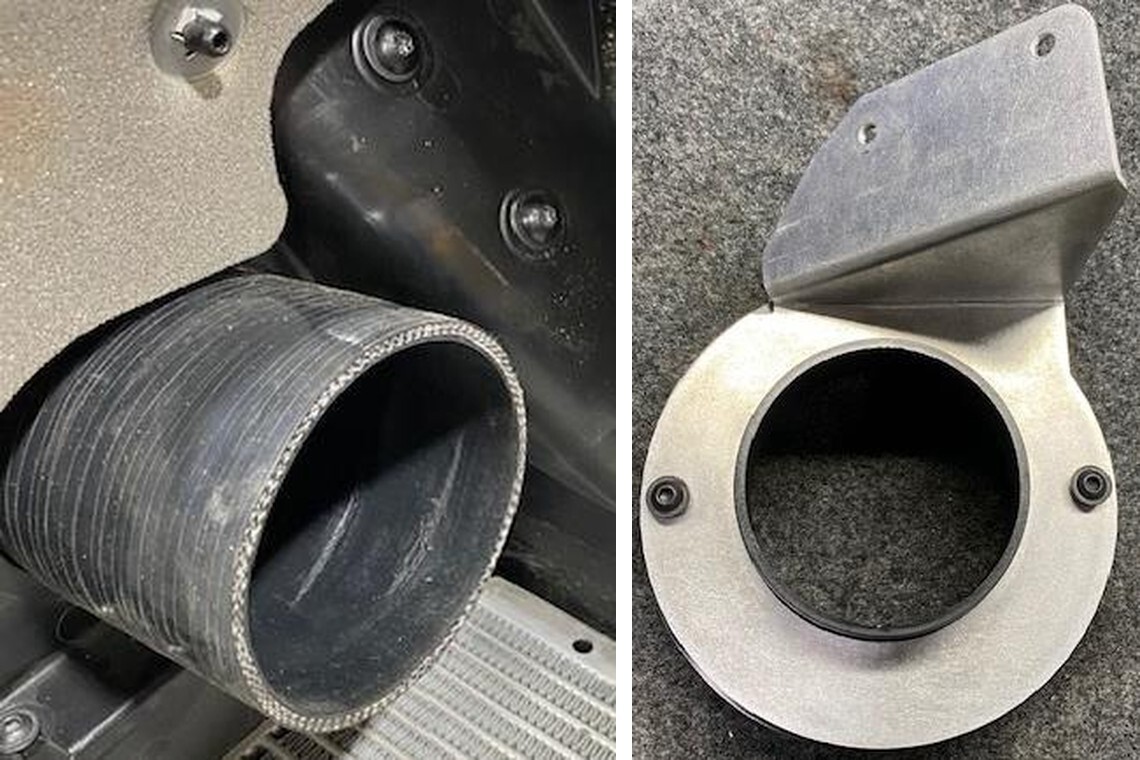
Install the air filter venturi and bracket, with suppled M6 flanged screws. See correct orientation below.
11
Remove the (2) T-25 screws above the silicone tube.
12
Slide the supplied 387 T Bolt clamp onto the tube, install the venturi and bracket onto the tube. Fasten down with the OEM hardware.
13
Install the air filter bracket onto the intercooler shroud. Reuse OEM 10mm bolt. Keep this loose for now.
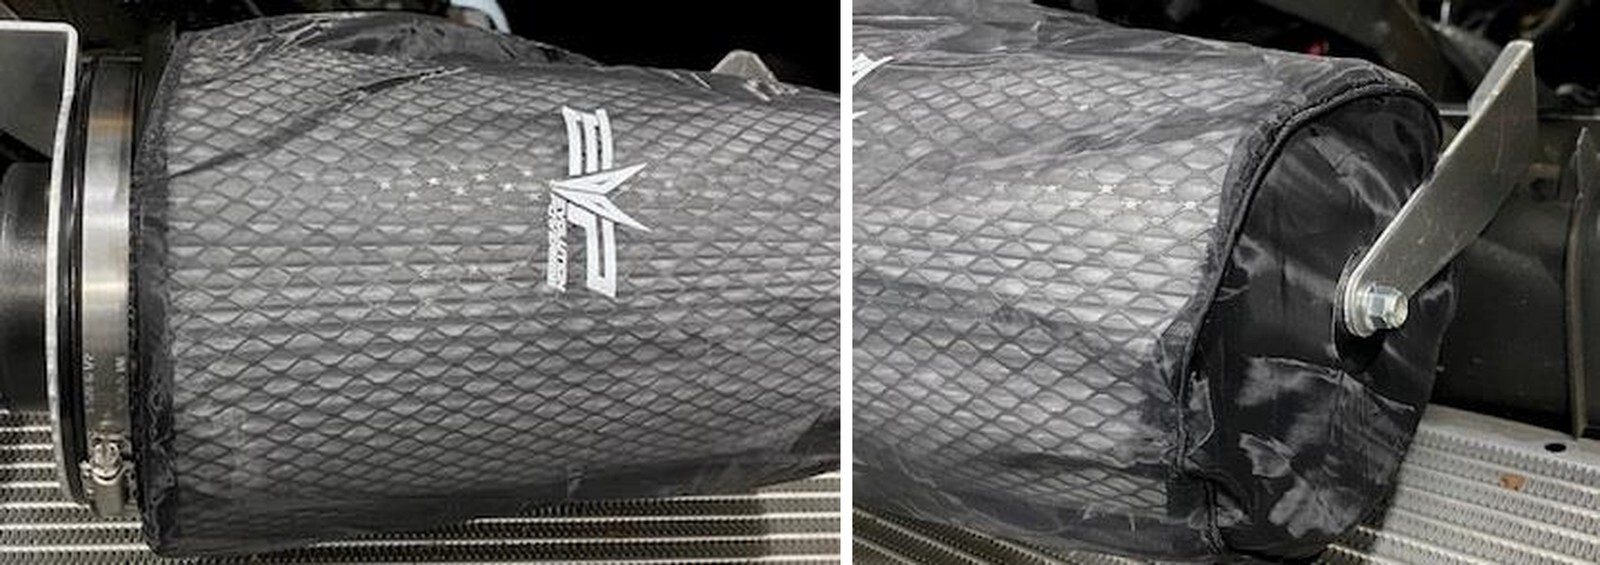
14
Install the supplied pre-filter over the air filter. Make sure the pre filter goes over the M6 stud located on the top.
15
Install the air filter onto the venturi with supplied 92-165mm worm drive. Install the air filter stud through the air filter bracket and secure with supplied M6 Nylock nut.
16
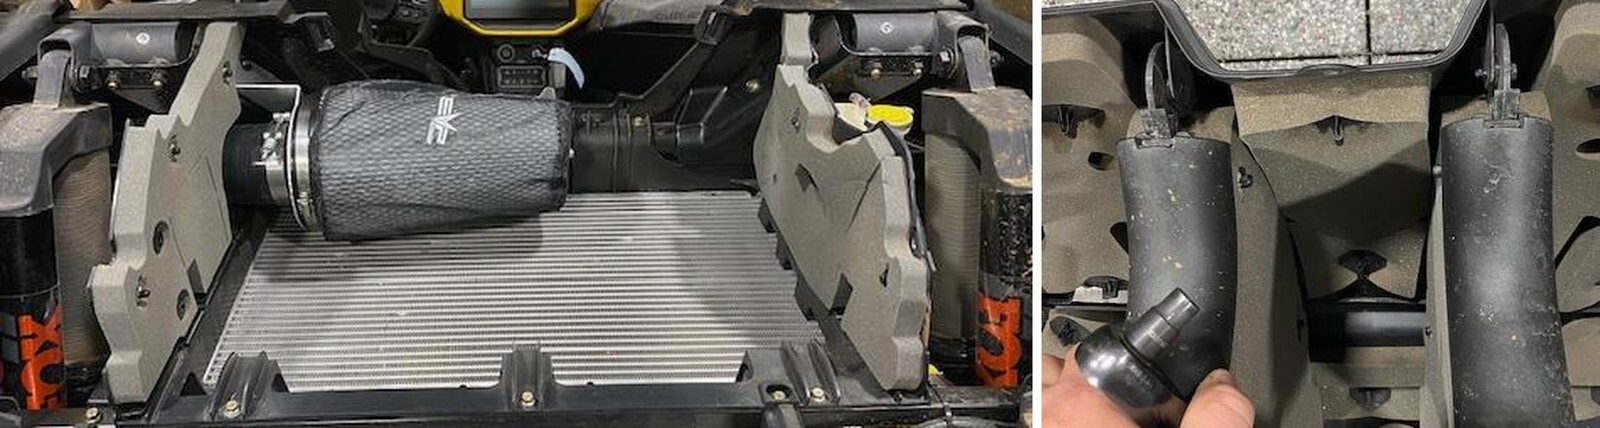
With the HFI installed, you can go back and tighten all clamps if you haven’t already. From turbocharger up to the air filter bracket.
17
Flip the wind dam upside down, you will have to remove both dividers. Remove (2) 8mm screws and pull the dividers upward to unclip the bottoms. If you are running the roof scoop you don’t need to remove anything. The roof scoop will fit with the HFI filter.
18
Reinstall the wind dam and fasteners.