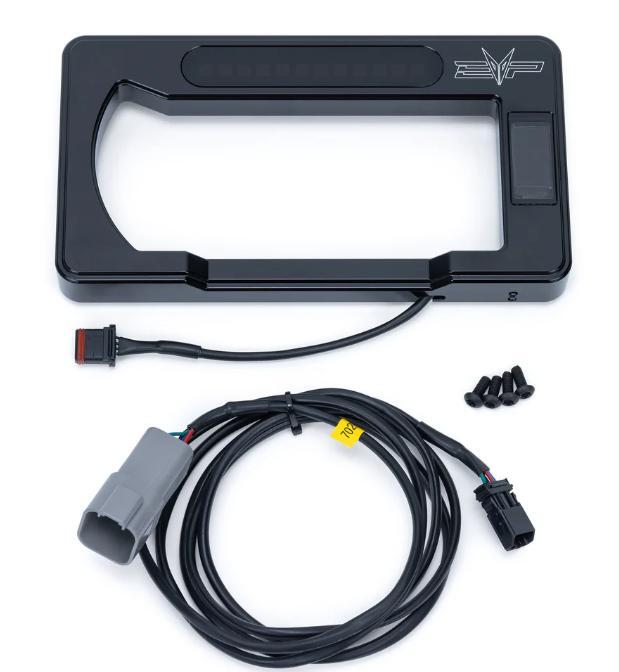
What's in the Box
Installation
1
Remove (4) T-30 screws holding the gauge cluster to the steering rack.
2
Remove the (4) T-20 outer screws holding the plastic gauge bezel to the cluster.
3
Remove plastic gauge bezel. Install the billet gauge bezel, fasten with supplied hardware. Don’t over tighten. (These photos were taking working upside down.).
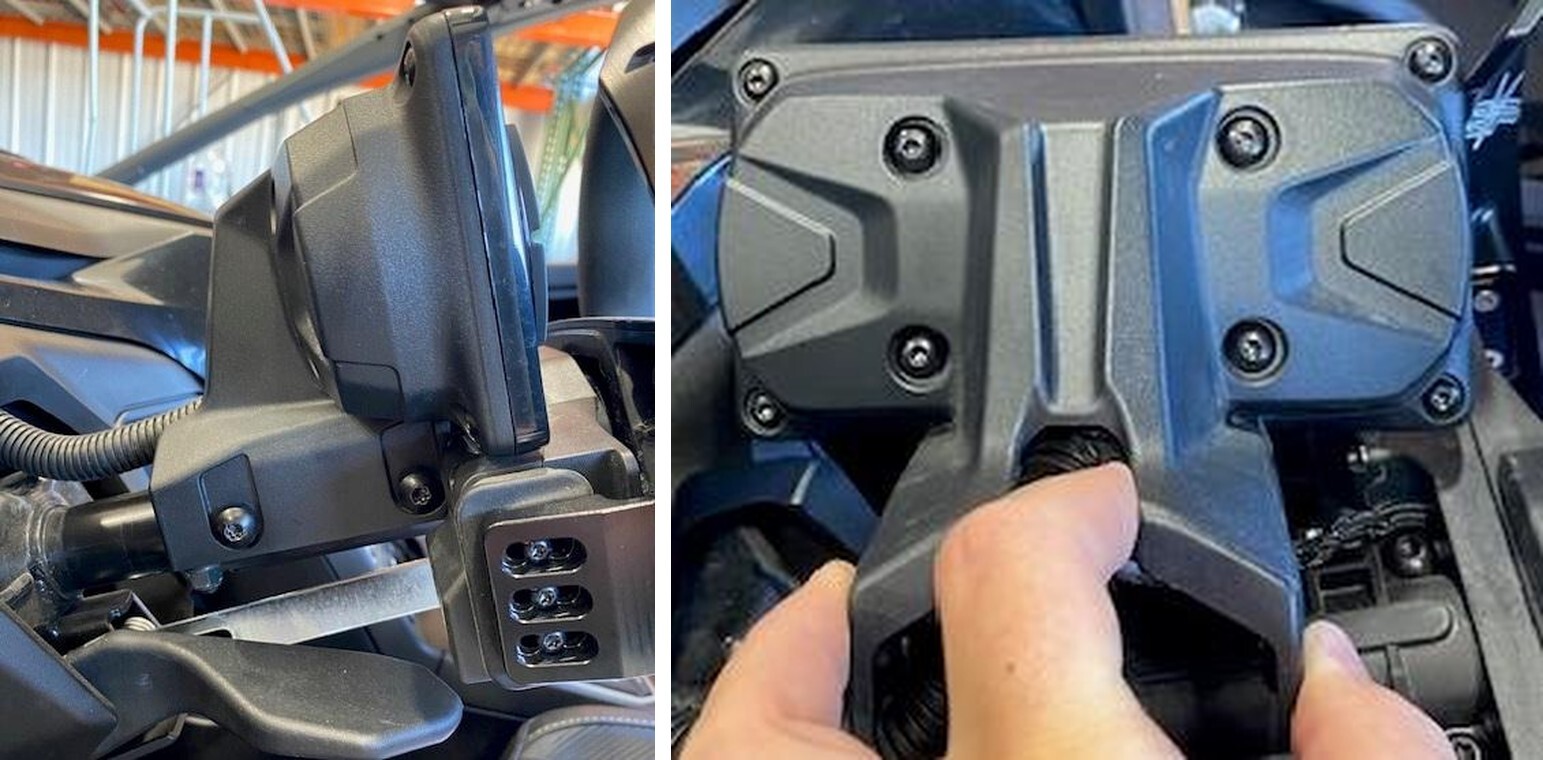
4
Let the pigtail wire hang through the hole on the bezel.
5
Remove the upper dash compartment. (If it hasn’t already fallen off).
6
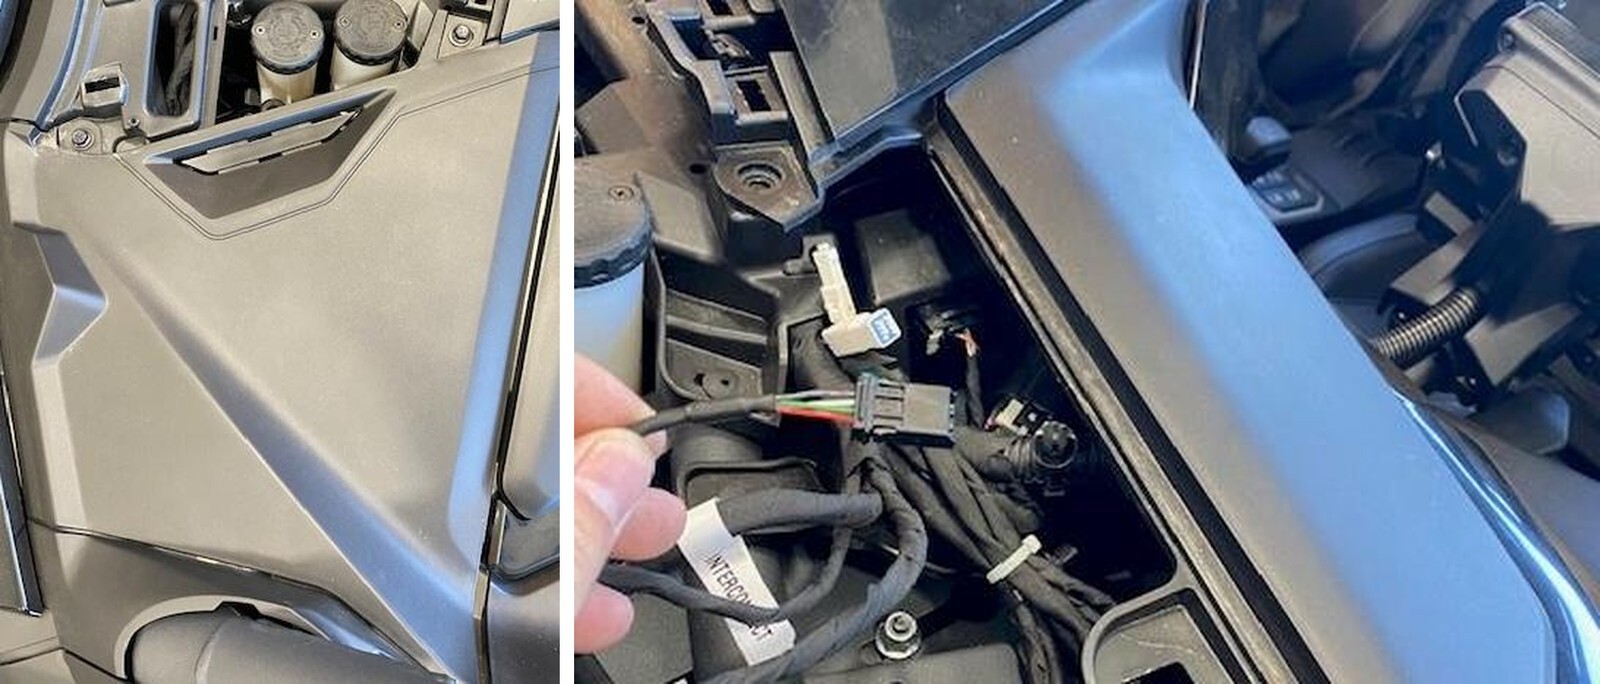
Remove the driver side trim panel. Pull out of (4) clips.
7
Remove the driver side upper dash panel. Remove (3) 10mm, (1) T-25, (1) T-30 screws.
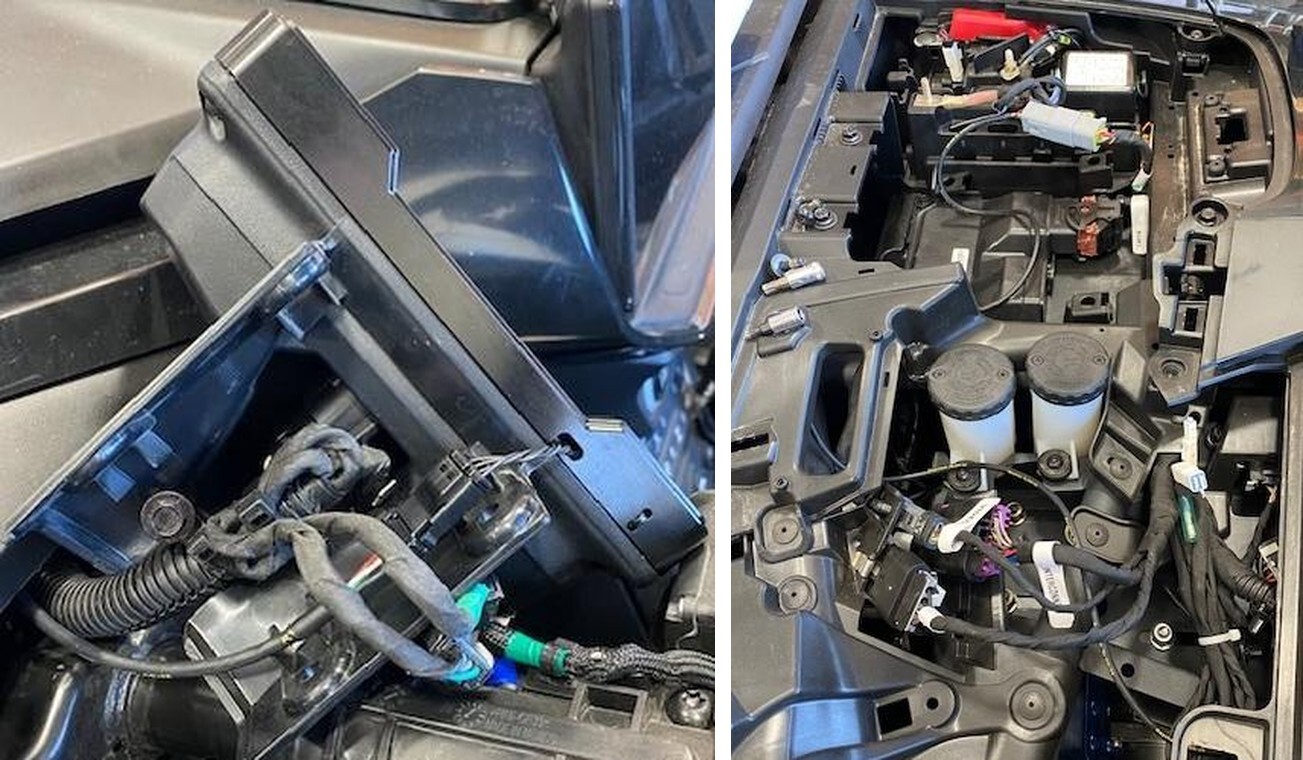
8
Feed the small connector on the harness, under the dash, towards the gauge bezel.
9
Connect the harness to the gauge bezel. Pull some slack and zip tie the harness underneath the gauge cluster.
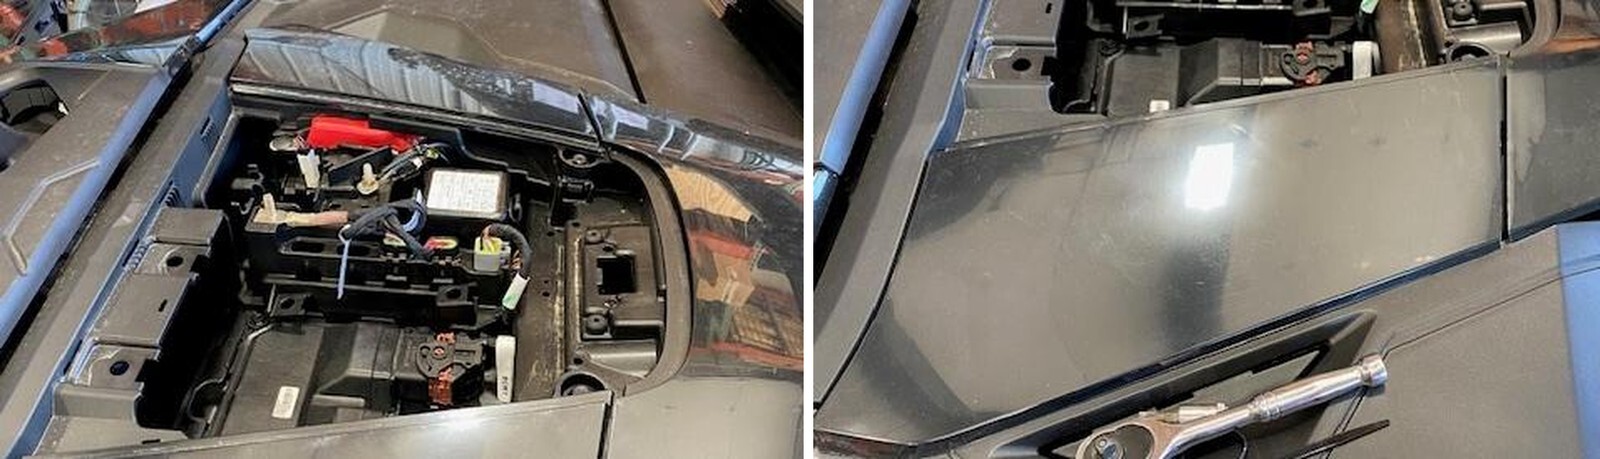
10
Route the other end of harness towards the diagnostic port, coil up access wire and zip tie.
11
Reinstall in reverse order.