What's in the Box
Installation
1
Remove the bed bolts: (4) T-15 x 16mm screws for plastic, (6) T-30 x 40mm screws with washers, (2) T-30 x 70mm screws with 2 washers and nut, (2) push dart.
2
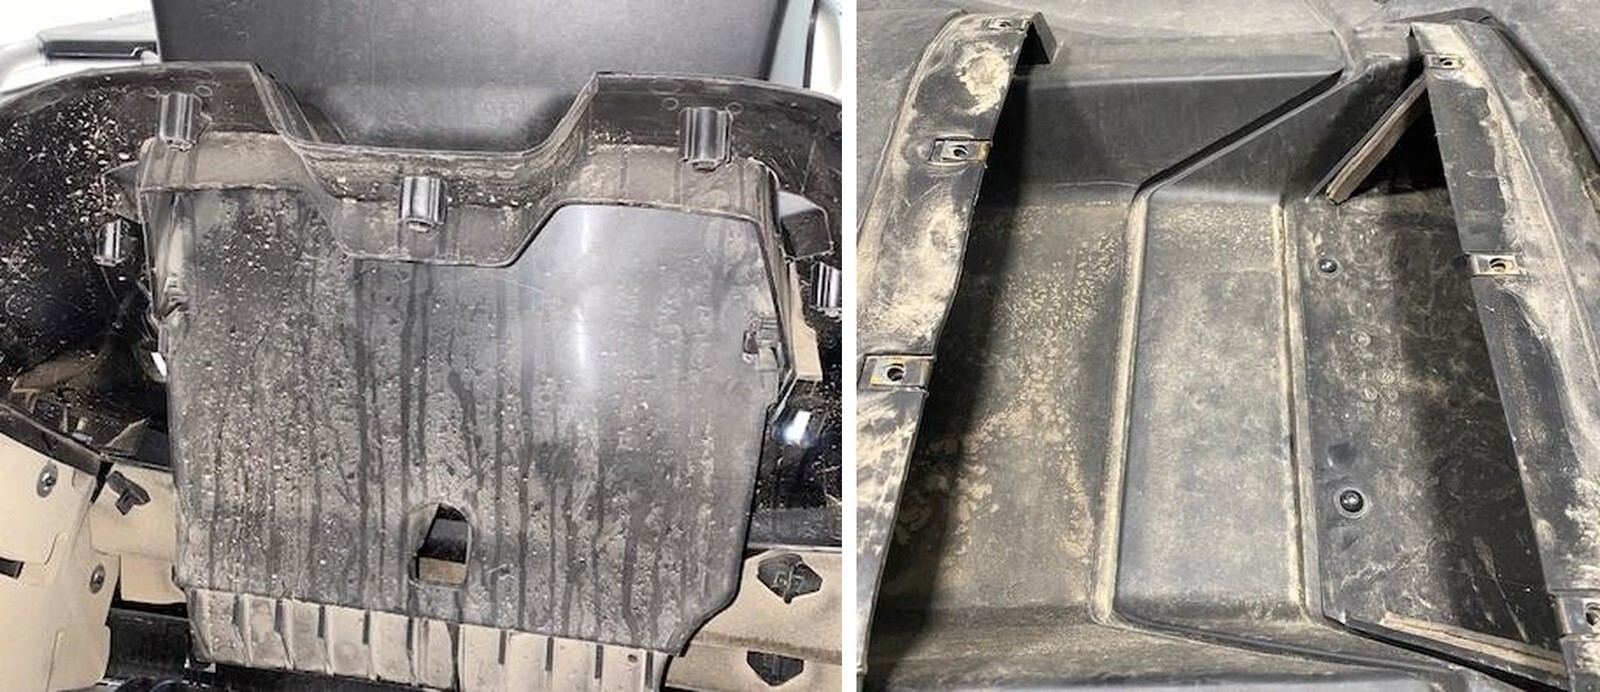
Remove (6) push darts on the lower trim of scoop.

3
With a panel tool, remove the back half of trim.
4
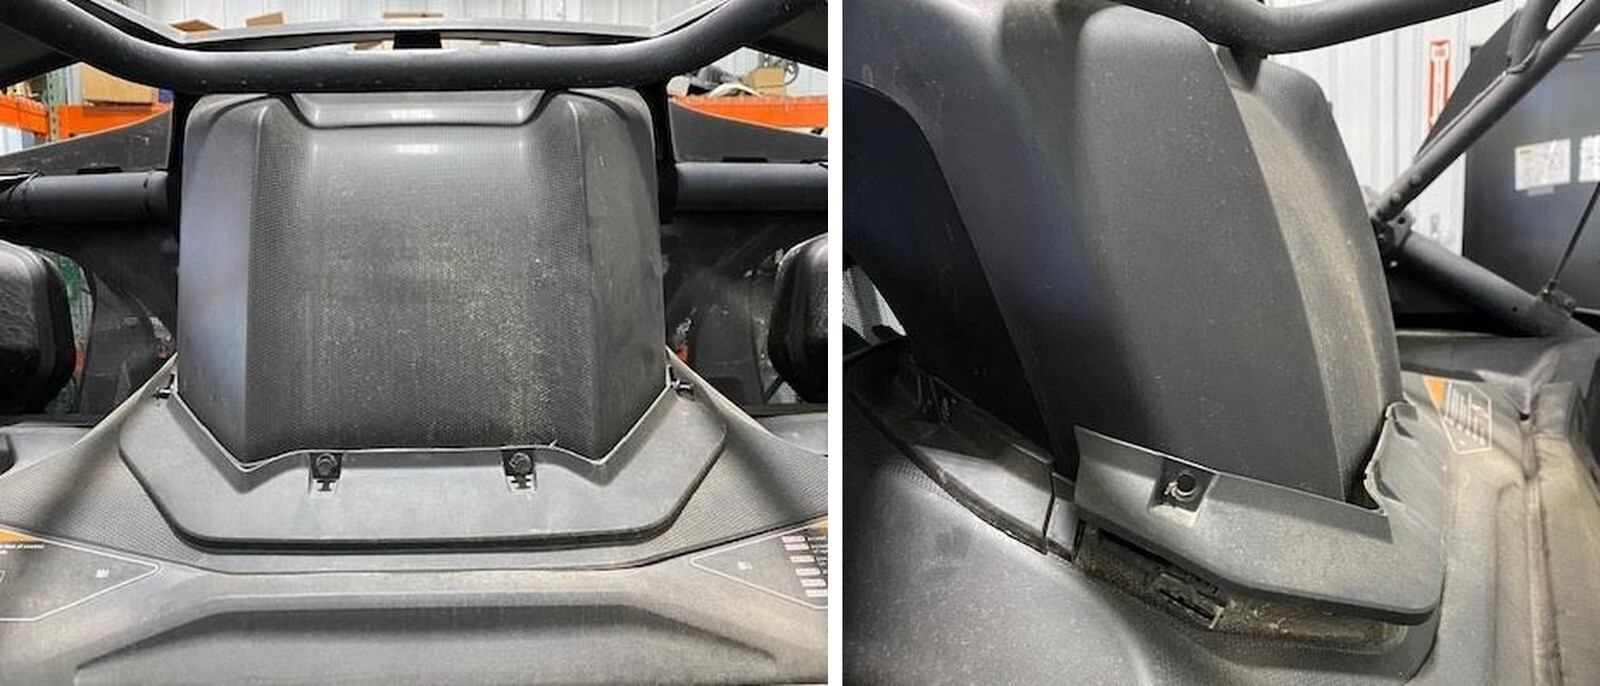
On the roof, remove (1) T-30 screw holding the upper dam shim and (7) T-20 to remove tunnel access panel.
5
On the inside of the cab, remove the lower wind dam block off (4) clips. Remove (2) T- 30 screws holding the lower wind dam.
6
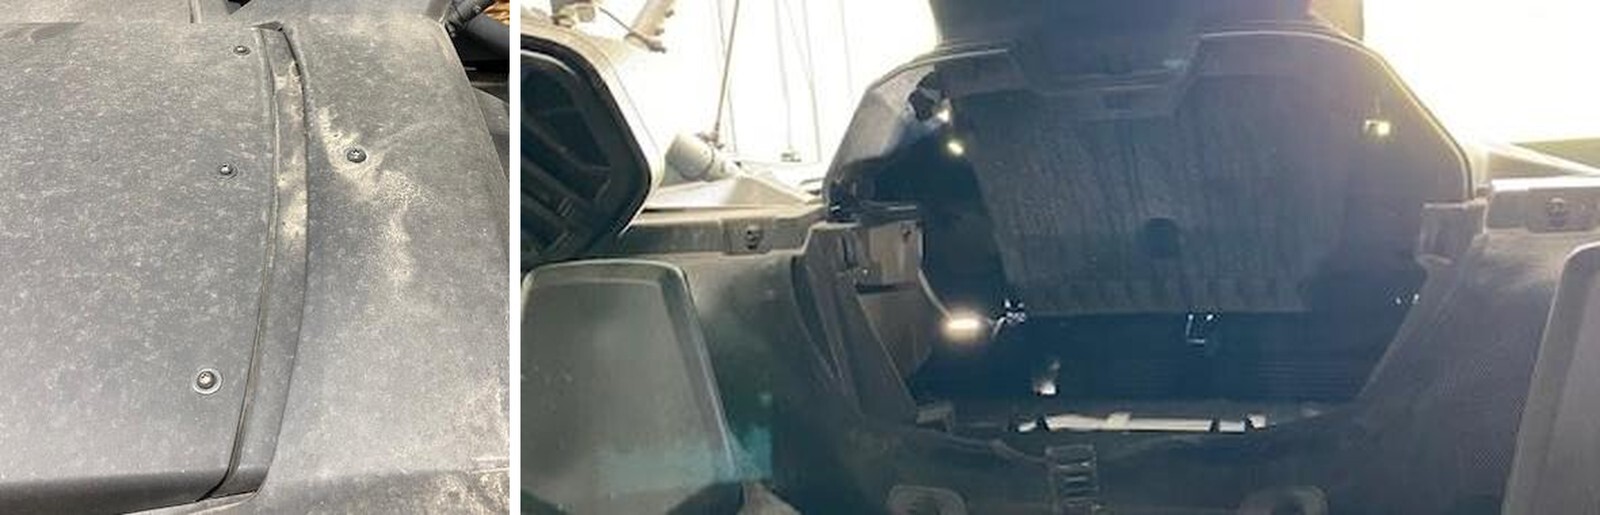
Behind the lower wind dam block off plate will be (5) 8mm screws. Once removed you can remove the upper trim piece.
7
On the roof, underneath the tunnel access panel you will find (2) T-20 bolts with (2) 8mm nuts below in the cab. Remove.
8
You can now remove the upper scoop, lower wind dam and bed.