What's in the Box
Installation
1
Remove the (8) cover bolts and remove the cover and spring.
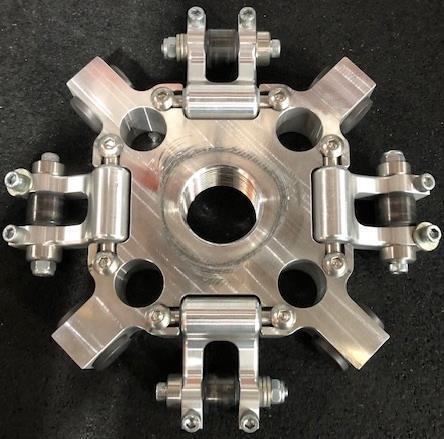
2
Disassemble the clutch, removing: Ramps, arm bolts, roller pin assembly.
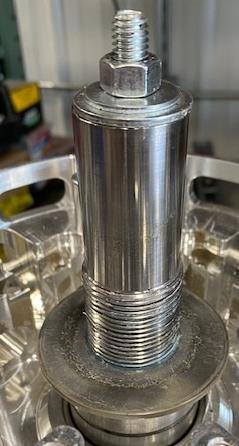
3
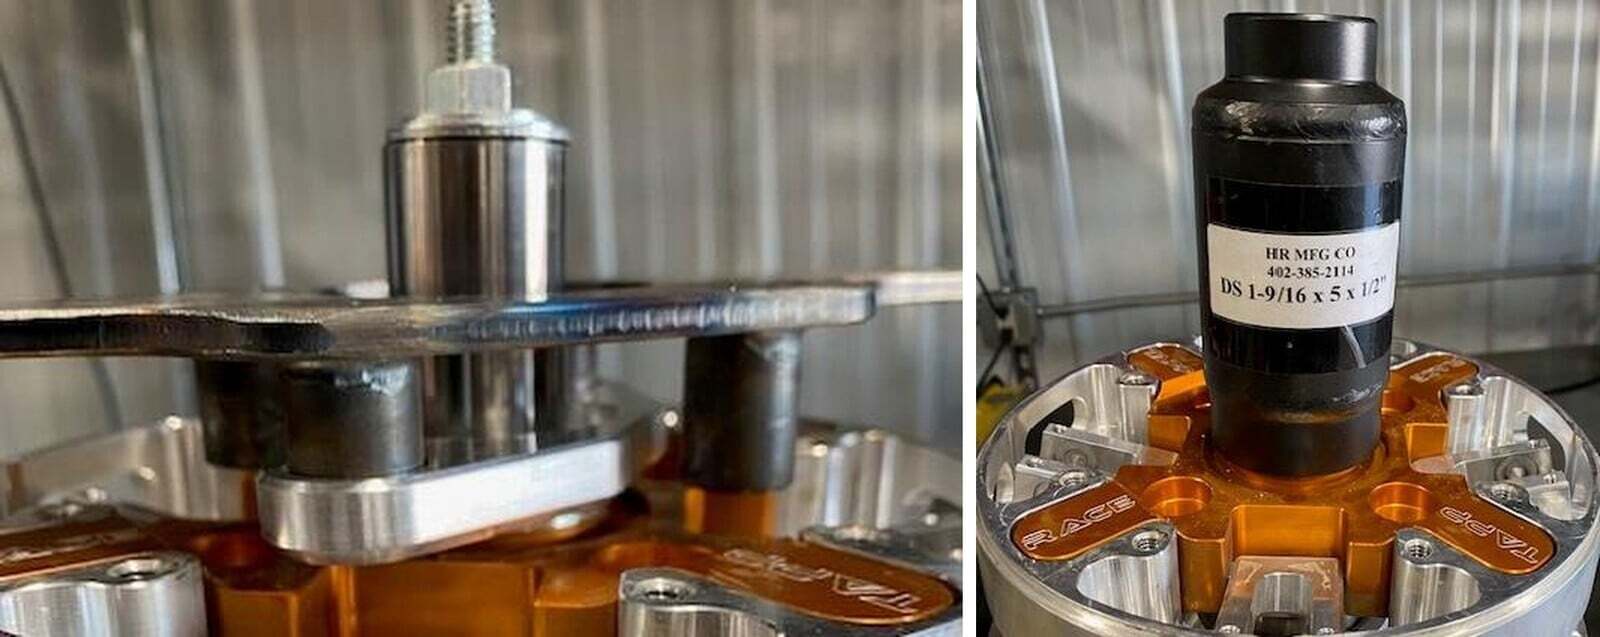
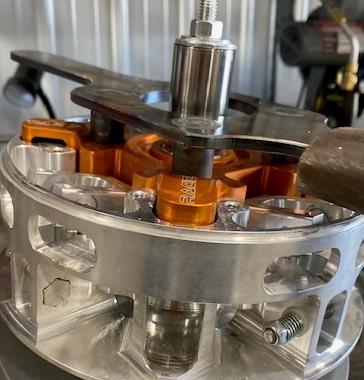
Place the bare clutch in the base tool (on a bench or Vice.) Tighten nut and washer on threaded rod.
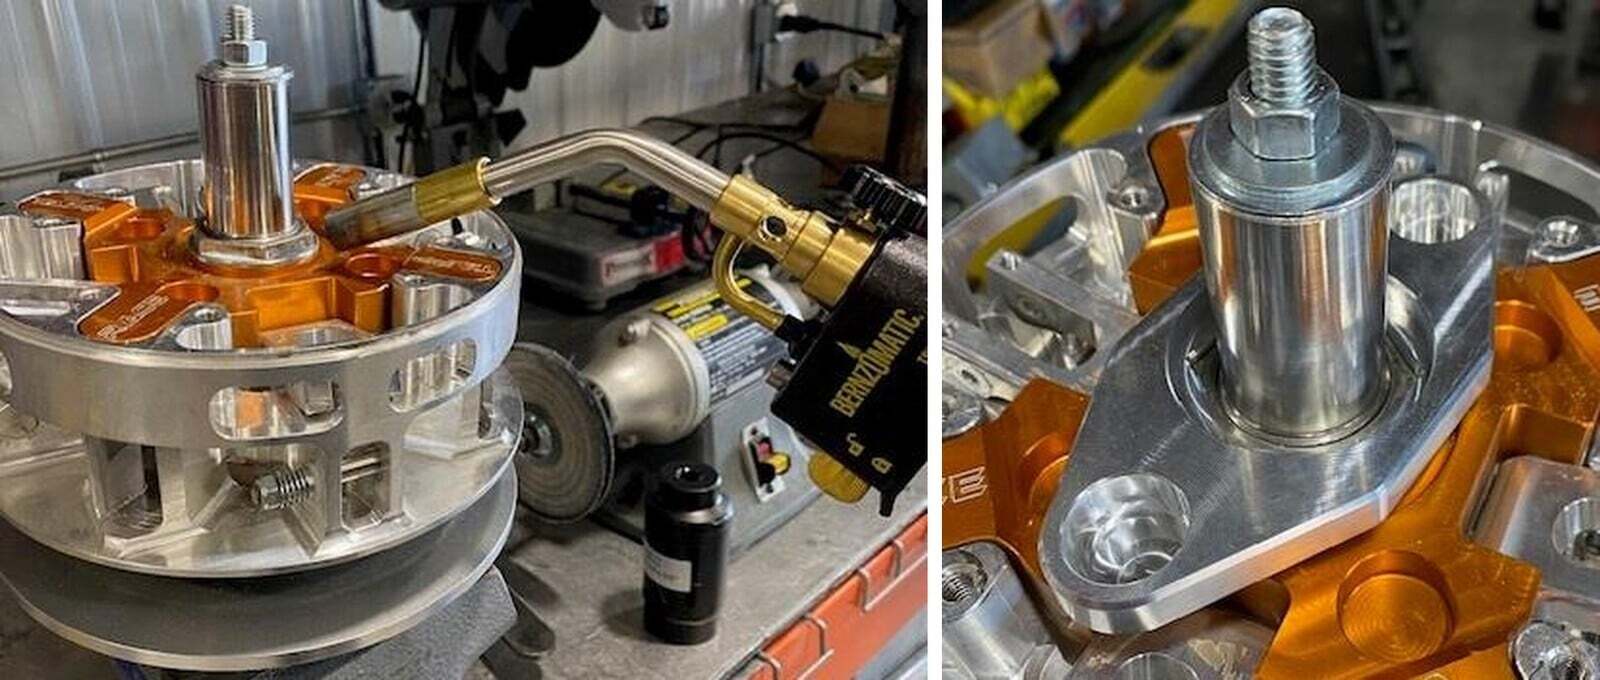
4
Heat up the spider nut with MAP gas. This will loosen the red Loctite.
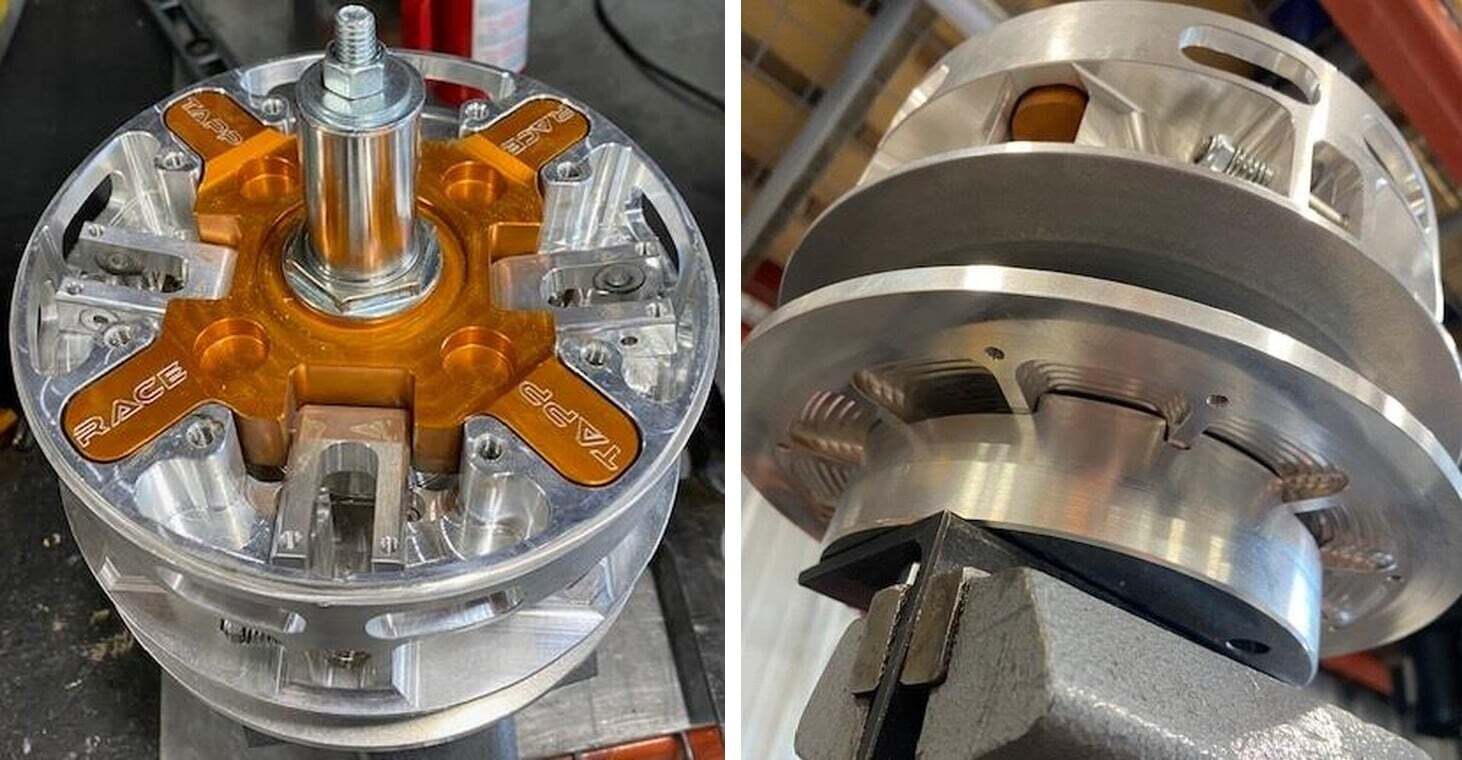
5
Two ways to remove the spider nut AFTER heating it up. First way would be the aluminum spider nut adaptor and spider hand tool. The second way would be using a impact and 1-9/16” extra deep socket.
6
Once the spider nut is removed, install the spider hand tool onto the (4) holes in the spider. Spin the spider and moveable sheave counterclockwise until the spider can be removed.
7
The spider will be HOT, wear gloves when removing.
8
Flip the spider upside down, you will now be able to access the arm screws. Remove the screw with a 5mm Allen. Remove the aluminum arm, remove the arm pin and (2) bushings. Install the bushings and pin into the new stainless arm. You must do all 4 arms.
9
When installing the spider use reverse order. Use blue Loctite on the Spider, and red Loctite on spider nut, torque both the spider and nut to 130 ft lbs.