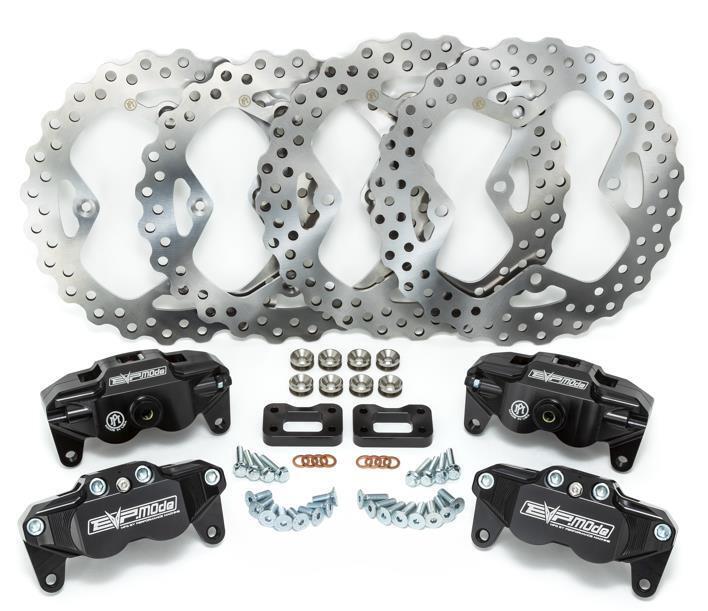
What's in the Box
Installation
1
Jack the car up on a flat surface, install (4) jack stands underneath the vehicle.
2
Remove all lug nuts and place the tires under the vehicle.

3
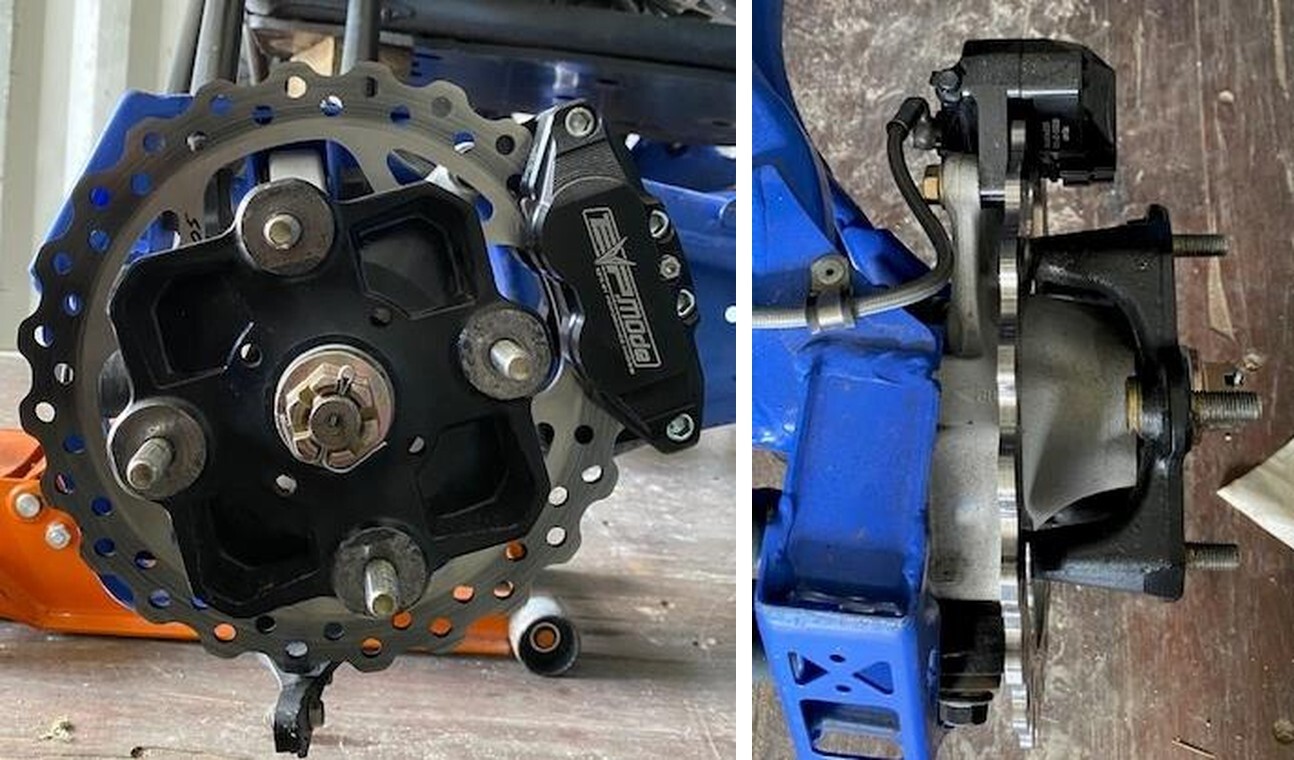
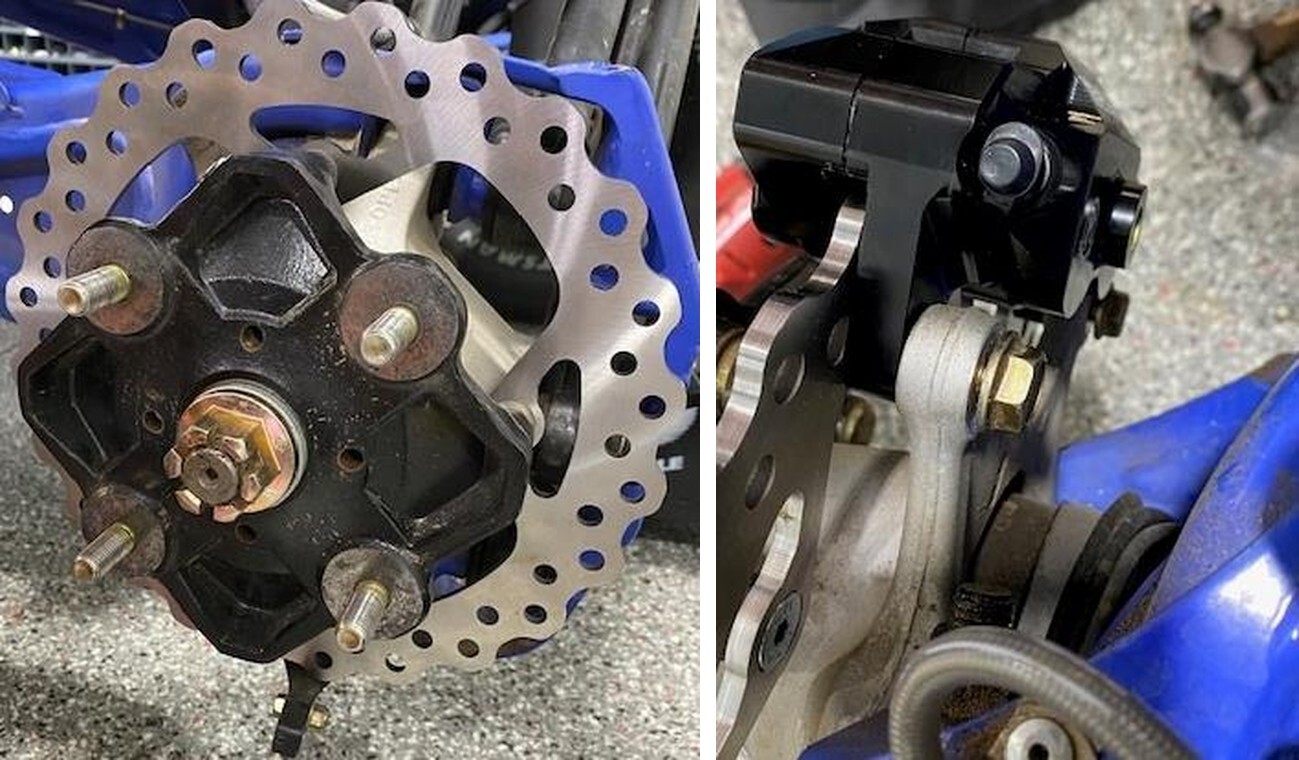
Remove the brake caliper using a 15mm socket, uninstall the caliper and lay it across the A-Arm (if front) and trailing arm (if rear). (Figure 1).
4
Remove the axle cotter pin, loosen the axle nut using a 30mm socket. Remove the axle nut and washer. (Figure 2).
5
Remove the hub and rotor from the vehicle. It may help using a pry bar.
6
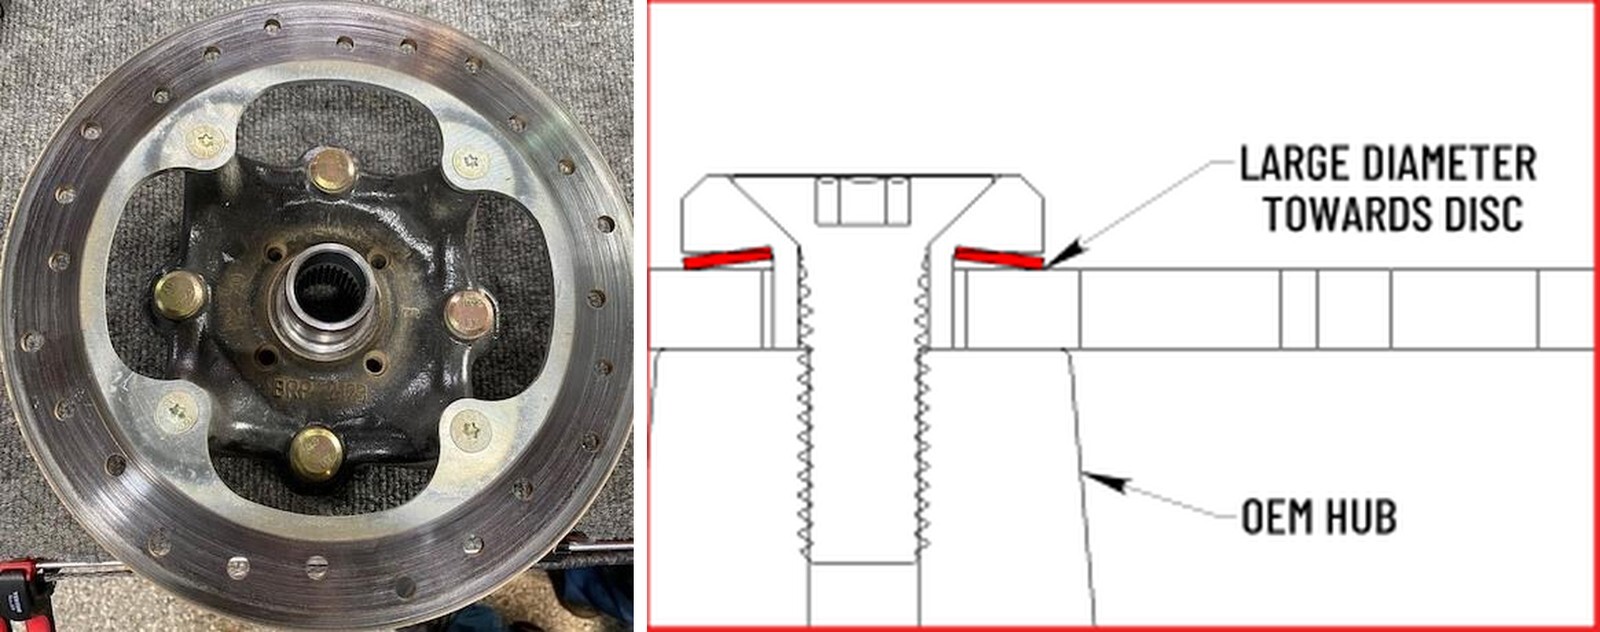
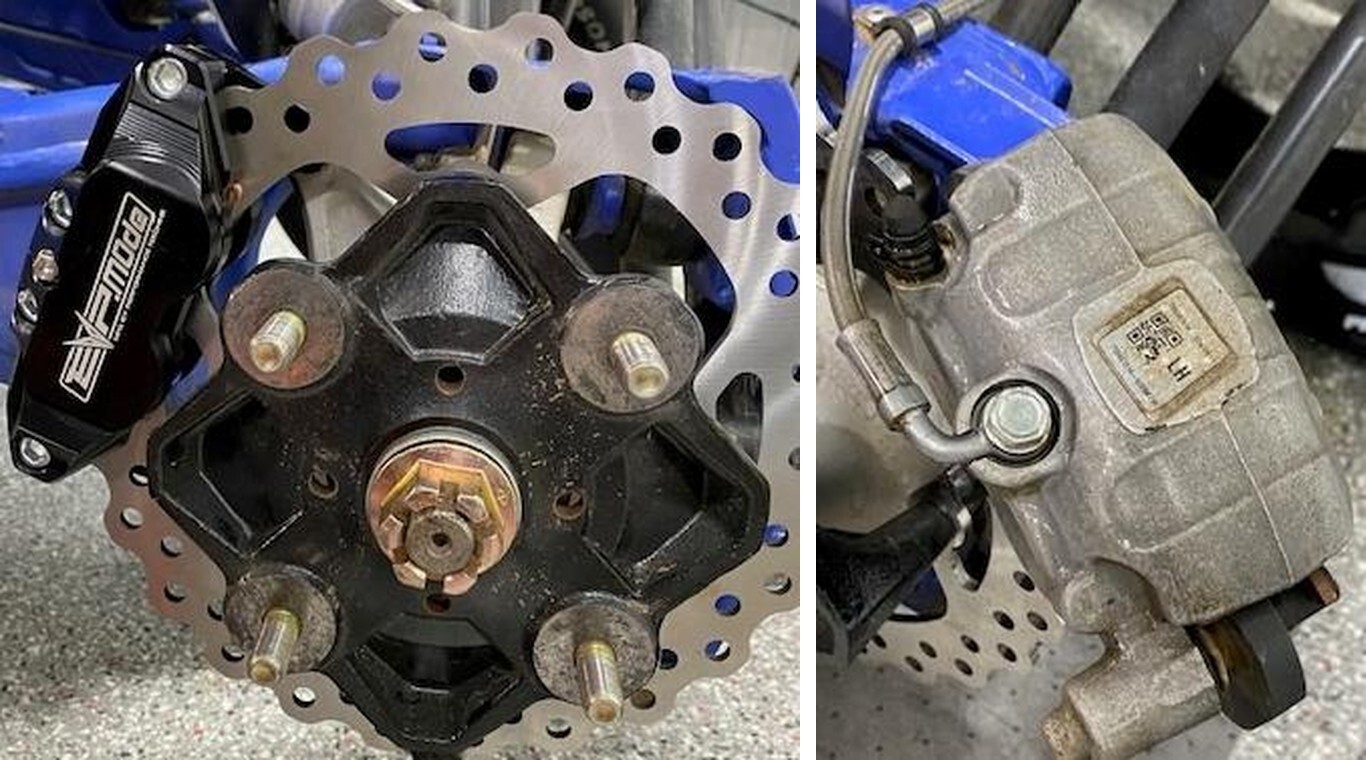
With MAP gas, heat the (4) screws holding the rotor to the hub assembly for about 30sec per screw. Remove the (4) screws using a T-40 socket. (Figure 3).
7
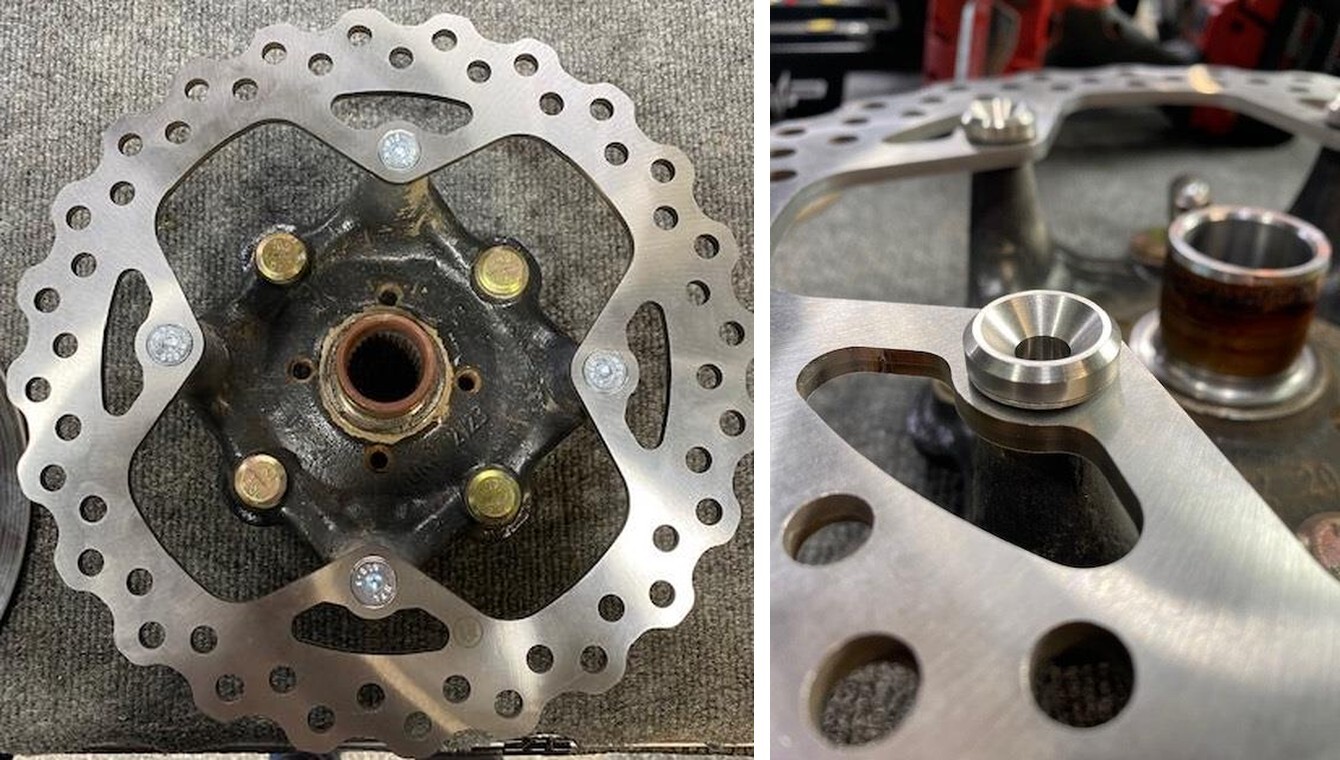
When installing the front rotor to hub assembly install the (4) spring washers upside down followed by the (4) floating spacers. Install (4) supplied M8x25mm screws holding the rotor to hub assembly and apply blue thread locker. Torque rotor screws to 25 ft-lb When installing the rear rotor onto the hub assembly install (4) supplied M8x20mm screws holding the rotor to hub assembly and apply blue thread locker. Torque rotor screws to 25 ft-lb.
8
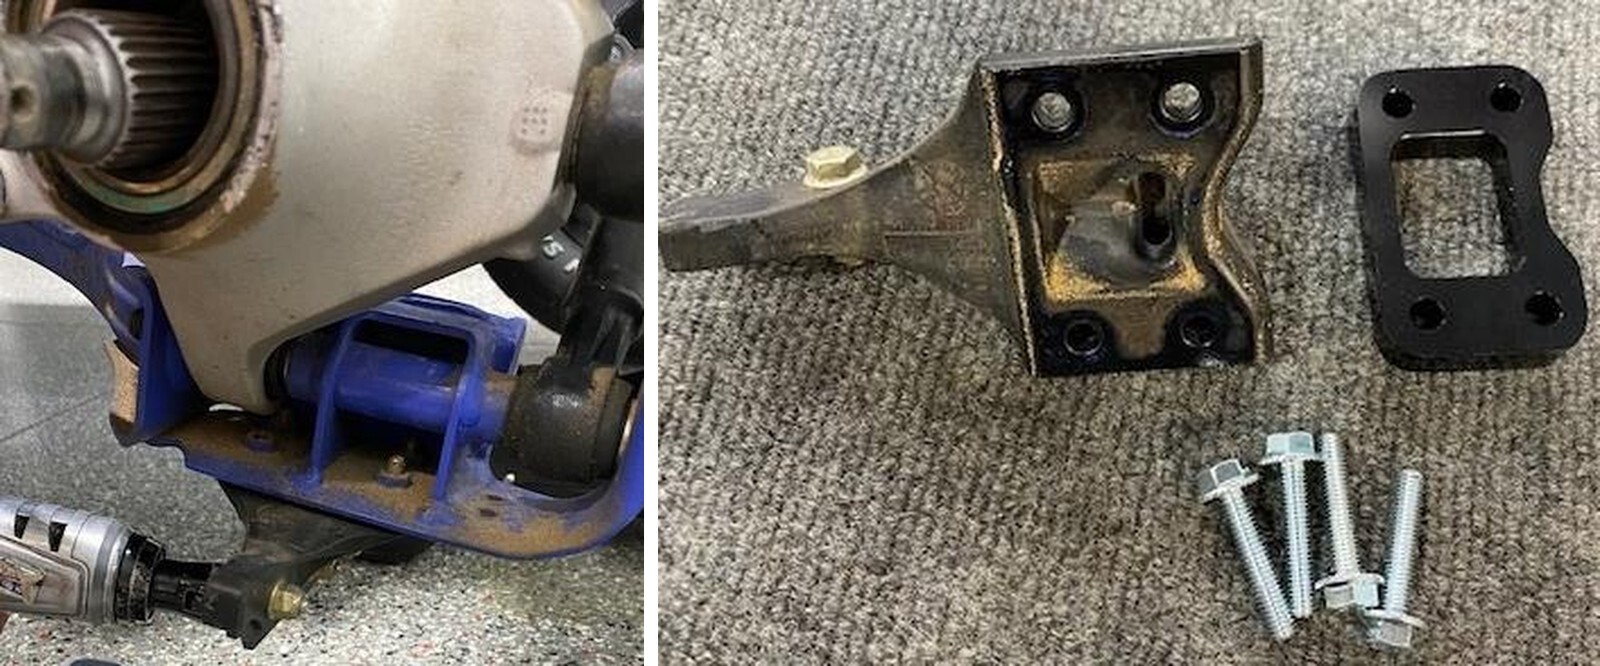
Remove the rock guard from the rear trailing arms, using a 10mm socket. (Figure 7).
9
Install the rock guard spacer between the trailing arm and OEM rock guard. Use supplied hardware. (Figure 8).
10
Install the new rotor and hub assembly onto the vehicle. You may need to adjust the rock guard (rear only) to allow the rotor to clear. Reinstall the washer and nut. Torque down to 184 ft-lb. Install new cotter pin. (Figure 9).
11
Install the caliper onto the rotor. Fasten down with OEM hardware and torque to 37 ft- lb.
12
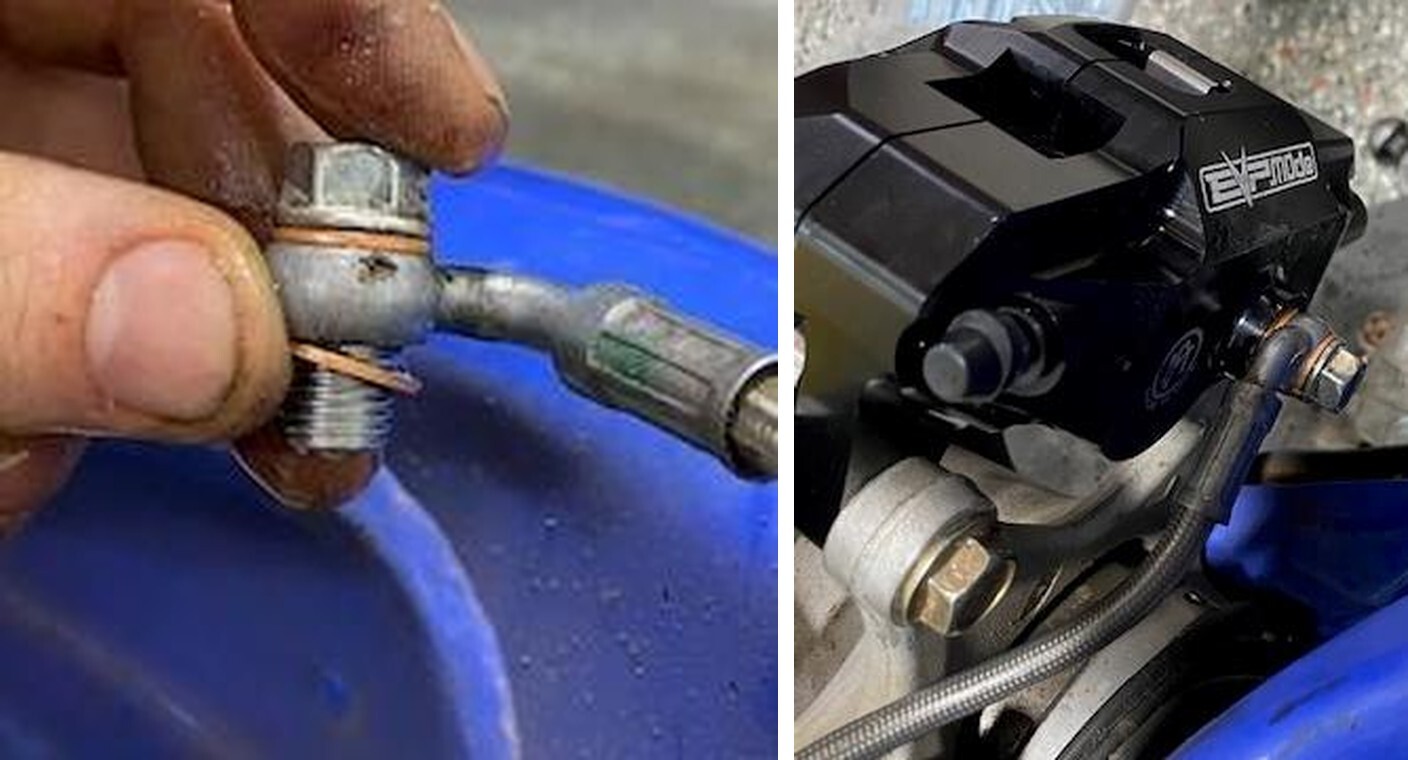
Lay shop rags under the brake caliper. Remove the brake line from the OEM caliper. Remove both copper washers. Install new copper washers on both sides of the brake line banjo. Install banjo bolt into the new caliper and torque to 8-10 ft-lb. You may need to loosen the brake line strap to maneuver the brake line properly.
13
Perform the same steps on the other wheels.
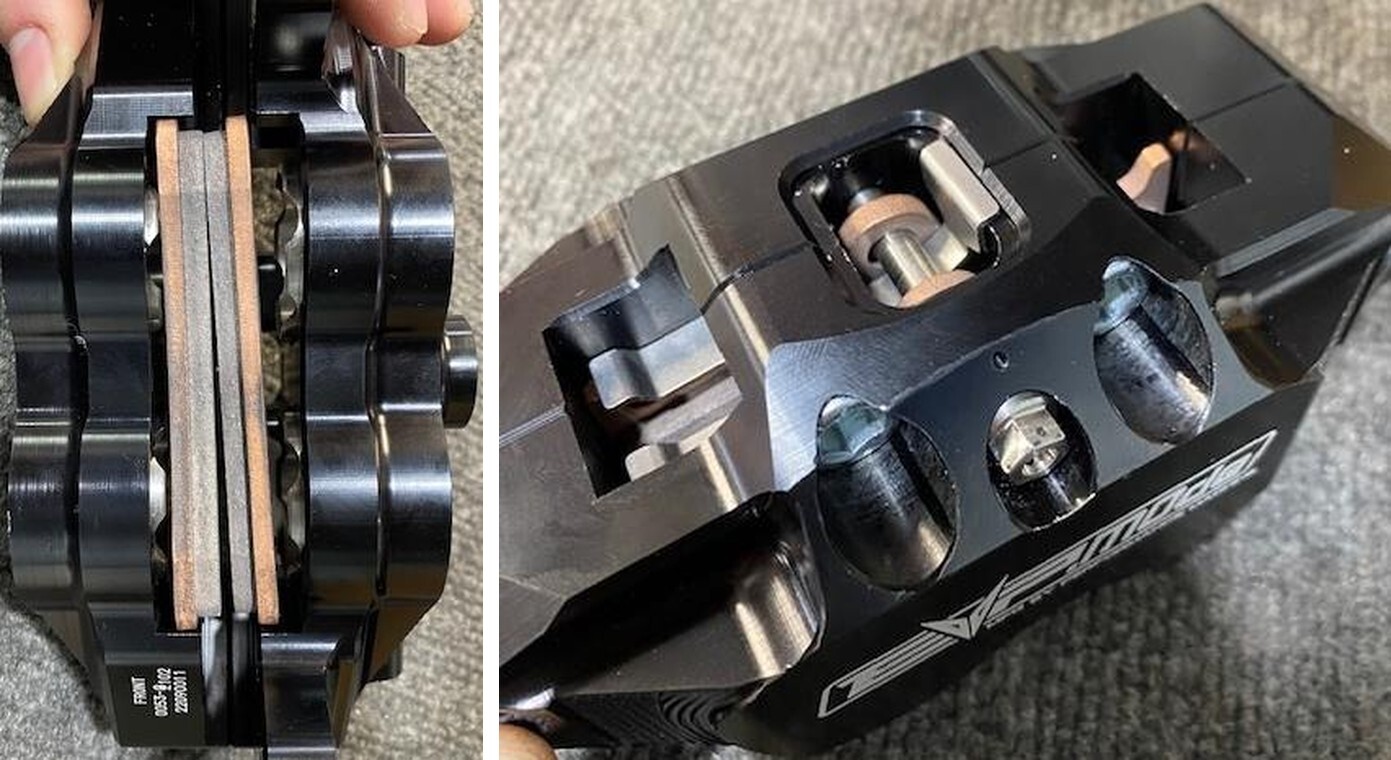
1
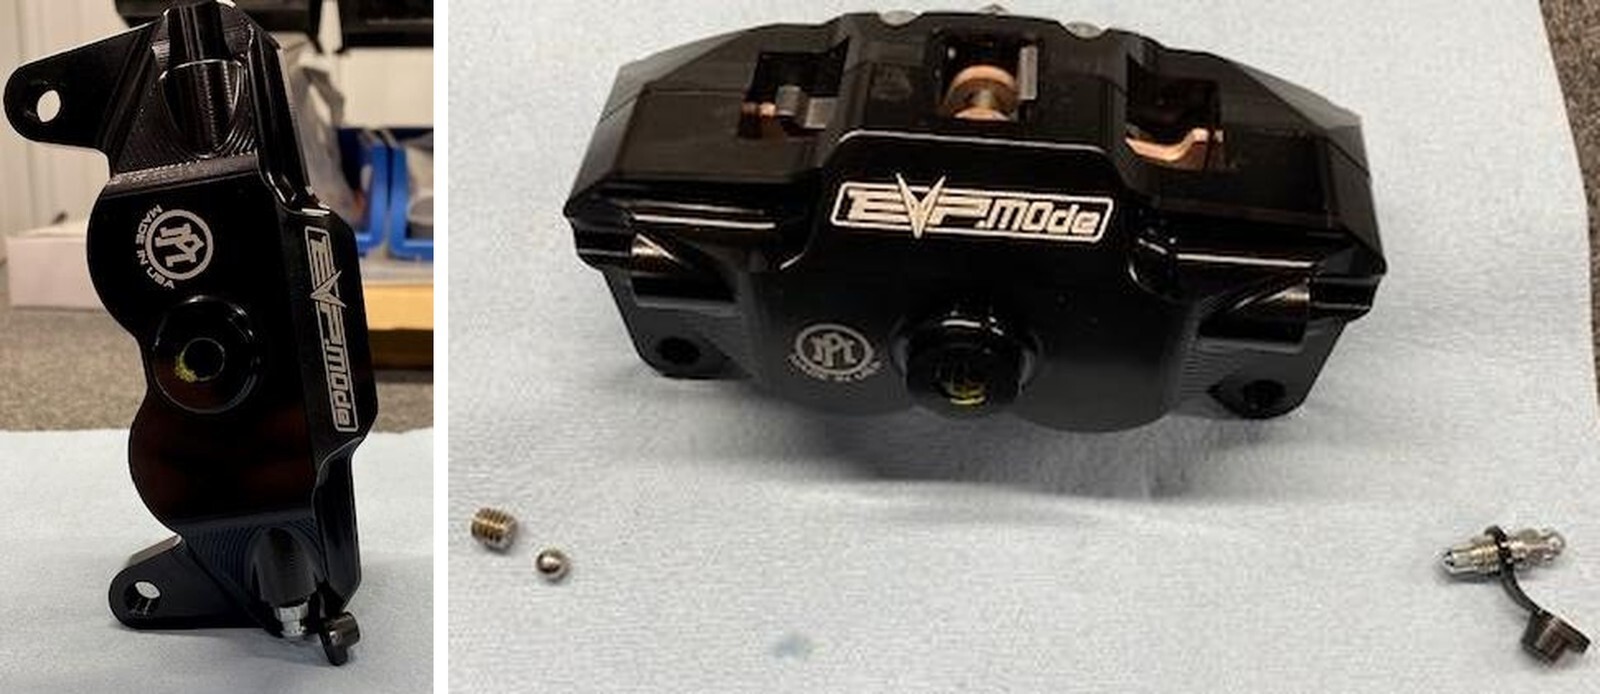
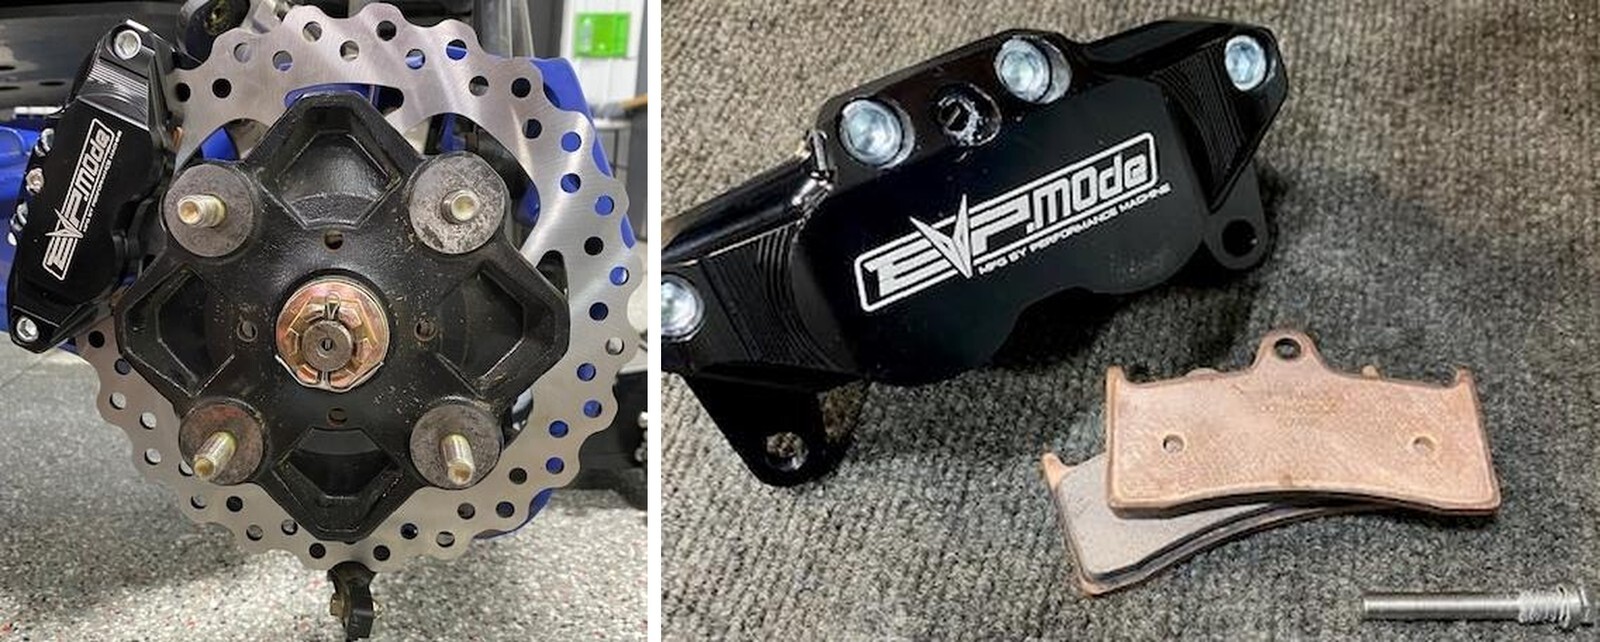
Flip the caliper upside down, install the anti-rattle clip, having both pads facing each other installed into the caliper with the mounting hole facing down. Apply blue thread locker onto the brake pad bolt. Thread through the top of the caliper and brake pads. Tighten to 11 ft-lbs.
1
Caliper bleeder must be on top of the caliper. If the bleeder needs to be relocated 180- degrees, remove the bleeder with a 8mm socket or wrench. On the other side of the caliper remove the set screw using a M4 Allen. Remove the set screw and 1/4" steel ball. Move both parts to the correct side and reinstall. Ensure the steel ball is in place below the set screw. Apply medium strength thread locker to the set screw and torque to 9 ft-lb.
1
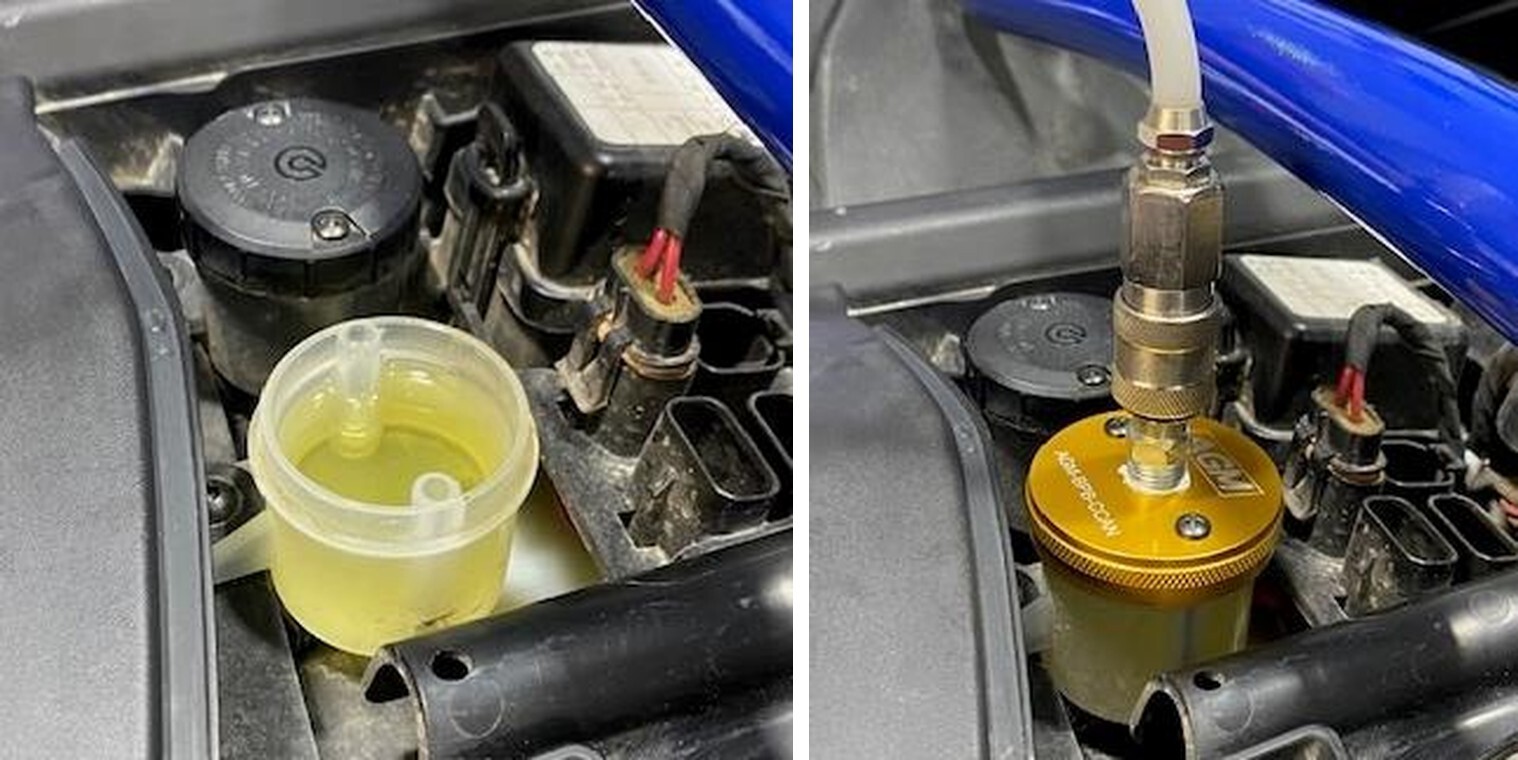
On the dash, remove the brake reservoir access panel. There are two reservoirs, on the right side is the front brakes and the one of the left for the rear brakes. With a screwdriver remove one of the reservoir caps and insert.
2
Install the supplied bleeder cap, fasten down with OEM hardware. Connect the “Quick Connect” from the pressurized bleeder to the bleeder cap.
3
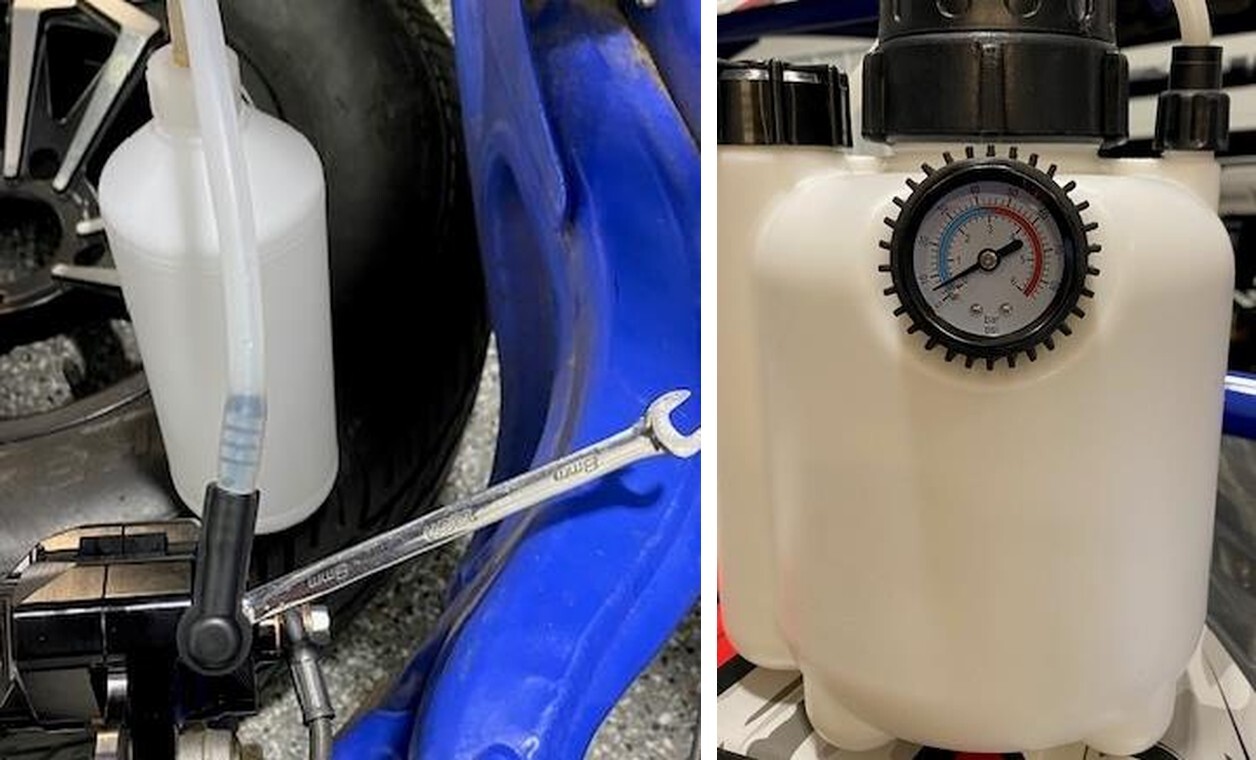
Install a 8mm open end wrench on the caliper bleeder. Install the excess bleeder bottle over the bleeder port.
4
Pour a liter or two into the pressurized bleeder bottle. Pump the bottle up to 20 psi and crack the bleeder on the caliper until it runs clean without air bubbles. Continue all calipers and when the brake pedal is firm.
1
Must have 15-inch or larger rims.
2
Rim diameter must be 12.75” or larger to pass the over sized rotors and caliper (figure 26).
3
If your rim is tapered on the inside, from where it mounts to the hub backwards 4.0” must be a diameter of 12.75” or larger (figure 27).