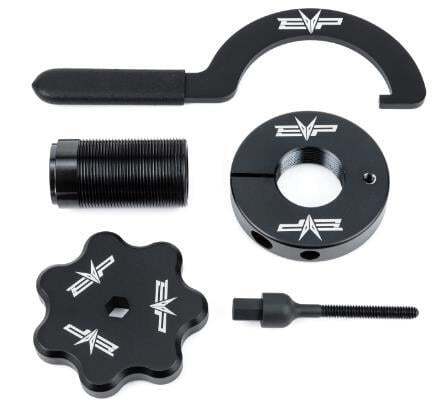
What's in the Box
Installation
1
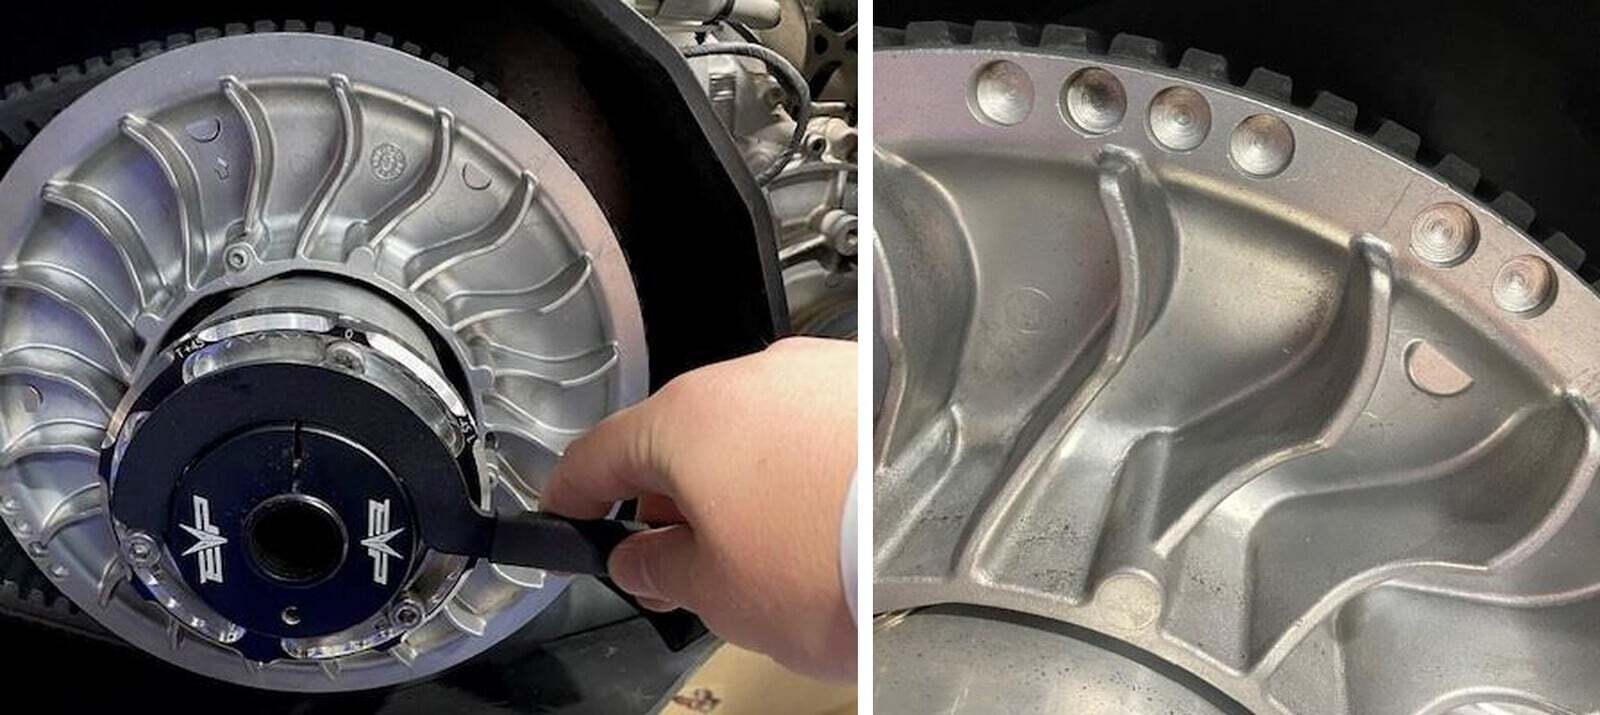
With a 17mm socket remove the secondary clutch bolt and washer.
2
Install the secondary bolt into the supplied collar without the OEM washer. Install this into the secondary clutch and torque to 45 ft lbs. Note: Some sockets have larger outer diameters that wont fit within the collar.
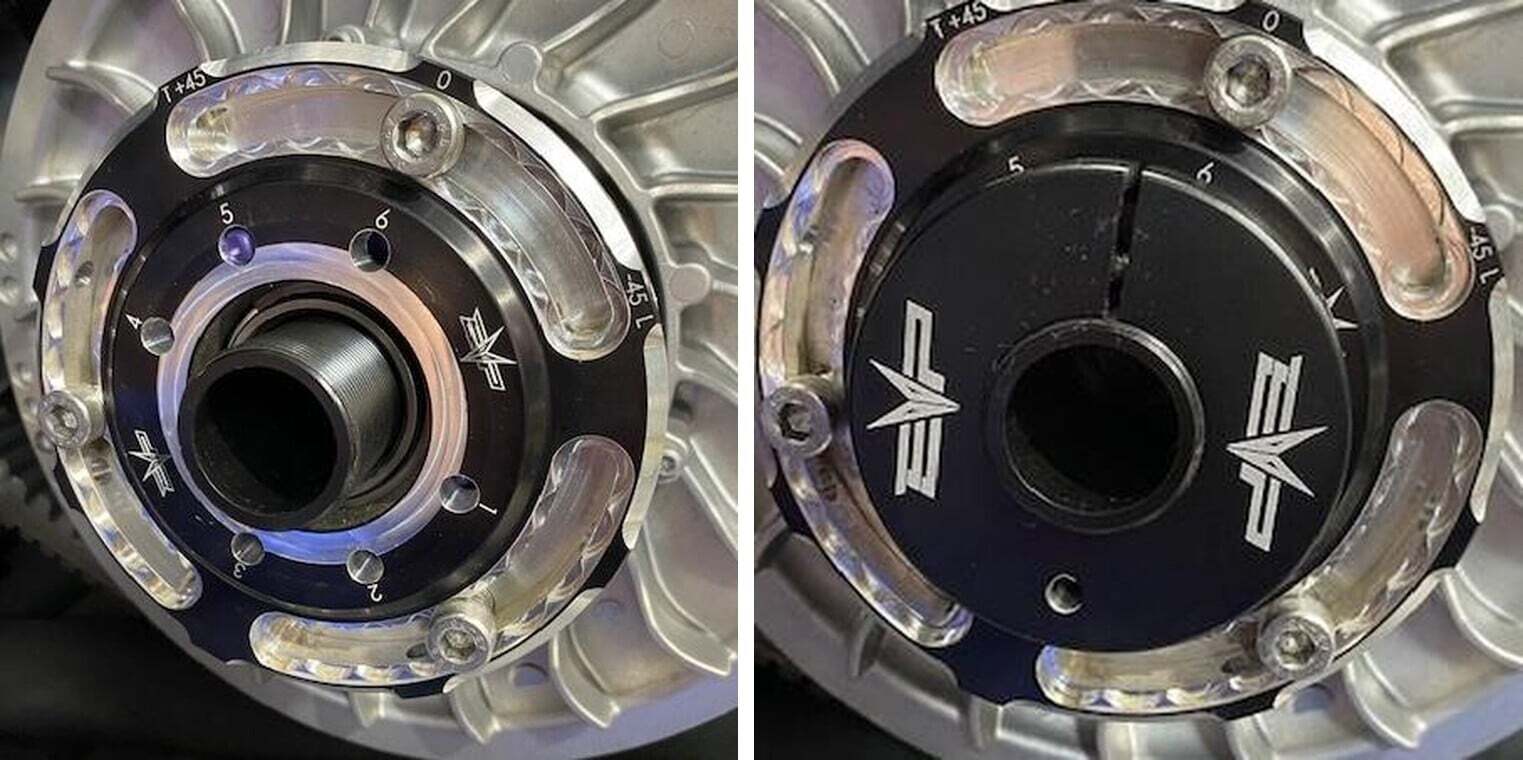
3
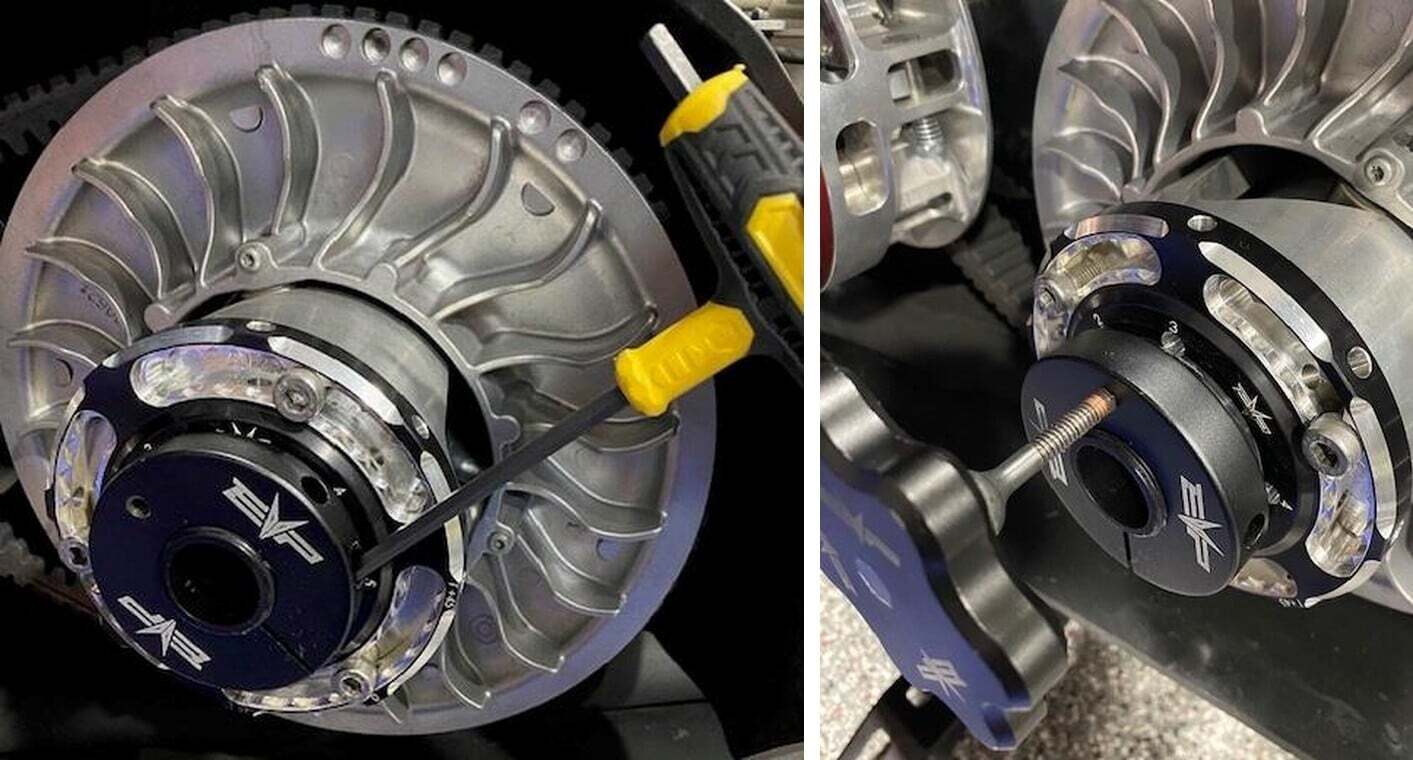
Install the belt deflection nut onto the collar with the nylon washer towards the helix. The EVP logo will face you. Make sure the M6 Allen screw is loose. Access this from the side of the nut.
4
With the belt deflection wrench, you can tighten or loosen the nut. There is two holes cut out on the nut that allow the wrench to grab properly. Once you have made an adjustment MAKE SURE TO SPIN THE SECONDARY 5 TIMES. This allows the belt to properly seat in between the sheaves.
5
Once your belt deflection is set where you want it, tighten the M6 Allen screw down. This tightens the nut around the collar.
6
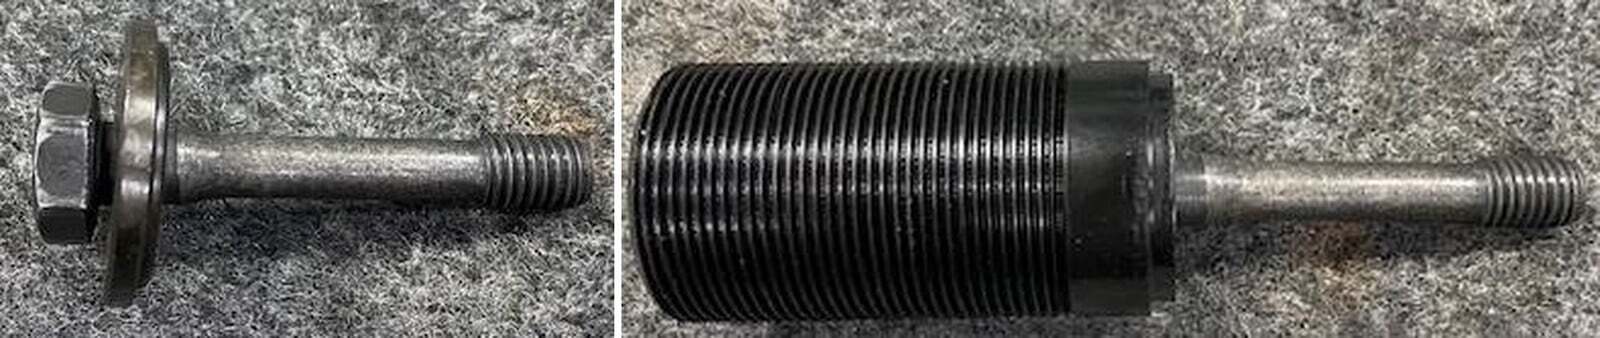
If removing or installing a drive belt, loosen the M6 Allen screw and install the belt changing tool. Use grease or lube on the threads, screw the belt changing tool into the collar which will open the sheaves. Once belt is installed, remove the belt changing screw and spin the secondary 5 times allowing the belt to seat between the sheaves. Tighten the M6 Allen screw.