What's in the Box

Installation
1
Center the access panel within this perimeter. If you have a floor or plan to install a floor, we recommend moving the access panel upwards.
2
Clean the plastic of debris. With a silver sharpie, outline the access panel and the mounting holes.

3
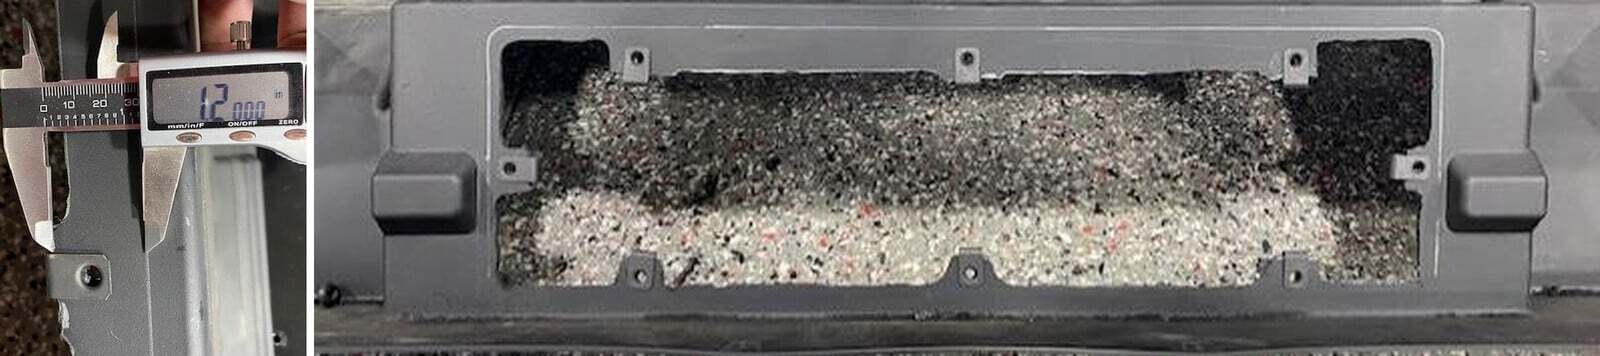
Draw a 1.20” box from the outline of the access panel, around the mounting holes. This will be the bottom of the clip and leaving material around the clip so it won’t turn when you fasten/loosen later.
4
Drill out the mounting holes with a 3/8” drill bit. Cut out the inside of the plastic staying at least 1/2" away from the silver sharpie perimeter. Shown below, on top was 1.20” and on the bottom and sides were 1/2" away from the perimeter. This is up to the customer how large of a hole they want.
4
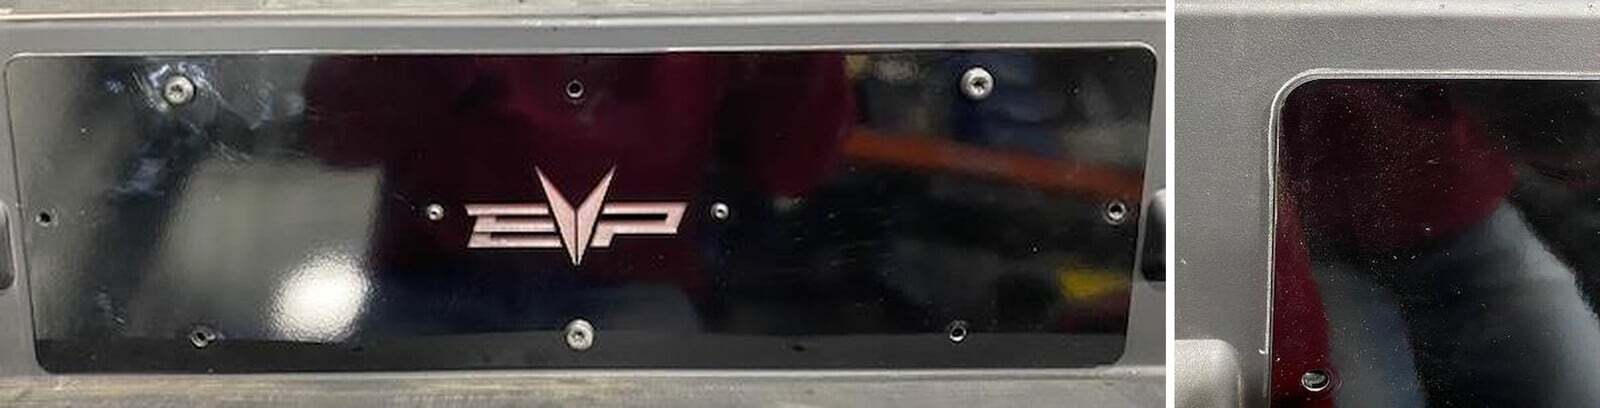
Install the (8) clips into the 3/8” holes. Install the backer plate to the access panel. Sand and file any sharp edges. It helps to use a flame to smooth out the edge. Install the access panel onto the lower firewall.